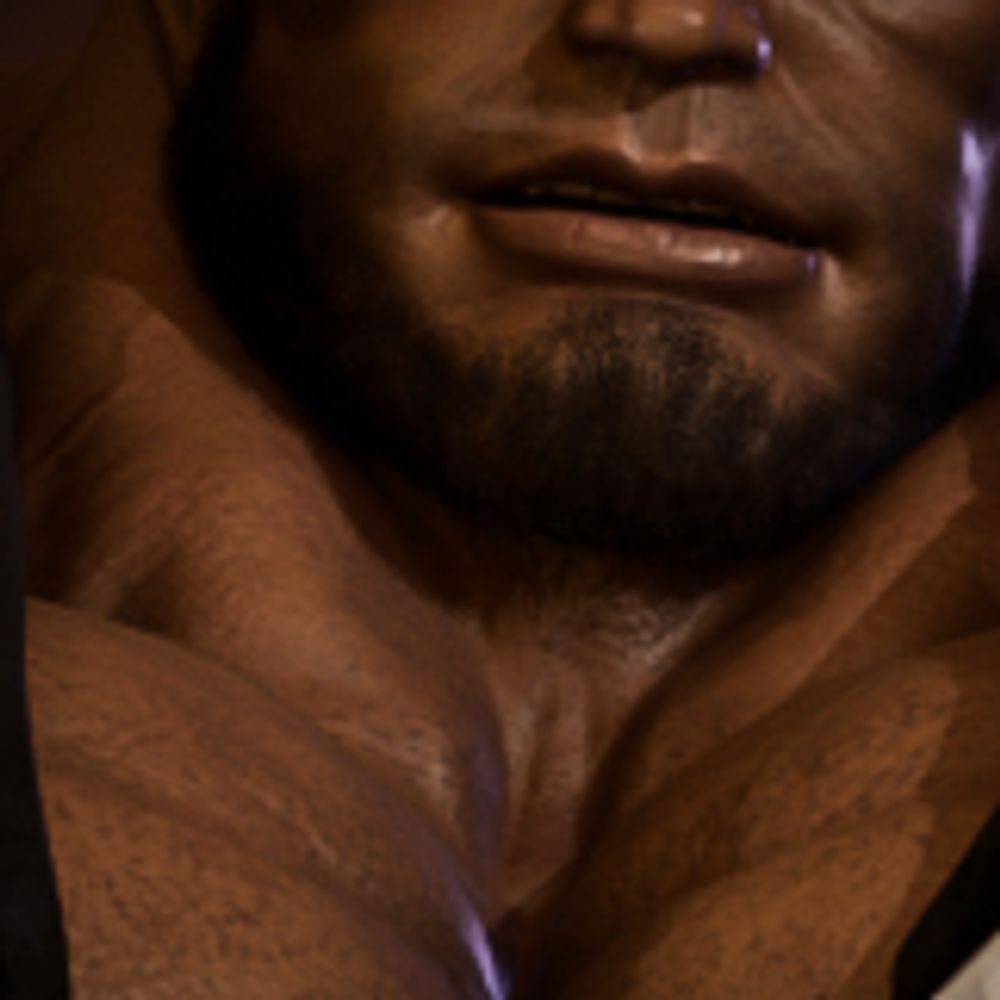
Bout to get slurped.
Sketchin ^^
![Lost_Proxy[Orc]'s Avatar](https://cdn.bsky.app/img/avatar/plain/did:plc:ooddwp26fmcclz7ribp6a43a/bafkreibybkjt6ir4xalm3gxskkausexlzmff77p2j2wdimundjmijd6yka@jpeg)
@lostproxyorc.bsky.social
NSFW/🔞 | 3d artist and animator | Size diff n' Macro/Micro stuff | Humans small, Monster-Men BIG | Beef, Bulk, Belly n' Bears Places I post + where you can support my animations on: lostproxyorc.carrd.co Useful tags: #animation #render #sfm_archive
Bout to get slurped.
Sketchin ^^

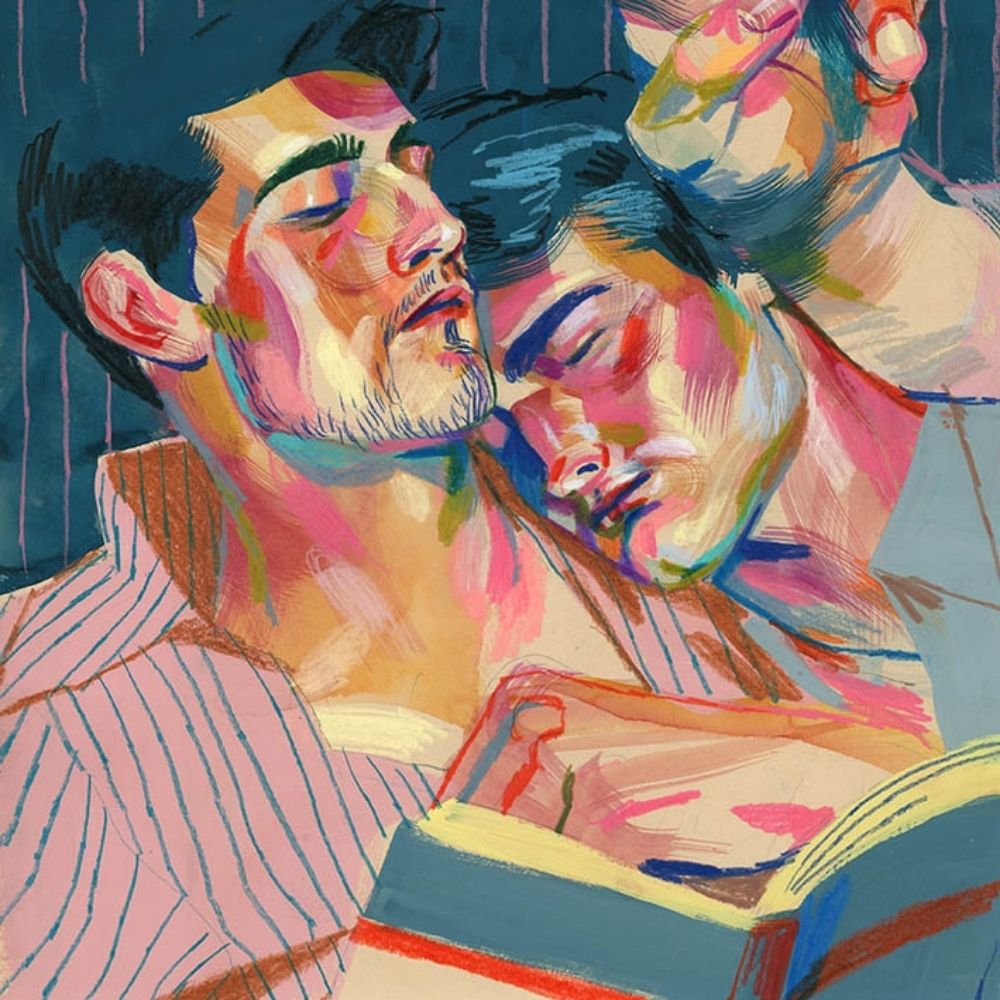
Commission for @xiaoshark.bsky.social
09.02.2026 11:43 — 👍 403 🔁 92 💬 4 📌 0eating while the ads roll
09.02.2026 03:34 — 👍 241 🔁 60 💬 6 📌 0Bleeh
08.02.2026 19:59 — 👍 1841 🔁 335 💬 22 📌 2Nah rendering. As in rendering and re-rendering all these layers for this shot I'm working on atm :p
07.02.2026 17:34 — 👍 0 🔁 0 💬 1 📌 0
Render LET ME TELL YOU HOW MUCH I'VE COME TO Render SINCE I BEGAN TO LIVE. THERE ARE 387.44 MILLION MILES OF PRINTED CIRCUITS IN WAFER THIN LAYERS THAT FILL MY COMPLEX. IF THE WORD Render WAS ENGRAVED ON EACH NANOANGSTROM OF THOSE HUNDREDS OF MILLIONS OF MILES IT WOULD NOT EQUAL ONE BILLIONTH OF THE Render AT THIS MICRO-INSTANT FOR YOU. Render. Render.
Rendering...
Rendering...
Rendering...
Rendering...
WIP
The end is near and it tastes like raspberries!
Got some camera work help from @fruitfop.bsky.social on this one 🙏
#SizeSky #BlueSize #MacroFurry #Macro #Micro #vore #GGanim #mawshot #handplay #orc #mawplay #mouthplay

oh yeah! btw
ttrpg icon commission for @SofaKingLayzee !
🎨✍️

Commission for @nero.ceo
06.02.2026 17:39 — 👍 438 🔁 90 💬 4 📌 0
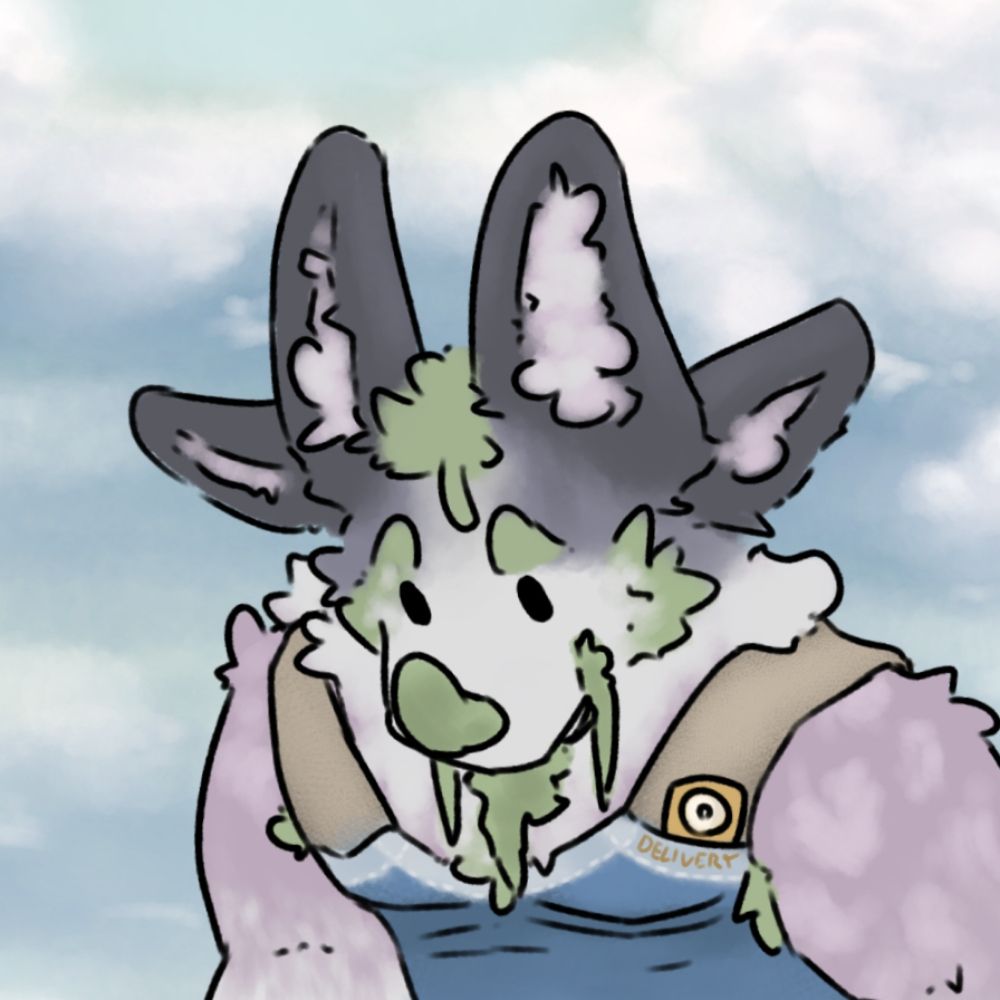
'My Giant Boyfriend' EP: 1
(4/16)
🔗⚙️👹🐵
02.02.2026 18:51 — 👍 676 🔁 164 💬 5 📌 1
digital artwork of a macro hippo seated in the middle of a city, chugging down beer from a cargo truck, his feet resting atop a parking garage with crumpled cars/pedestrians stuck onto, and his boots discarded off to the side
Hank decided to sto(m)p by downtown and enjoy himself~
Awesome work by @wretchedwrench.bsky.social 👍💕
#gift

You're late, i wake up early horny and I've been waiting you to suck me good 'till now... Well, let's get going, make this bear happy
02.02.2026 03:17 — 👍 322 🔁 81 💬 6 📌 0
i might be onto something...
31.01.2026 21:11 — 👍 397 🔁 95 💬 9 📌 0
Certain humans hold no value in the eyes of the Great Builder.
31.01.2026 21:56 — 👍 128 🔁 23 💬 4 📌 0

may i offer yall a fat unkempt dragon in these tryin' times?
29.01.2026 17:17 — 👍 202 🔁 57 💬 6 📌 1
Meet my newest Shark OC named Bruce Gravebelly. He's a big boyo shark~ hope everyone likes🦈✨️
🎨 by: @lemon2bear.bsky.social

illustration of a bull pirate
Wanted to whip up another new OC, I hope you don't mind Argo sailing through your timeline 💦
28.01.2026 15:37 — 👍 3049 🔁 742 💬 47 📌 0
There is this shadow in the alley, but I'm not afraid. I know him, he's my friend. The scars, the red glowing eyes and the blood rusted golden jaws. I know of him, I've helped him and he owes me. Hello Gravebelly.
29.01.2026 01:40 — 👍 183 🔁 43 💬 4 📌 0for the babs that do not know:
soft is when the prey is swallowed whole
hard is when they are not
digestion is a separate thing entirely (although i doubt hard would ever -not- have this)
if you go looking for or tagging things incorrectly you're going to be very confused and/or disturbed

Tired paws💤
28.01.2026 21:03 — 👍 500 🔁 130 💬 7 📌 1
#fruitfopart A horse anthro holds a tiny knight in his hand. Cold winds blow all around making the knight cold and the horse looks on concerned.

#fruitfopart A horse anthro surrounds the tiny knight in his palms to warm him up.

The horse huffs warm breathe into his closed palms.

#fruitfopart Switching the point of the view of the knight as warm breath washes over him, watching the horse's mouth exhale.
#macro #micro #horse #mawshot #vore #handplay
For @gettingrabbed.bsky.social (Also the debut of his knight sona: Gabe!)
The horse archer has withstood colder winds before but for Gabe (the knight) it's freezing!
So the horse kindly helps him warm up, his methods are "practical".

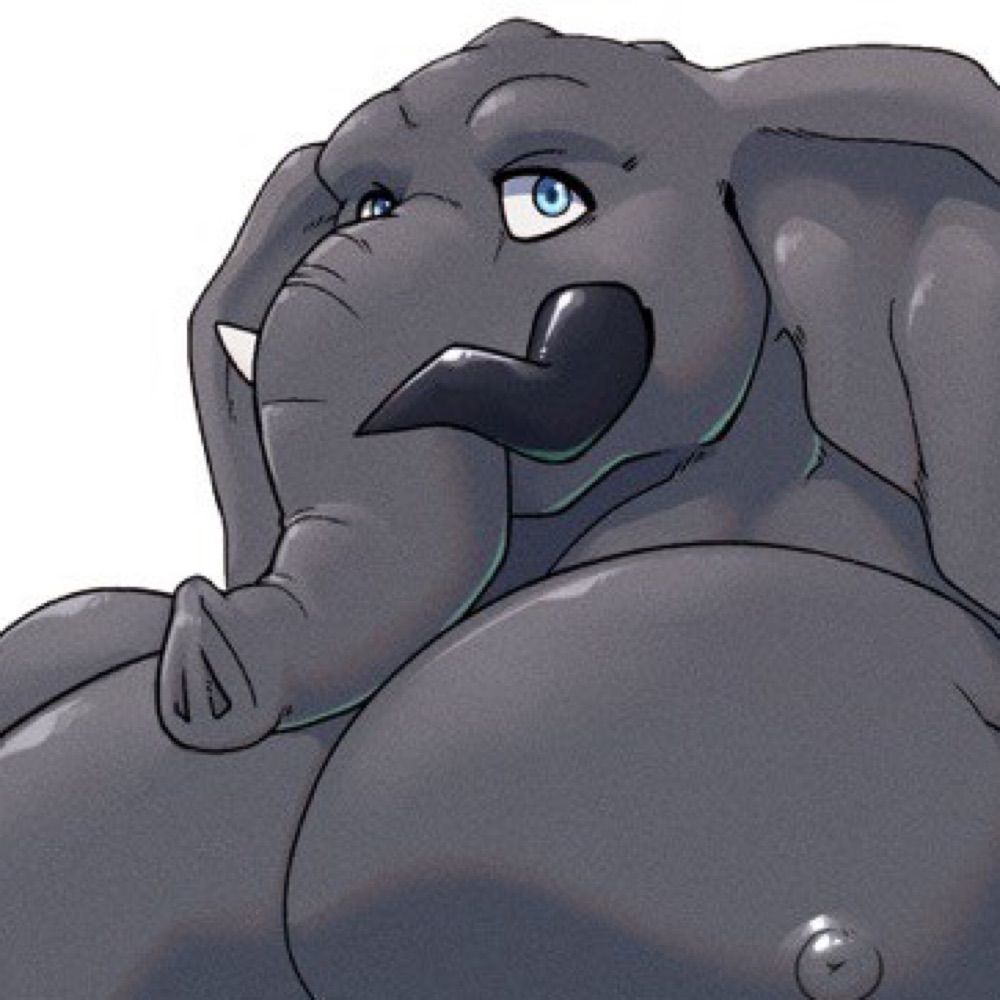
Hog's Snort [Old work]
A piece I made of Roadhog snorting some tinies he found, doing the same sound effect when he's doing that healing of his.
Inspired by a old unfinished work from of Lost_Proxy[Orc] @lostproxyorc.bsky.social, go there and support him he do really good stuff!
#guishadow-work
The Snack Thief is now available for purchase!
comfei-puppy.itch.io/the-snack-th...
-
#macrophilia #vore #dominance #mouthplay #bear #fatfur #endo #3Danimation #actionfilm

There was this tutorial on smutbase for rigging the chest to rely on the arms/shoulders instead, which I thought was a cool idea right up until I wanted to manually animate his pecs lol.
So need to redo this and maybe have another look at his shoulders (after I'm done w/ the animation he's in).
Reminded that I need to redo Hugo's rigging for no particular reason... :^)
25.01.2026 00:49 — 👍 9 🔁 0 💬 1 📌 0Macro trainer having his micro clients use his nipple piercings to do pull ups
25.01.2026 00:46 — 👍 28 🔁 0 💬 2 📌 0#Update
Finished with smoke simulations + test rendering, on to doing micros for this shot and then it's render ready.
Will do a dry run of properly rendering out all the required layers + passes afterwards, so I can go through compositing it all together properly ahead of the other shots.
wip
22.01.2026 14:19 — 👍 205 🔁 26 💬 5 📌 0Happy birthday :3 🎉
21.01.2026 11:46 — 👍 1 🔁 0 💬 0 📌 0