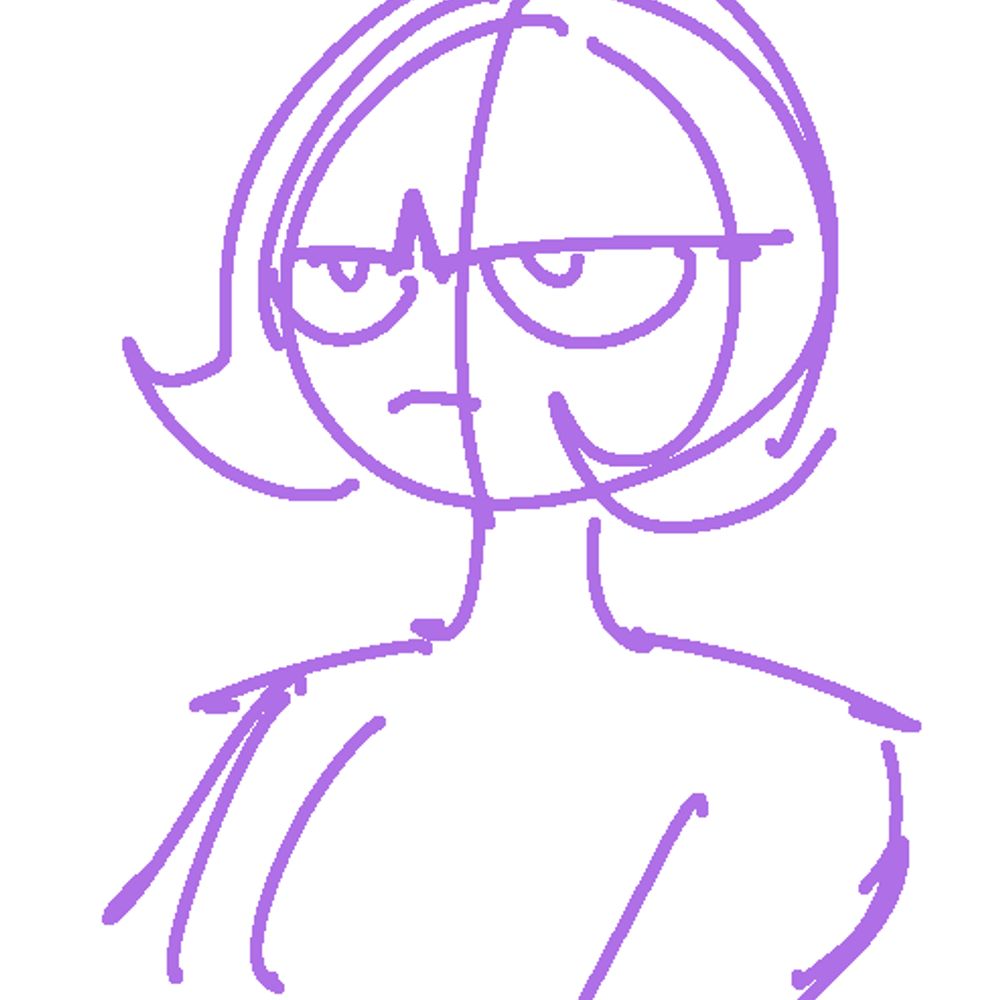
I got bullied into doodling an art trend thing. Scribbly.
04.11.2025 05:35 — 👍 2 🔁 1 💬 0 📌 0
@siac.bsky.social
I draw Knights, Wolf gals and Anything else that brain rots me 18+ stuff.
I got bullied into doodling an art trend thing. Scribbly.
04.11.2025 05:35 — 👍 2 🔁 1 💬 0 📌 0


Been on a bit of an artblock as of late, but today I awoke with a sudden surge of energy and decided to do something new.
Due to a lack of pointy hats on Rimworld, I decided to make my own. Can find it on the Steam Workshop, "Witch Stiff Hat."
Thanks to @frogdust.bsky.social for helping w/ code.

How to add holographic effect tutorial
#Art

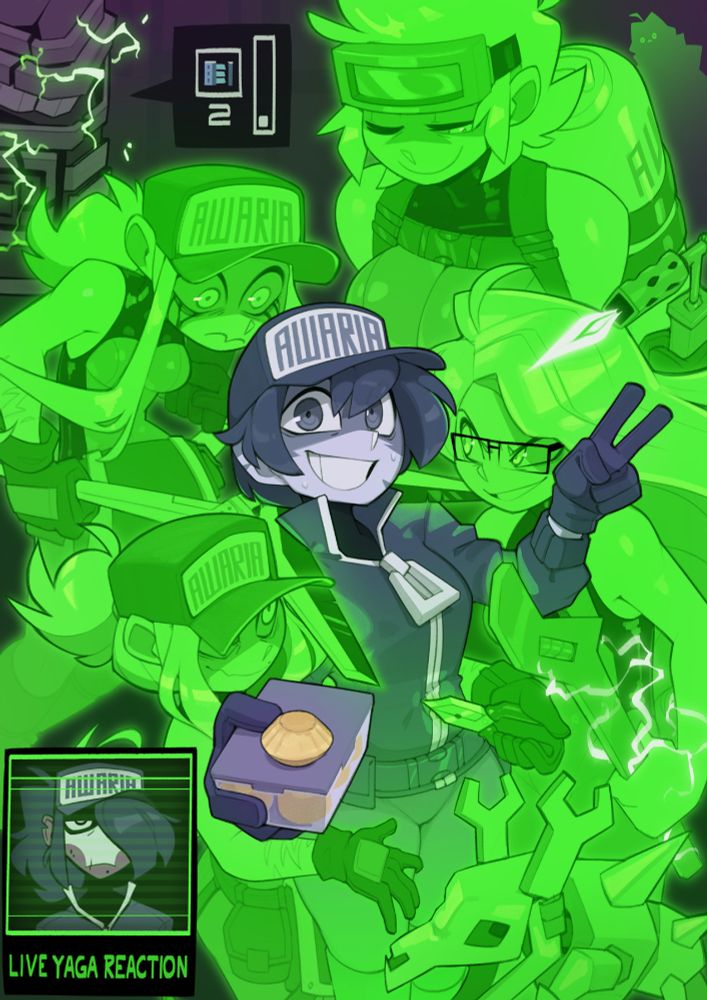
Gwoah!
22.08.2025 11:12 — 👍 1 🔁 1 💬 0 📌 0
W I P of my rogue for D&D.
Apologies for my absence, between Artfight and Long Covid I've been slacking~

I'm participating in Art Fight for the first time. I've only done 1 piece so far, but if you want to see what I've done you can see it here.
If you are also participating, follow me so i can attack you 🐸
artfight.net/~Secret_Frog

WIP of something cool (I hope)
14.07.2025 19:01 — 👍 85 🔁 9 💬 1 📌 0
JUN Study tier #1
Thanks Smug!
![Title: Hair Tips
(Note: EXTRA mean stuff that aren't in the image)
Body: (left to right/ top to bottom)
1 - Sketch mainly focuses on big shapes, then add in small strands.
EXTRA: Don't worry too much about perfecting the lines in the sketch layer, because you'll be drawing over them anyway later. Just have the main shape you want. Start with big shapes, then add in smaller shapes/lines.
2 - Simple flat colours
3 - Basic shading:
> Bright + Saturation on both top and bottom
> Darker in the middle
EXTRA: This is mostly a style thing, I don't always follow it myself, so you can mix and match and just do whatever here really, just a basic gradient for now is good.
4 - Basic rendering + blending
EXTRA: I use a flat thin regular brush for this part to blend in the gradients and add some separation in strands, but it's okay to be muddled here as well, the magic comes later.
5 - Over the line-art, draw thin strands by colour picking corresponding[ly] to the area you're [drawing] the strand in.
EXTRA: spelling mistakes lesgooo. Anyway, for this part, the strands shouldn't be too big (you can use a very generic brush for this really, I just use a flat one sometimes, and sometimes a round brush). The strands you add here give volume and depth to the hair. Add them in accordance with the flow of the hair, but don't be shy to go against the flow sometimes (stray hairs), and the most important part is to outside the hair shape from the sketch by a little bit.
6 - Add in even thinner strands over the line-art and use them for highlights. Side note: I increased the top and bottom saturation using the overlay layer.
EXTRA: same as the previous step, just use much thinner strands (sparingly) to add highlights, and for little stray hairs, going against the flow here is usually better to make the hair volume pop out more!
Experiment and have fun!](https://cdn.bsky.app/img/feed_thumbnail/plain/did:plc:pb7gp4lz3cslvw4oha36b4fa/bafkreiarcduyjxciyj6twop7t53vjbqmnytrb6mpyj4cm6pvy7wsfmhkea@jpeg)
Title: Hair Tips (Note: EXTRA mean stuff that aren't in the image) Body: (left to right/ top to bottom) 1 - Sketch mainly focuses on big shapes, then add in small strands. EXTRA: Don't worry too much about perfecting the lines in the sketch layer, because you'll be drawing over them anyway later. Just have the main shape you want. Start with big shapes, then add in smaller shapes/lines. 2 - Simple flat colours 3 - Basic shading: > Bright + Saturation on both top and bottom > Darker in the middle EXTRA: This is mostly a style thing, I don't always follow it myself, so you can mix and match and just do whatever here really, just a basic gradient for now is good. 4 - Basic rendering + blending EXTRA: I use a flat thin regular brush for this part to blend in the gradients and add some separation in strands, but it's okay to be muddled here as well, the magic comes later. 5 - Over the line-art, draw thin strands by colour picking corresponding[ly] to the area you're [drawing] the strand in. EXTRA: spelling mistakes lesgooo. Anyway, for this part, the strands shouldn't be too big (you can use a very generic brush for this really, I just use a flat one sometimes, and sometimes a round brush). The strands you add here give volume and depth to the hair. Add them in accordance with the flow of the hair, but don't be shy to go against the flow sometimes (stray hairs), and the most important part is to outside the hair shape from the sketch by a little bit. 6 - Add in even thinner strands over the line-art and use them for highlights. Side note: I increased the top and bottom saturation using the overlay layer. EXTRA: same as the previous step, just use much thinner strands (sparingly) to add highlights, and for little stray hairs, going against the flow here is usually better to make the hair volume pop out more! Experiment and have fun!
Hair tips! (with Otti!) Just some brief pointers on how I usually do hair
Included in the alt text are some extra comments I couldn't fit into the image, so take a look there!

Doggy, but if they were a creature.
I'm working on actual things, it's so cold I can't move me fingers.
Working out!
Art by @holymeh.bsky.social
Laura VA @succmyguts.bsky.social
Paula VA @theblackmissus.bsky.social
Animation @wdanim.bsky.social
![A digital art coloring tutorial featuring my original character. The ALT text for the base/finished photo is included in the replies to this post. Transcribed steps:
1 - Base colors
2 - I duplicate, use a gradient map to add purple / saturation & lower opacity of the new layer. Gradient maps reassign palette based on present light/dark tones.
See example on the left. [Example of a quick monochrome doodle with a red and blue gradient map to display their effect.]
3 - Using Lighten mode, I softened the contrast from the dark outlines over the entire picture. Purple blends everything, cool or warm. I want soft shadows & bright lights.
Layer modes are fun! Mess around.
4 - I use Hard Light mode to add shadows and Overlay to enhance the colors without washing them out.
5 - I return to a normal layer mode and manually add harsh sunlight on the yellow-toned side. In general, warm highlights mean cool shadows vice versa.
6 - I manually colorpick for this but you can use Addition, Luminosity modes etc for dominant brightness too.
This is optional, but limited uses of grey tones bring out the brightness of other colors surrounding it. I tint my grey purple for this picture.
7 - I paint some additional shadows on,
now that I'm satisfied with the lighting.
I finished the drawing here, but sometimes
I do more. I'll pretend to go overboard
on this one to show off the process.
8-10: Using Color Balance, further adjust
your values focusing on one part of the drawing at a time. Duplicate the pic, re-adjust for a different part, and then erase the wonky bits from each layer. For this pic, it's purple highlights and yellow shadows. Lower opacity & merge after furious layer-toggling and erasing.](https://cdn.bsky.app/img/feed_thumbnail/plain/did:plc:ezyohmtfftcofou4vszbtged/bafkreiaidnfscc3n6zjx4ygs475sxy7slsbmfqe5fcb5ith5l66aq4ed7q@jpeg)
A digital art coloring tutorial featuring my original character. The ALT text for the base/finished photo is included in the replies to this post. Transcribed steps: 1 - Base colors 2 - I duplicate, use a gradient map to add purple / saturation & lower opacity of the new layer. Gradient maps reassign palette based on present light/dark tones. See example on the left. [Example of a quick monochrome doodle with a red and blue gradient map to display their effect.] 3 - Using Lighten mode, I softened the contrast from the dark outlines over the entire picture. Purple blends everything, cool or warm. I want soft shadows & bright lights. Layer modes are fun! Mess around. 4 - I use Hard Light mode to add shadows and Overlay to enhance the colors without washing them out. 5 - I return to a normal layer mode and manually add harsh sunlight on the yellow-toned side. In general, warm highlights mean cool shadows vice versa. 6 - I manually colorpick for this but you can use Addition, Luminosity modes etc for dominant brightness too. This is optional, but limited uses of grey tones bring out the brightness of other colors surrounding it. I tint my grey purple for this picture. 7 - I paint some additional shadows on, now that I'm satisfied with the lighting. I finished the drawing here, but sometimes I do more. I'll pretend to go overboard on this one to show off the process. 8-10: Using Color Balance, further adjust your values focusing on one part of the drawing at a time. Duplicate the pic, re-adjust for a different part, and then erase the wonky bits from each layer. For this pic, it's purple highlights and yellow shadows. Lower opacity & merge after furious layer-toggling and erasing.
I get asked often about my bright coloring, here's a tutorial on how I enhance palettes!
Repost if you found this helpful 🙏💖

Jorkin 🐸
21.04.2025 18:27 — 👍 7 🔁 2 💬 0 📌 0 17.04.2025 16:37 — 👍 1363 🔁 140 💬 5 📌 0
Sloppy 🐺
12.04.2025 03:24 — 👍 5 🔁 0 💬 0 📌 0
Inara is ready :3
Thanks Doom!
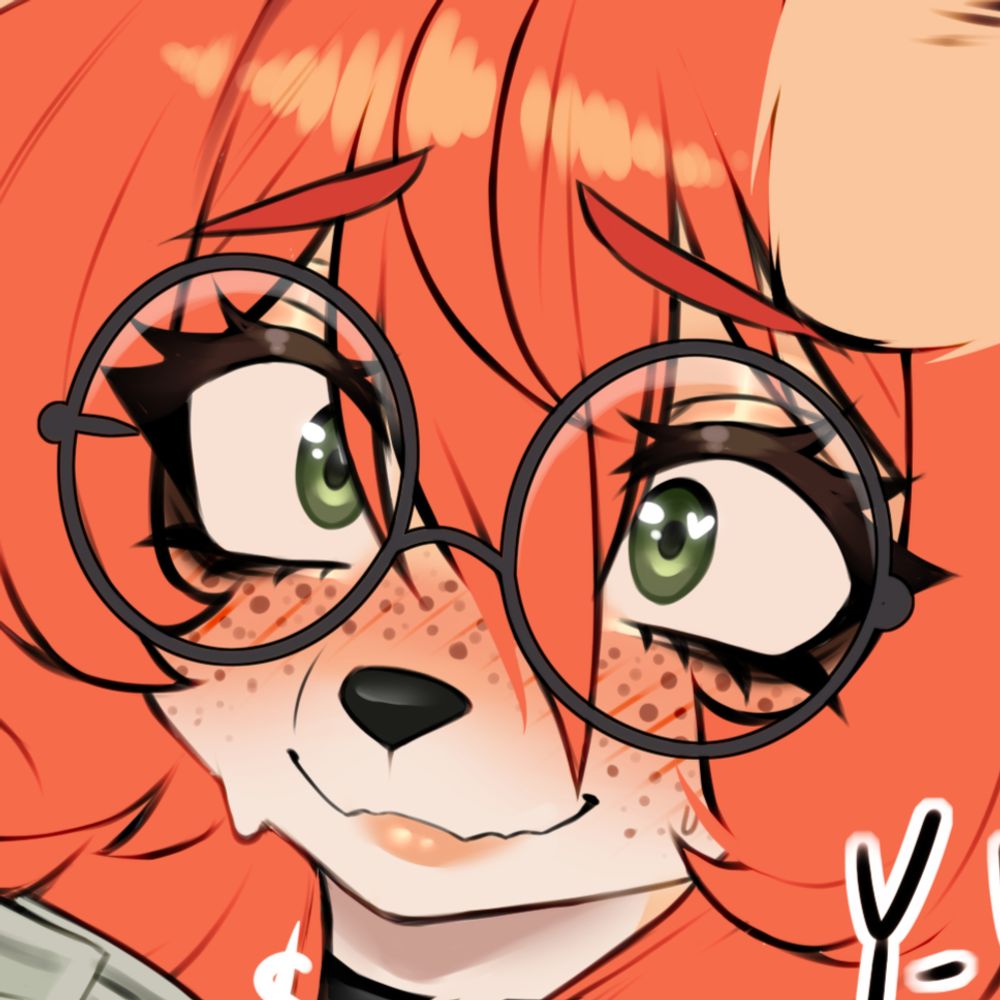
Feeling cute. 🐸
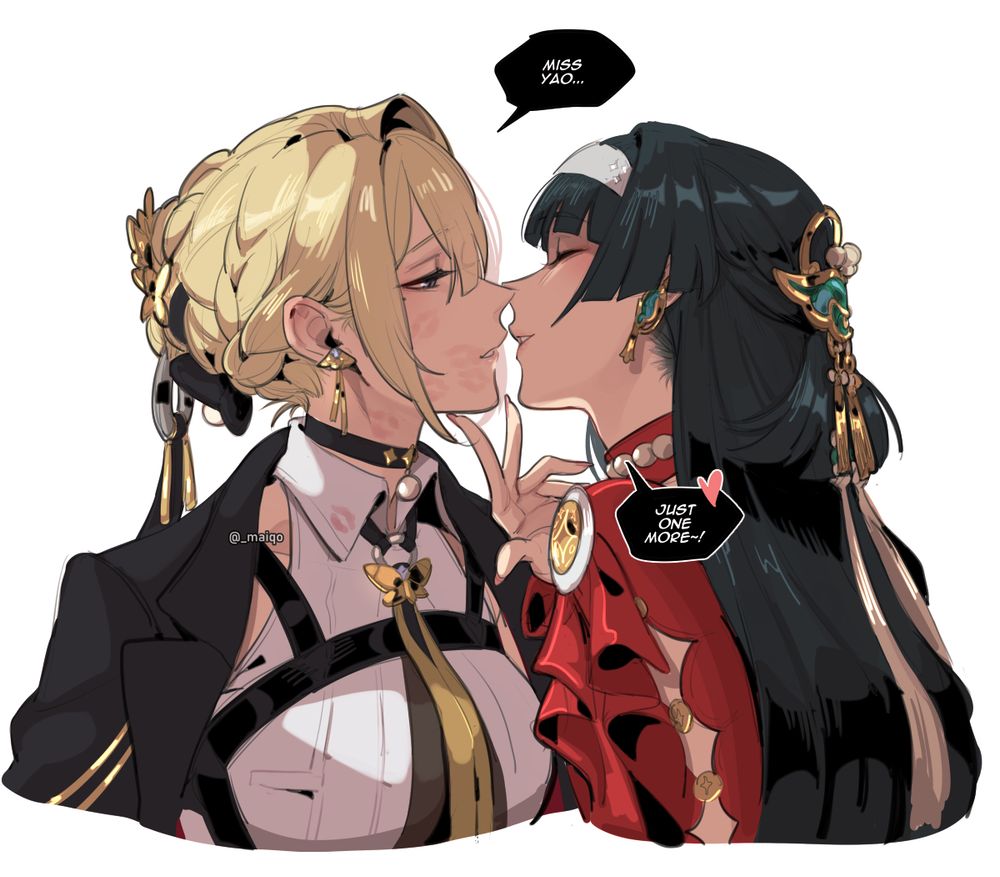
31.03.2025 23:05 — 👍 8 🔁 5 💬 1 📌 0Keep your friends close and frenemies closer.
Gifs don't work. Let's see if this does.
💋
30.03.2025 23:09 — 👍 5332 🔁 1167 💬 13 📌 1
Big sword :)
30.03.2025 07:25 — 👍 1 🔁 0 💬 0 📌 0
Kiss
29.03.2025 19:23 — 👍 1353 🔁 221 💬 5 📌 0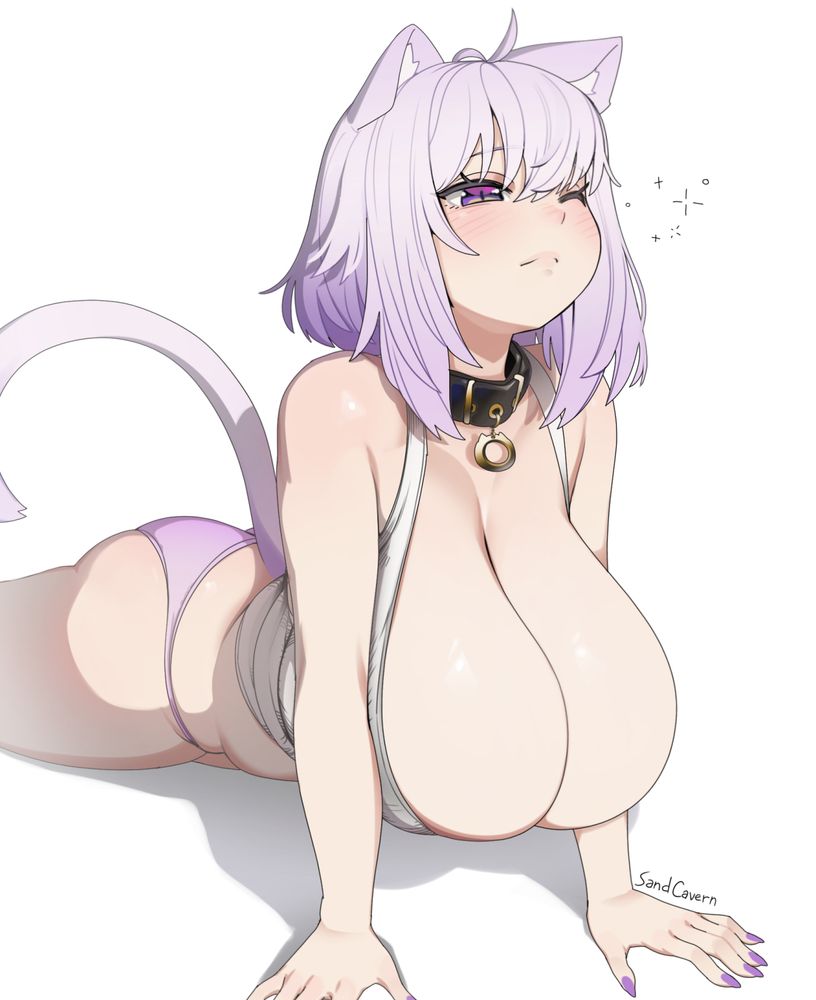
😼
#絵かゆ

Lorica Mammata from @ironlily.bsky.social ✨️
28.03.2025 17:31 — 👍 621 🔁 56 💬 2 📌 0
Egyptian Dancer Gemma!
28.03.2025 18:00 — 👍 4683 🔁 582 💬 20 📌 2
Dog.
Been trying to mess around with ways of rendering skin and fur alike- It's goin' alright.
VENOMMMMMMMMMMMMMMMMMMMMMMM
25.03.2025 06:35 — 👍 1 🔁 0 💬 1 📌 0Smell of the game?
WRONG!!!!!!!!
Carbon Monoxide !!!!!!
It's a great game
08.03.2025 16:47 — 👍 4048 🔁 774 💬 24 📌 0 05.03.2025 09:28 — 👍 9869 🔁 1905 💬 31 📌 9