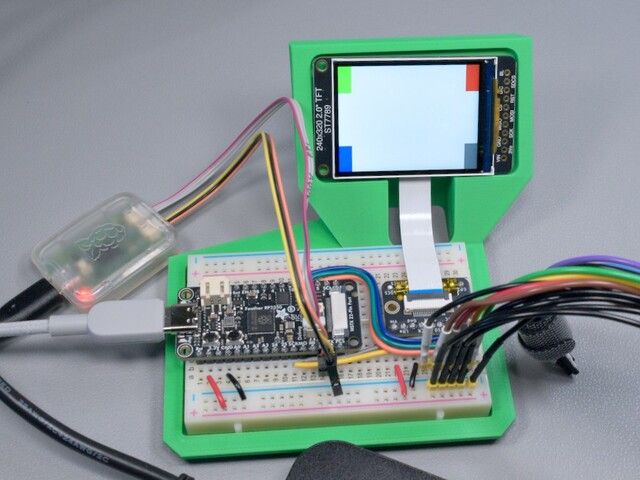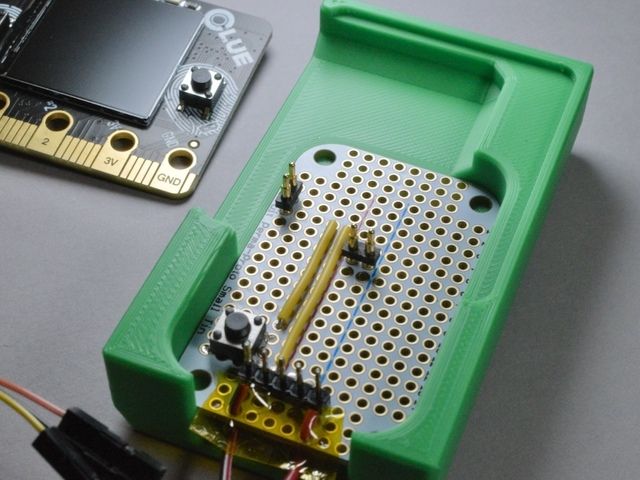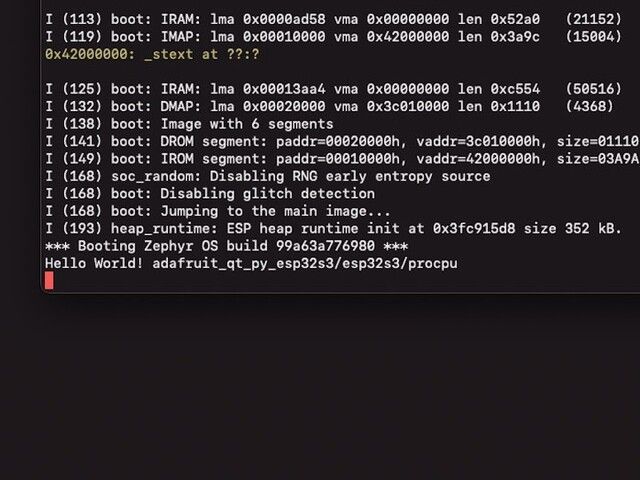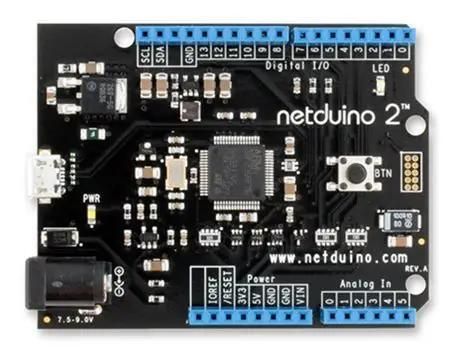
Reviving My Netduino 2 (without the .Net MF)
01.08.2025 12:43 — 👍 0 🔁 0 💬 0 📌 0
@adafruit-playground.com.bsky.social
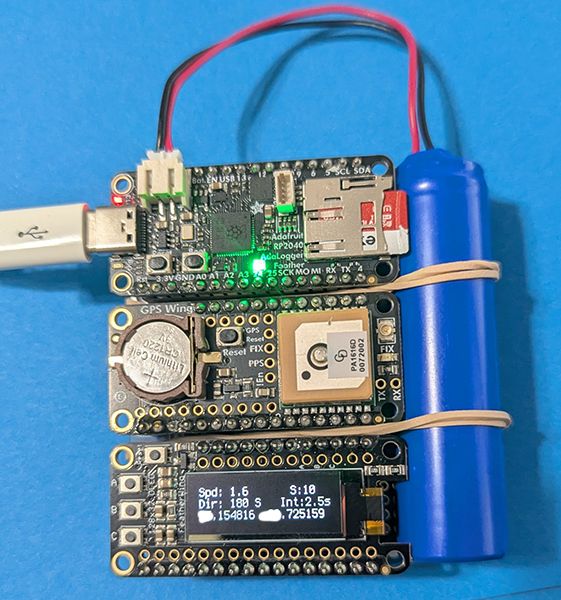
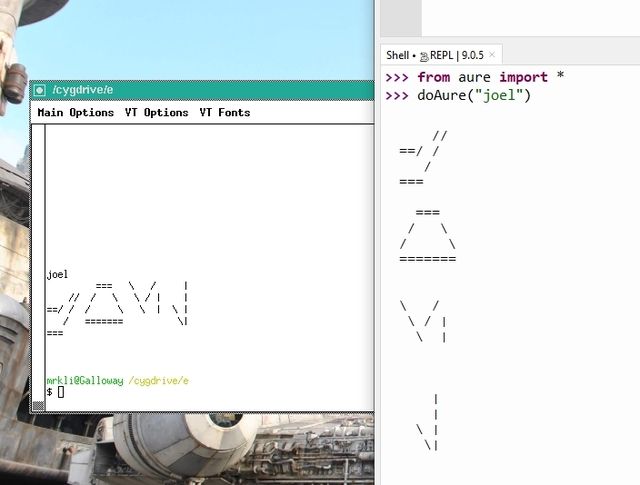
GPS Tracker Coding in CircuitPython - Going Down the AI Rabbit Hole
11.07.2025 13:42 — 👍 2 🔁 0 💬 0 📌 0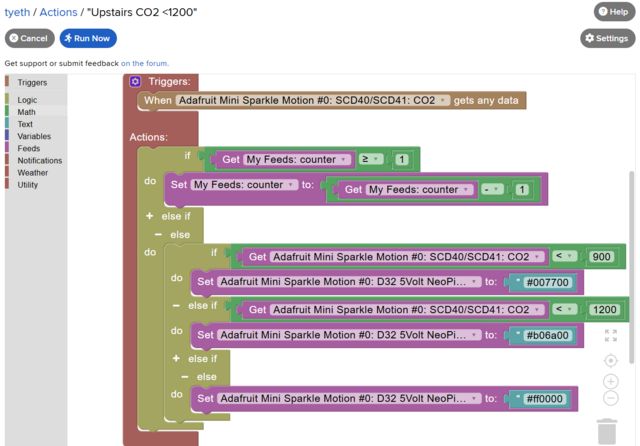
Countdown Complete: It's finally here! 🎉 Upgraded Actions on IO - How to do Math(ematics)
01.05.2025 11:34 — 👍 0 🔁 0 💬 0 📌 0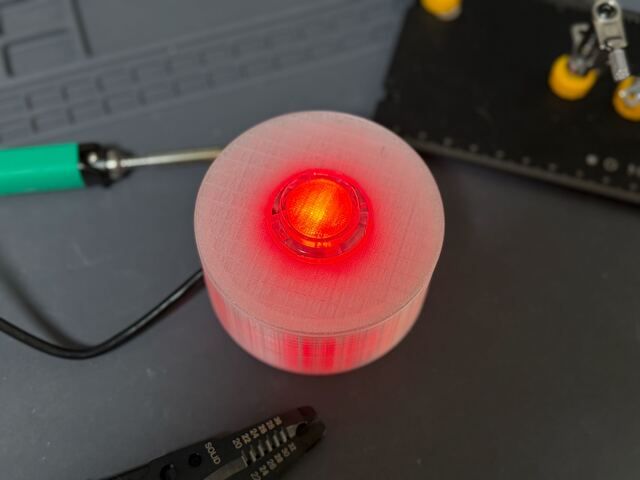
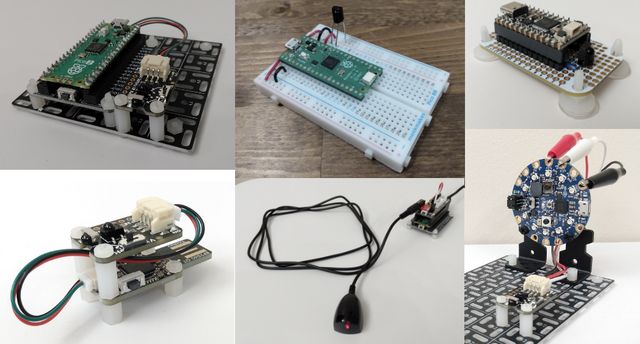
The Many Possibilities of Adafruit IO Actions and an Arcade Button
21.04.2025 07:13 — 👍 0 🔁 0 💬 0 📌 0