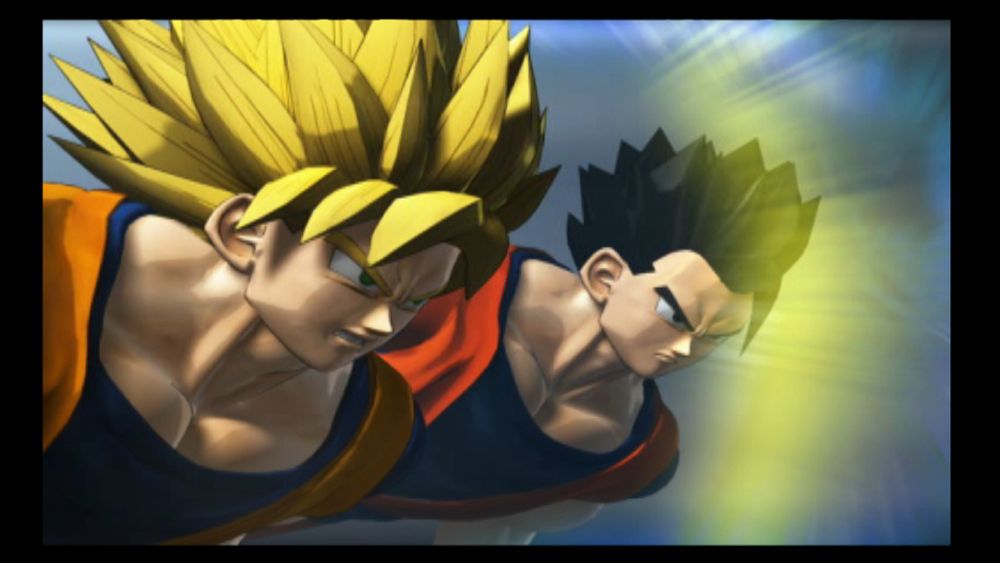
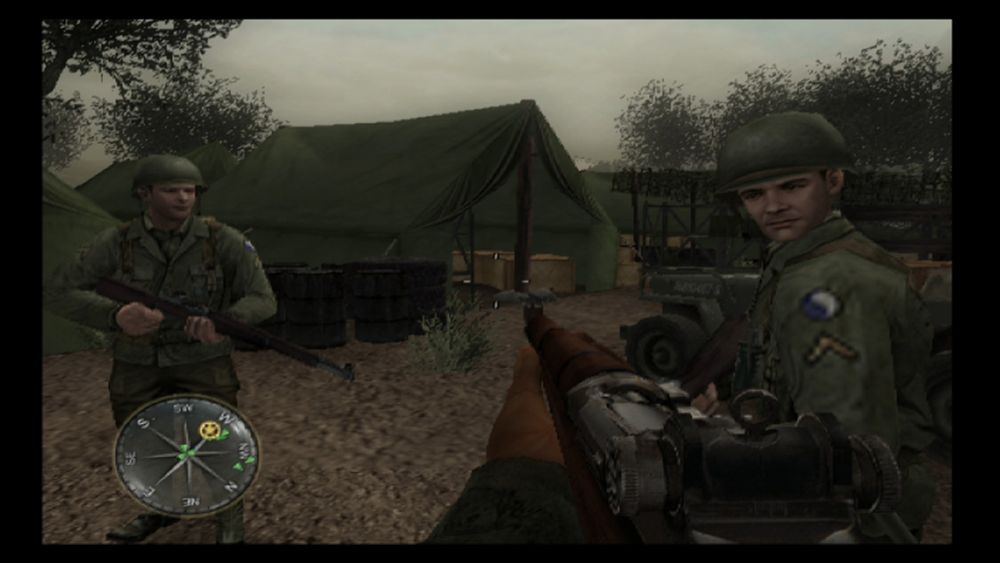
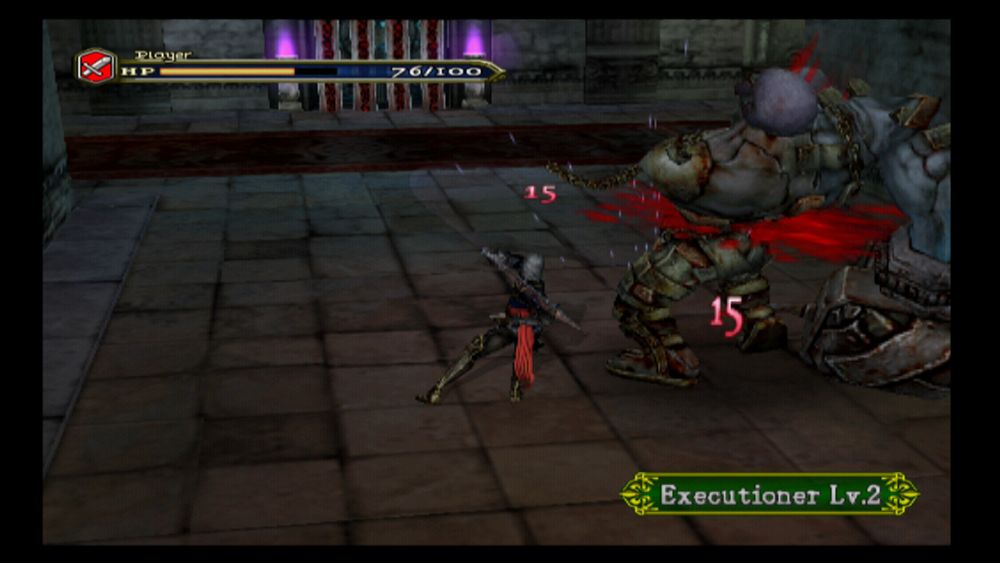
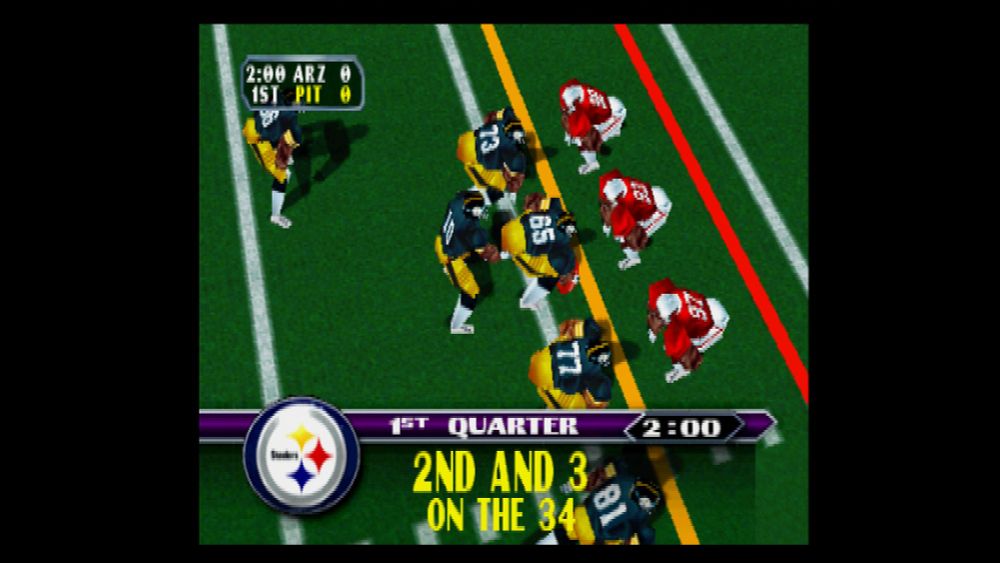
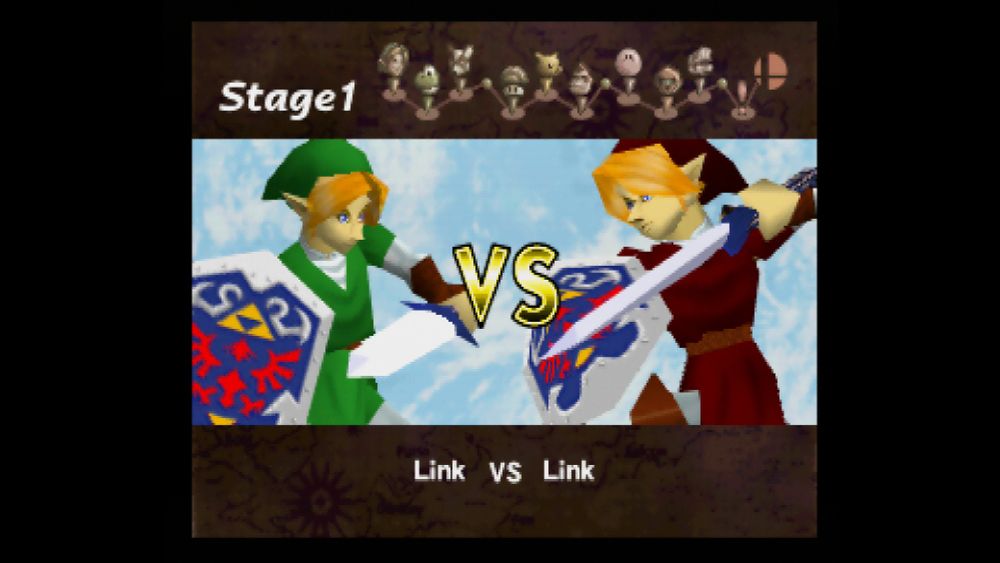
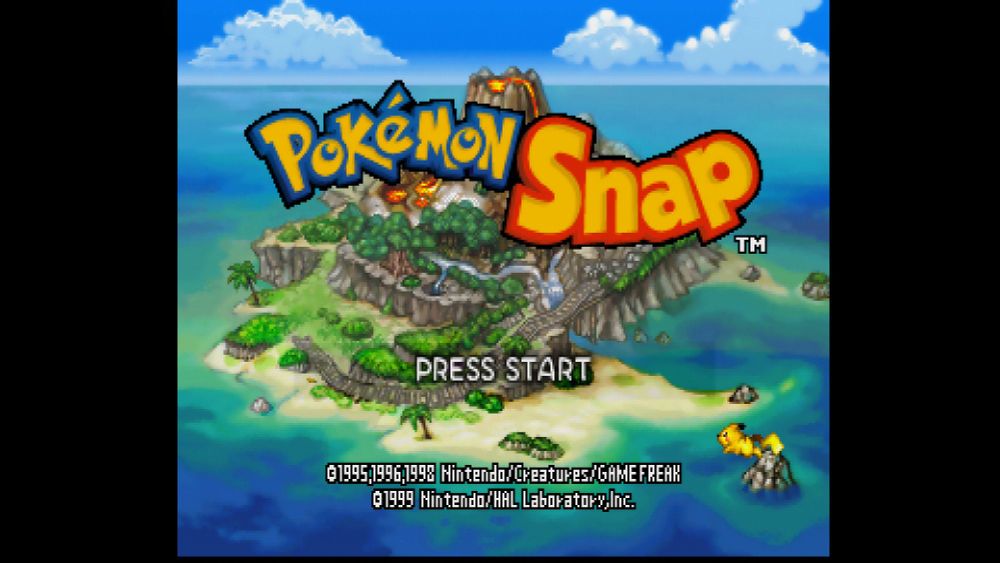
Last but not least, some direct screen captures of a few games via Avermedia 4K. Some of my personal favorites, Dragon Ball Z - Budokai Tenkaichi, Call of Duty, and Castlevania.
🧵 5/5

@retrodigital.bsky.social
Official Bluesky account for Retro Digital LLC. Video game console mods, restoration, upgrades, and repairs! Website: www.retrodigital.store
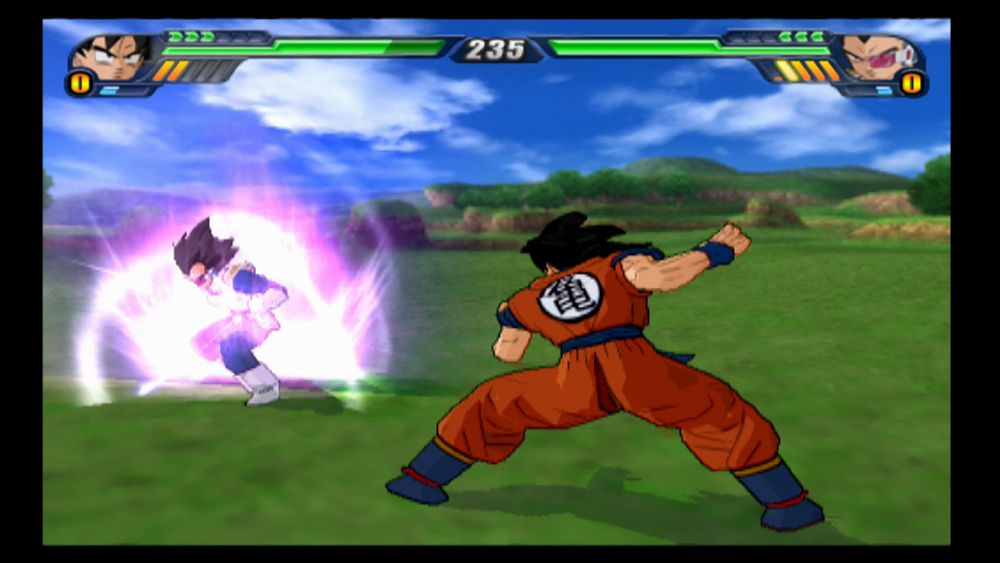
Last but not least, some direct screen captures of a few games via Avermedia 4K. Some of my personal favorites, Dragon Ball Z - Budokai Tenkaichi, Call of Duty, and Castlevania.
🧵 5/5
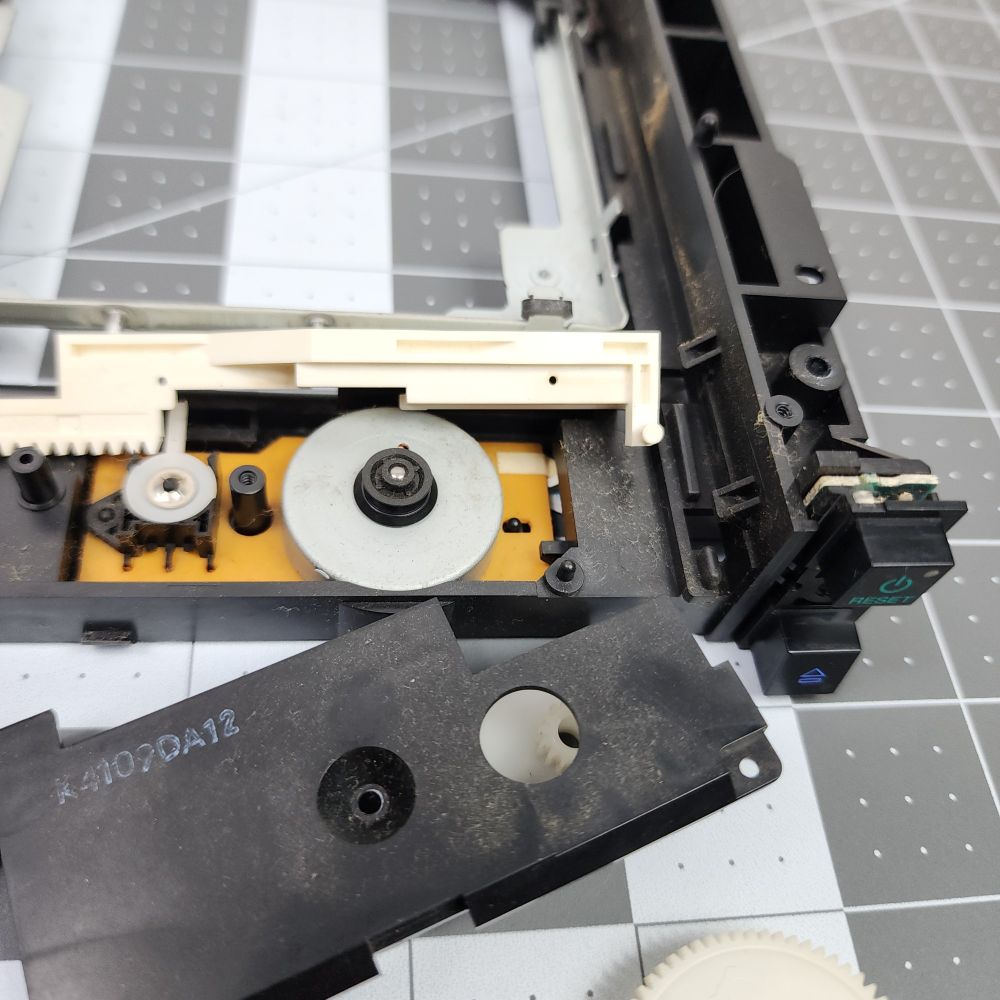
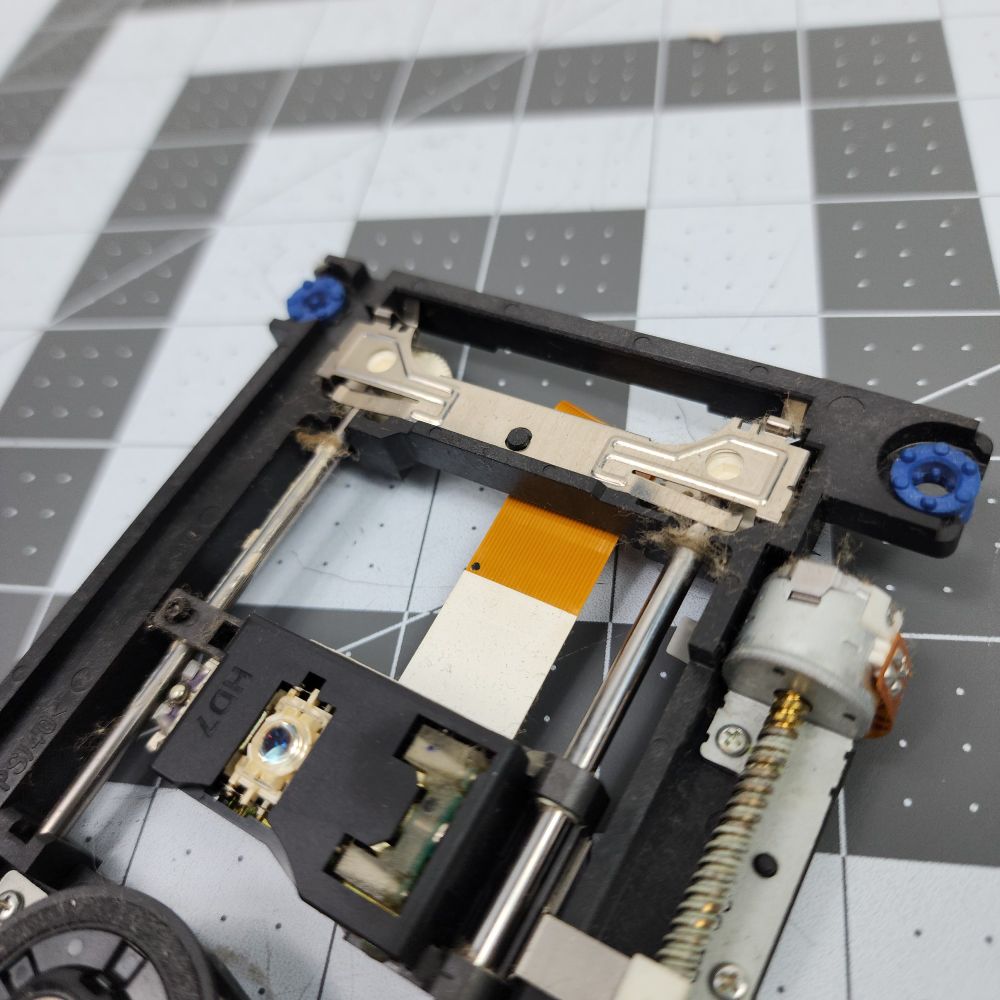
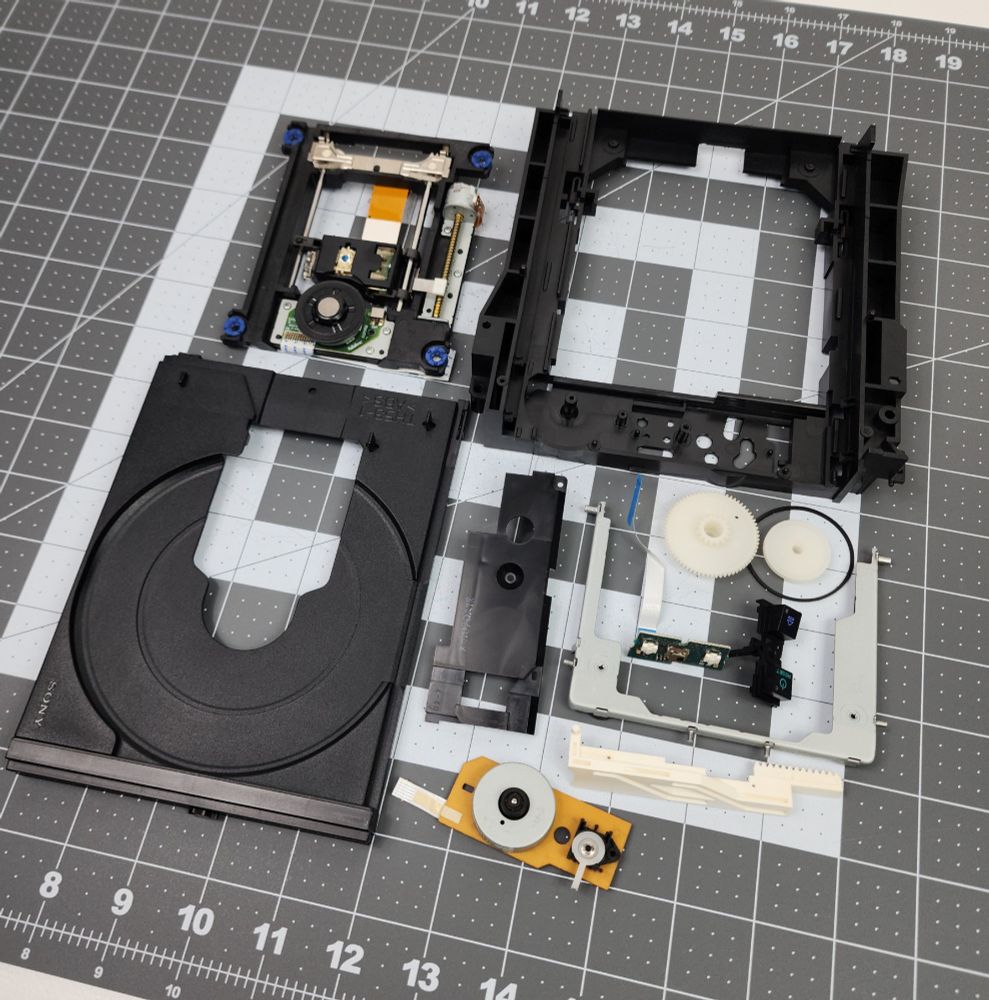
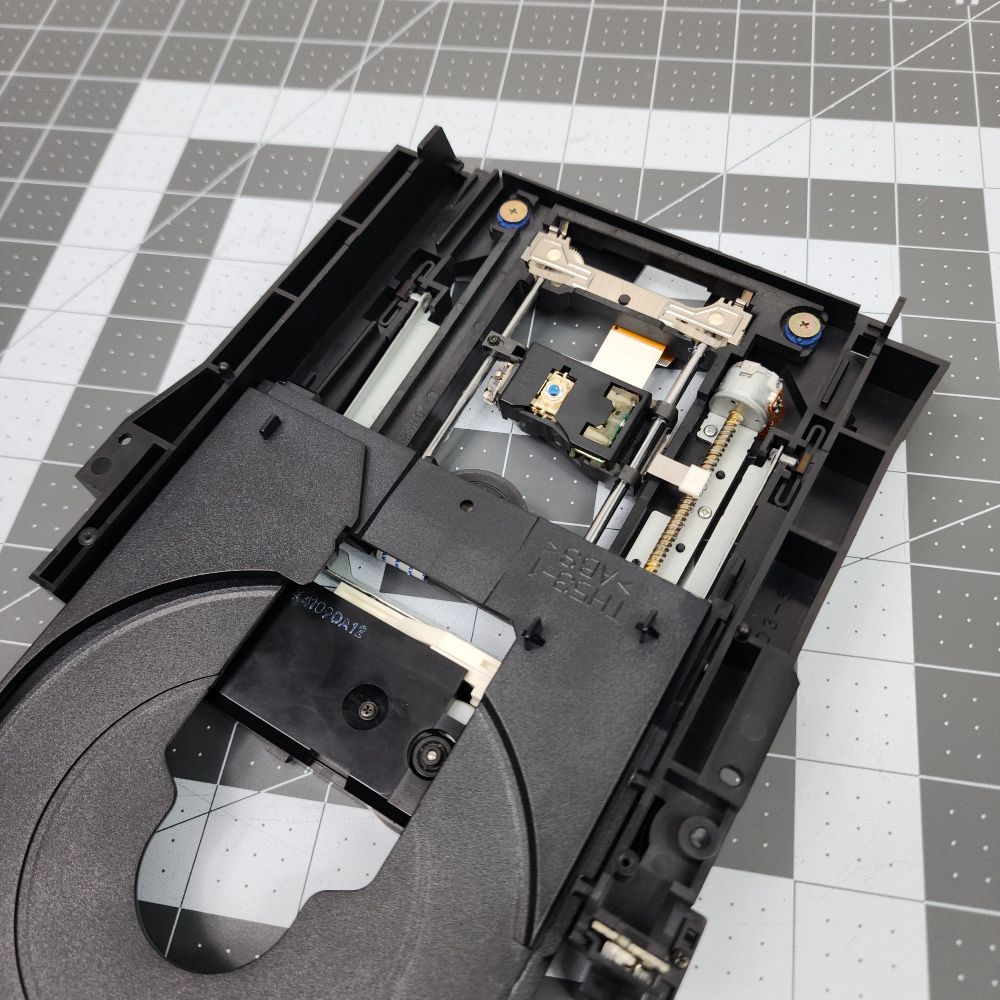
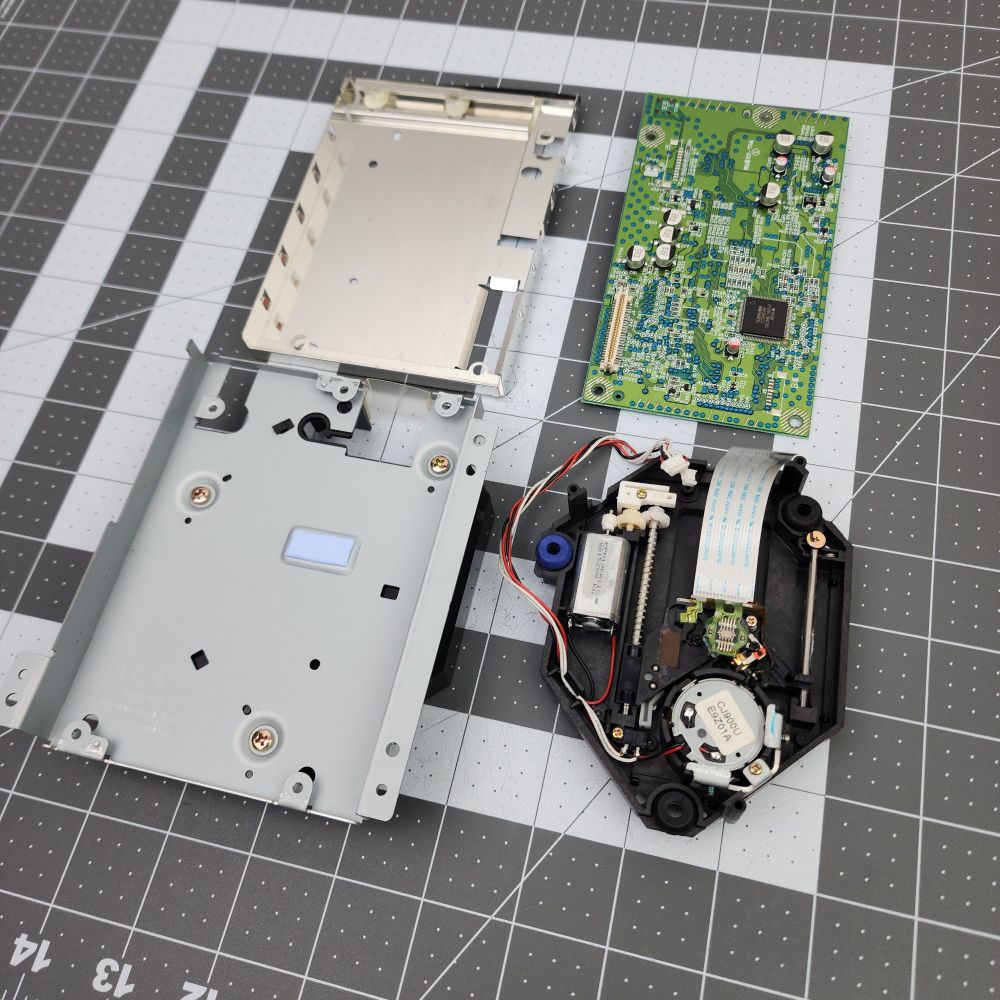
Moving forward, some pics of the drive cleaning. A little dusty and the old lubrication needed to be replaced. Plastic pieces run through the parts cleaner and laser assembly hand cleaned. Parts lubricated and drive reassembled.
🧵 4/5

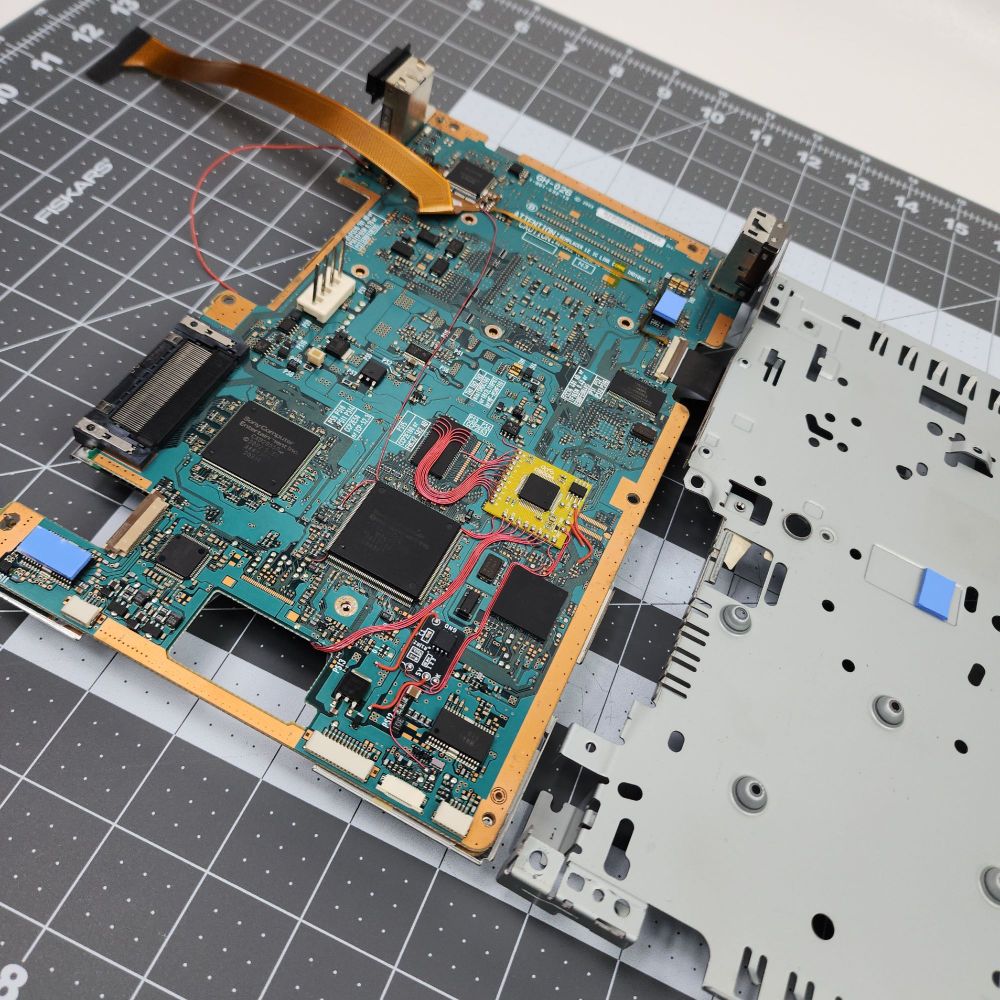
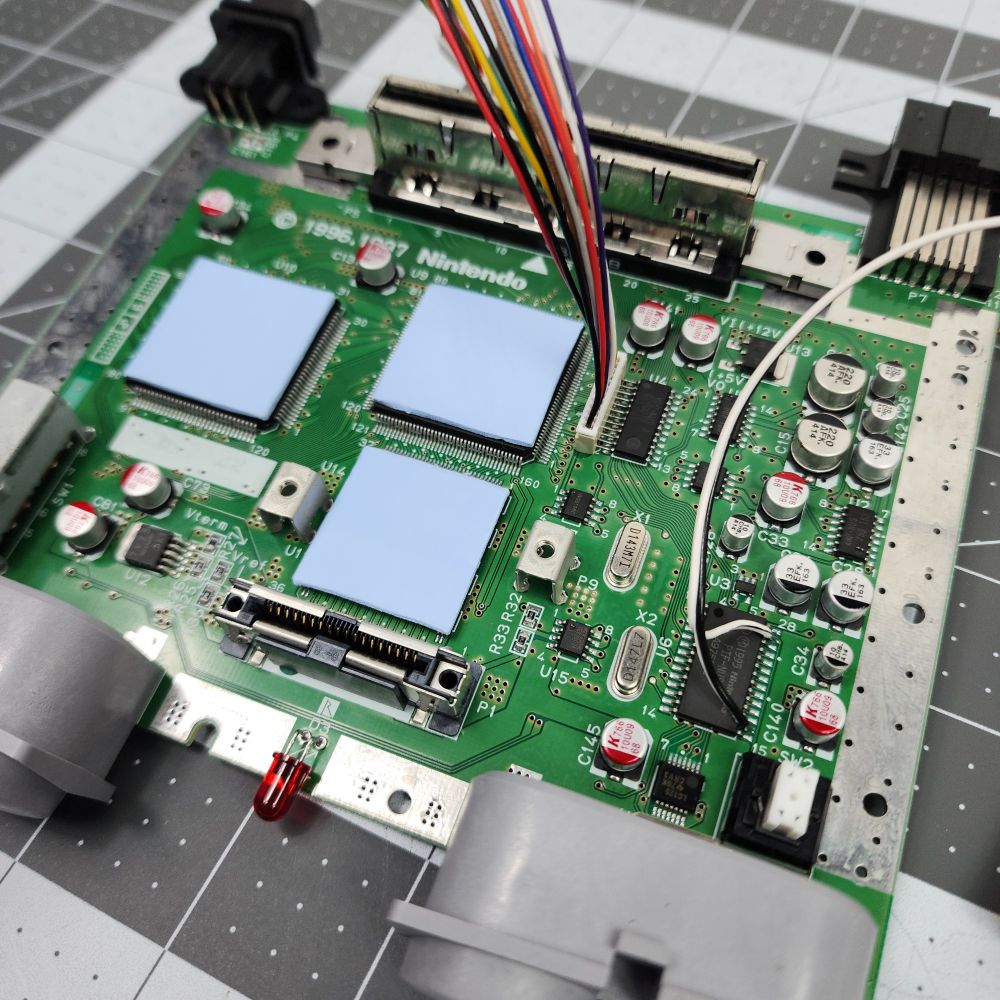
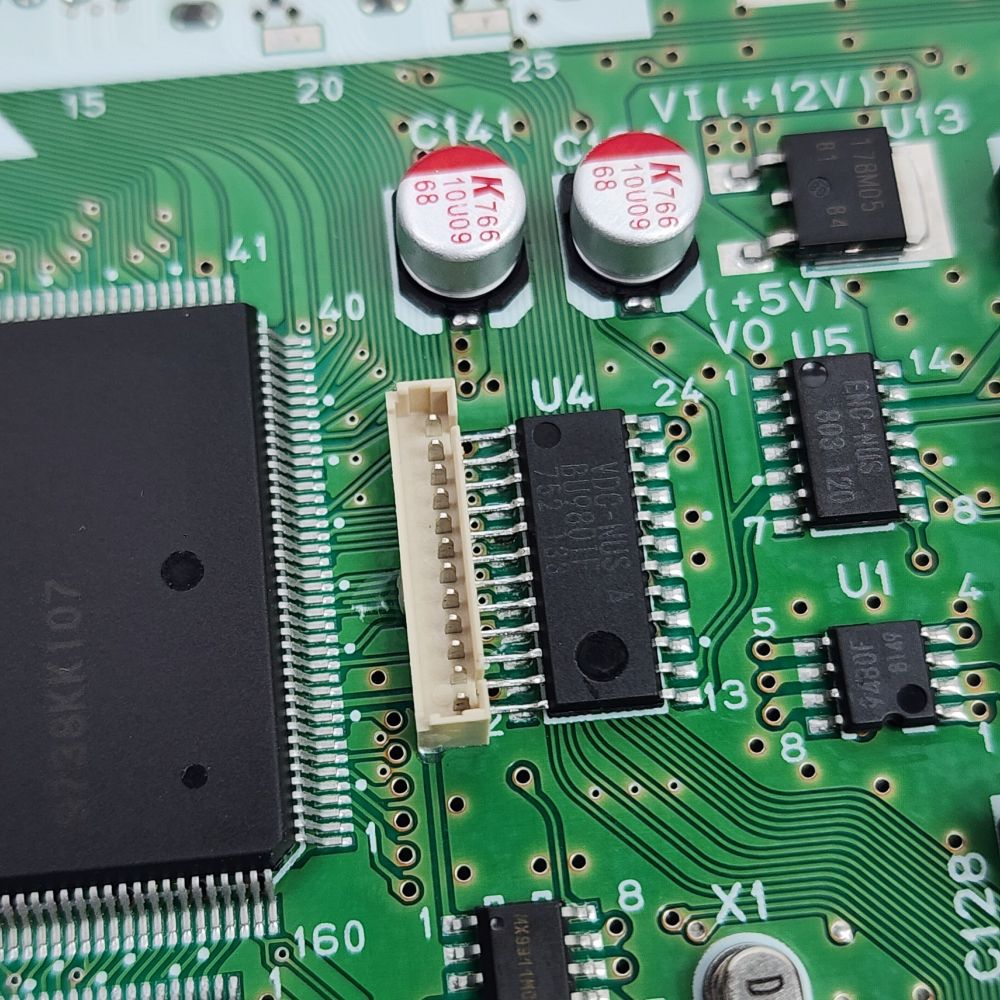
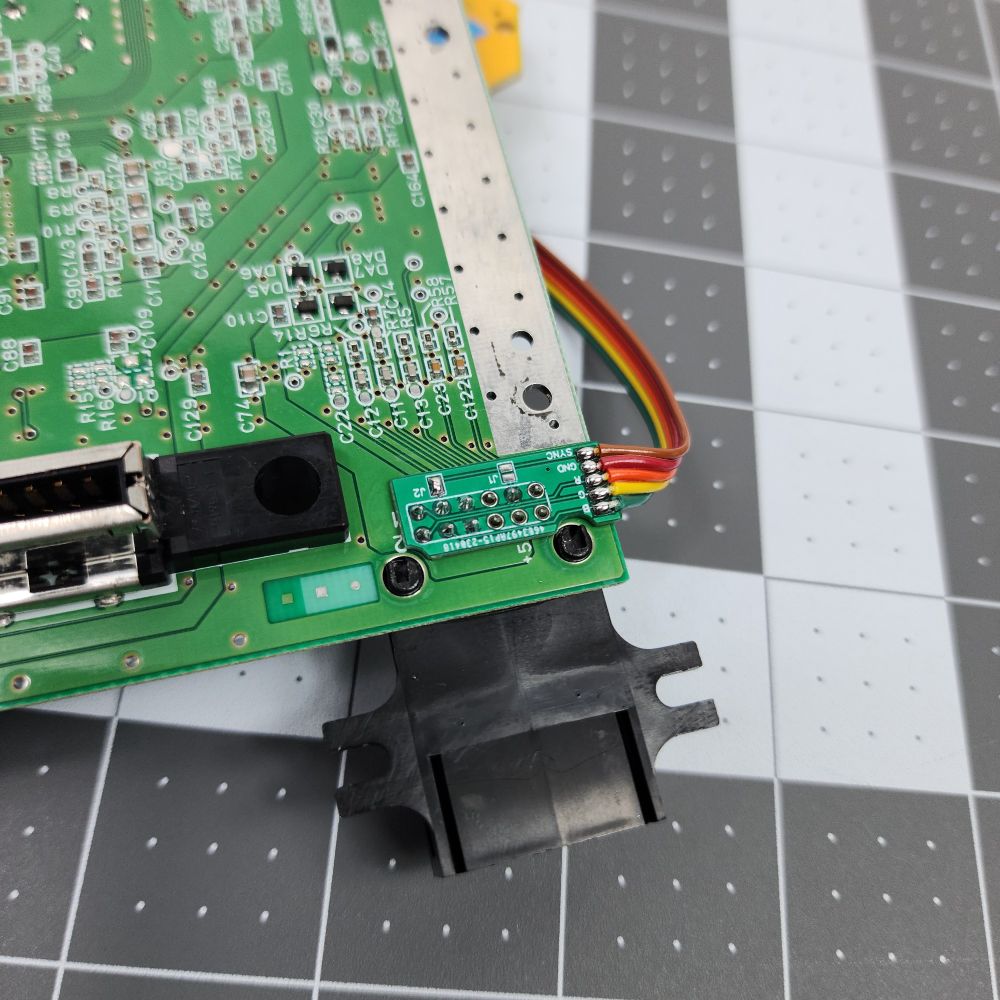
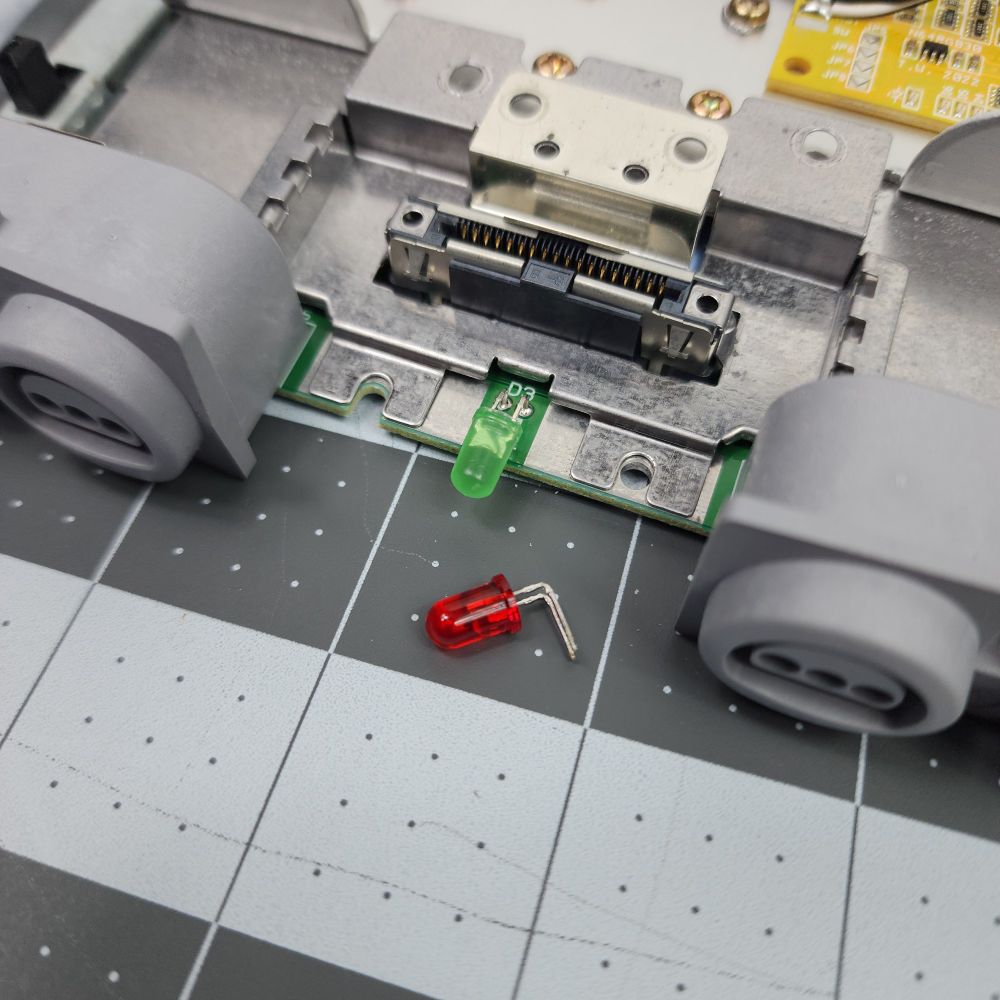
Modbo 5.0 and PicFix wired up and ready to go. Also replaced the CR2032 with a new one from Panasonic, and replaced all of the thermal pads.
🧵 3/5
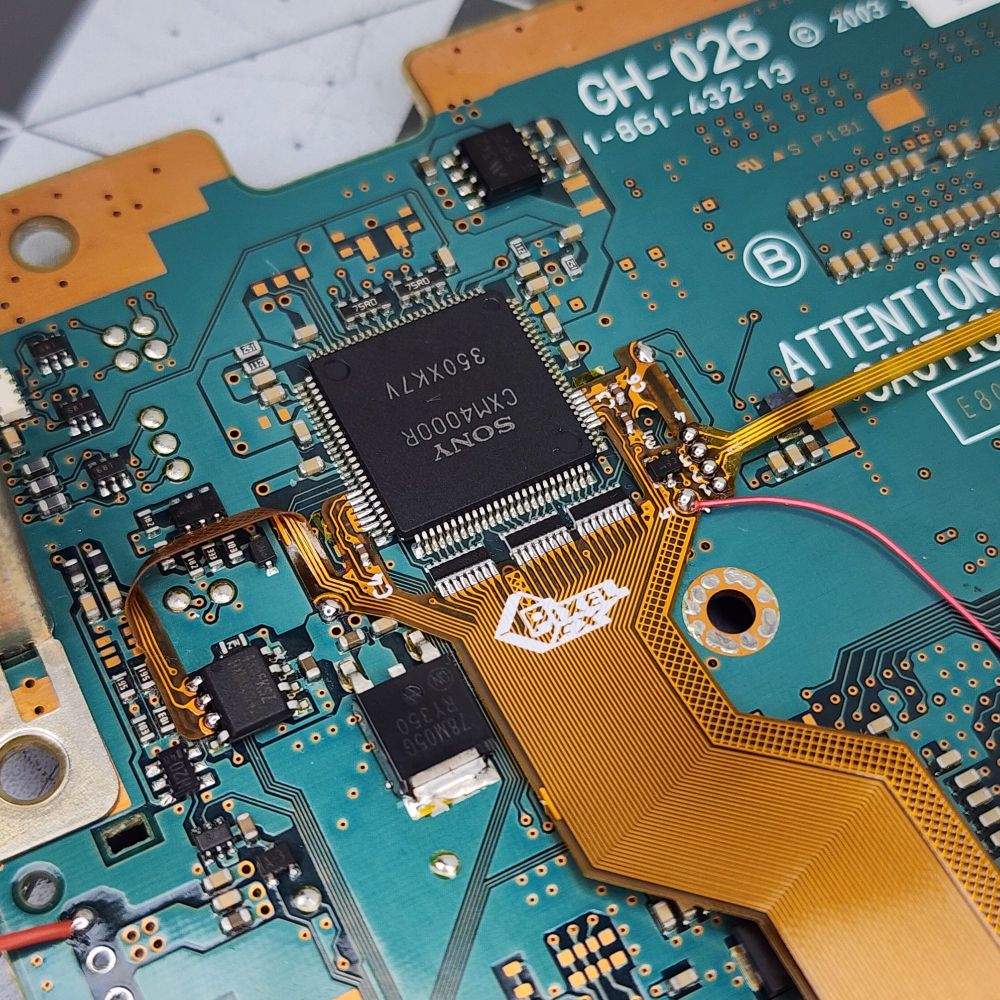


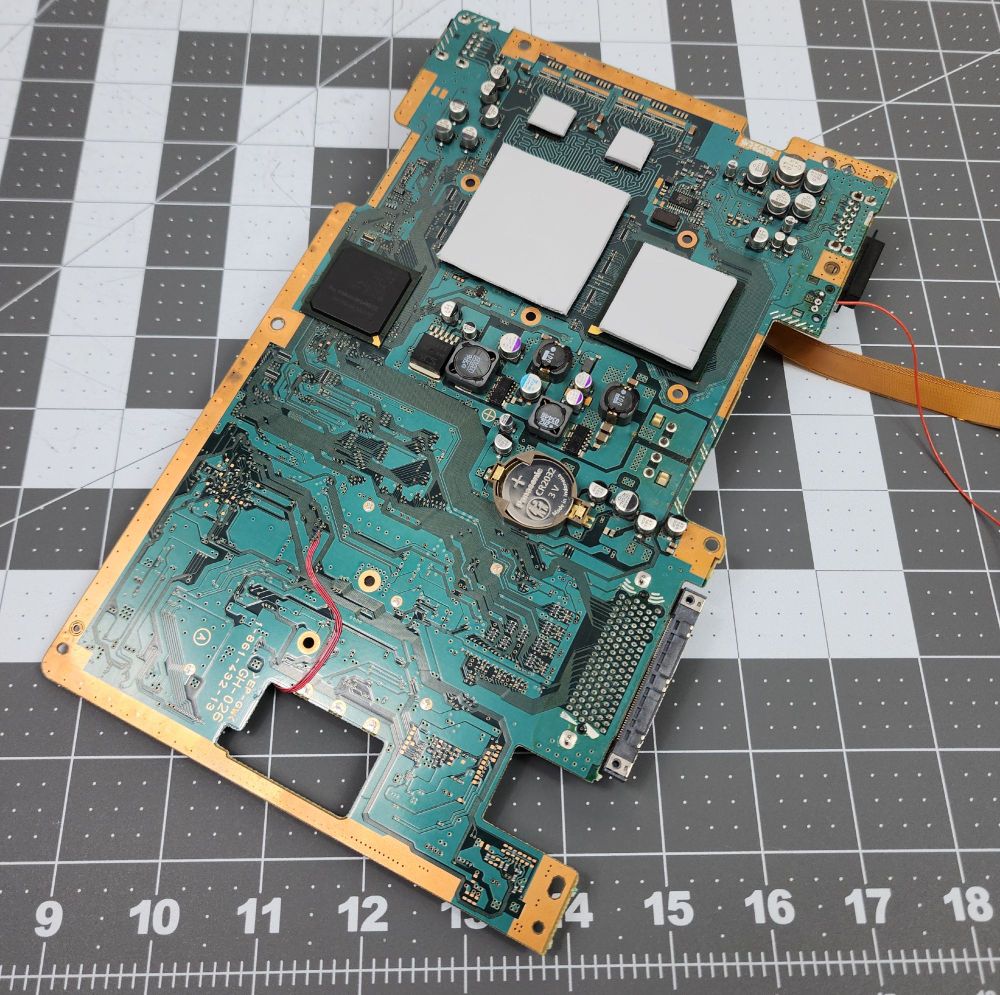
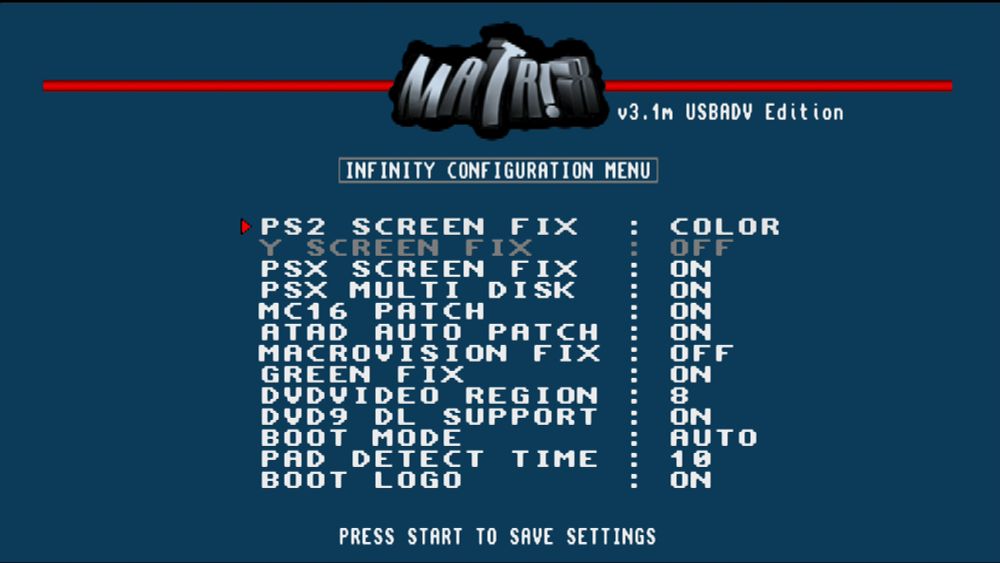
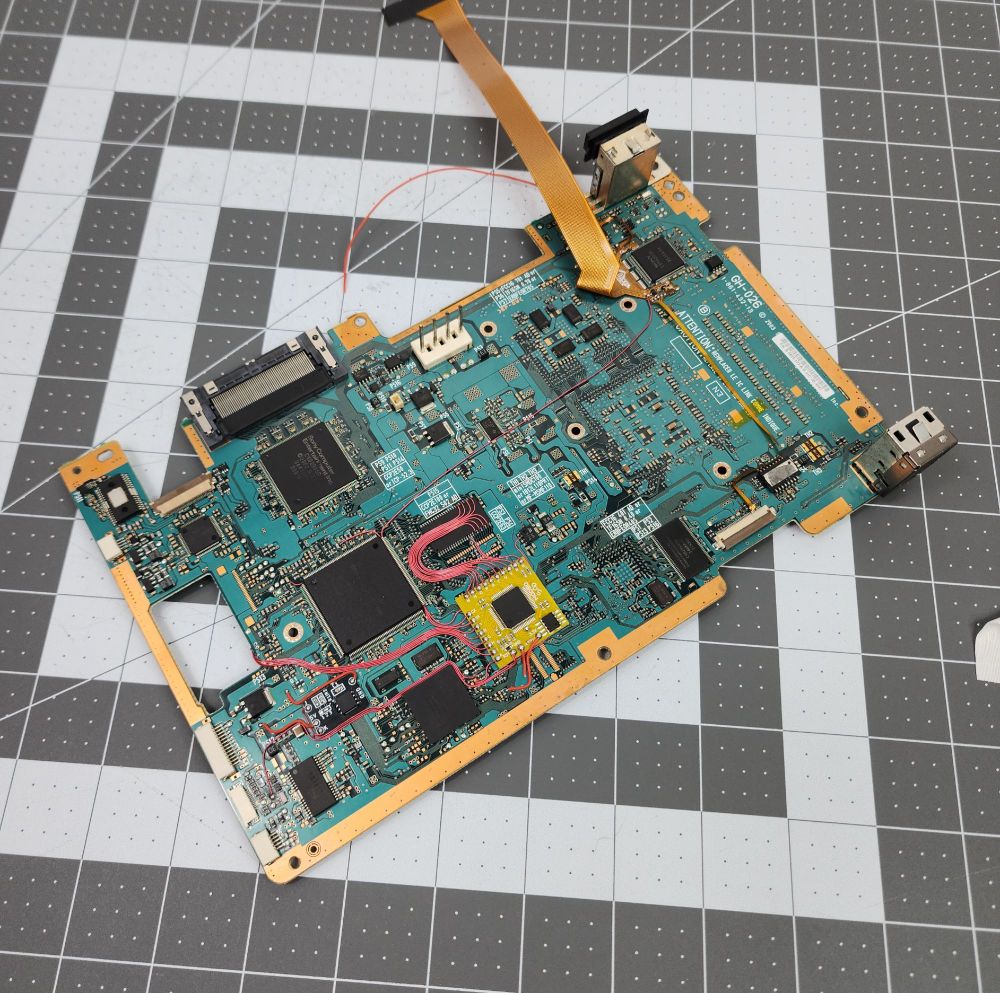
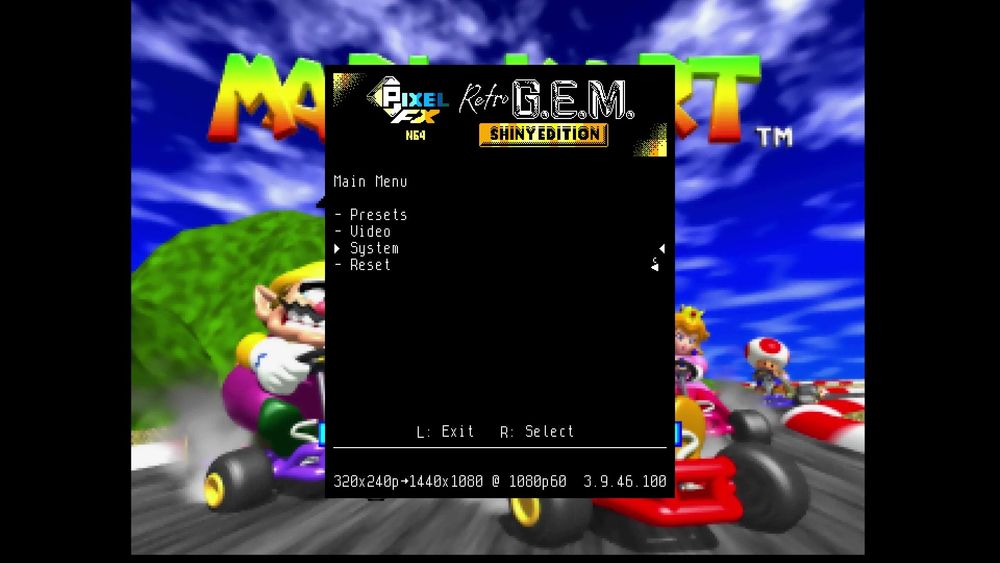
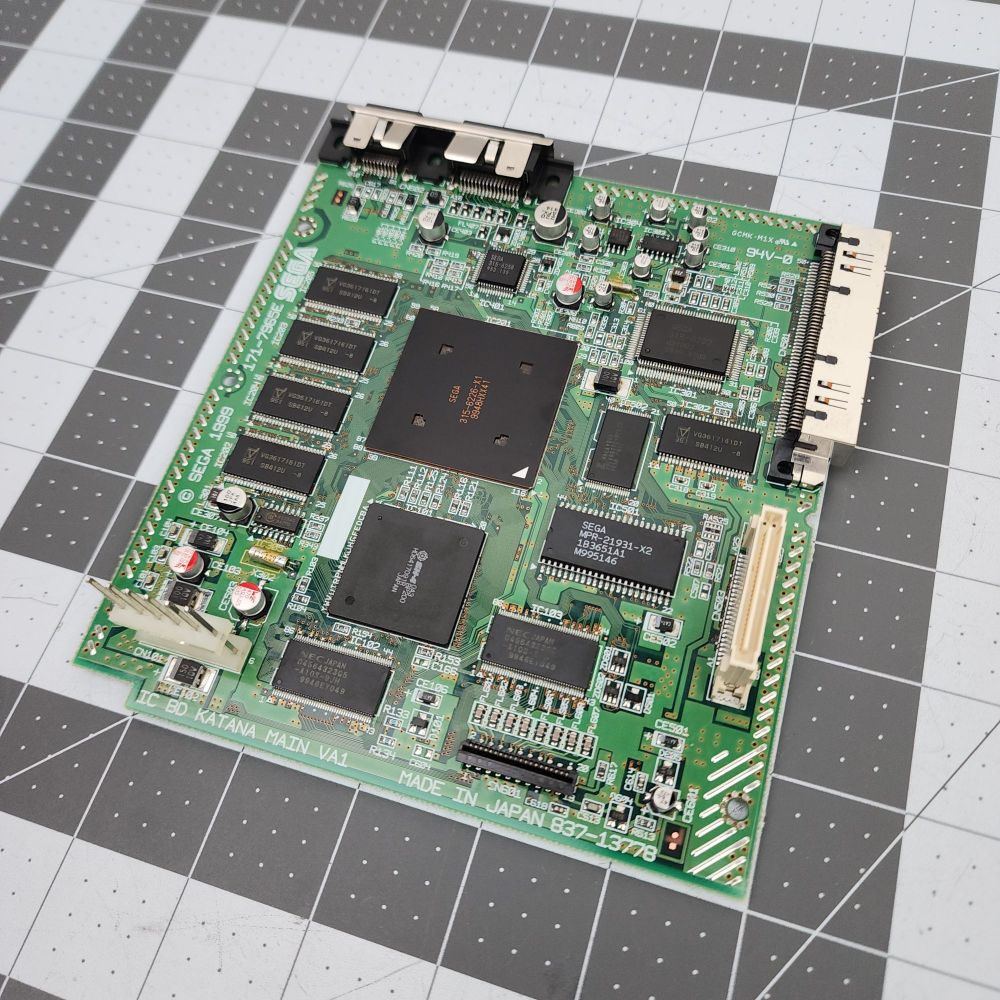
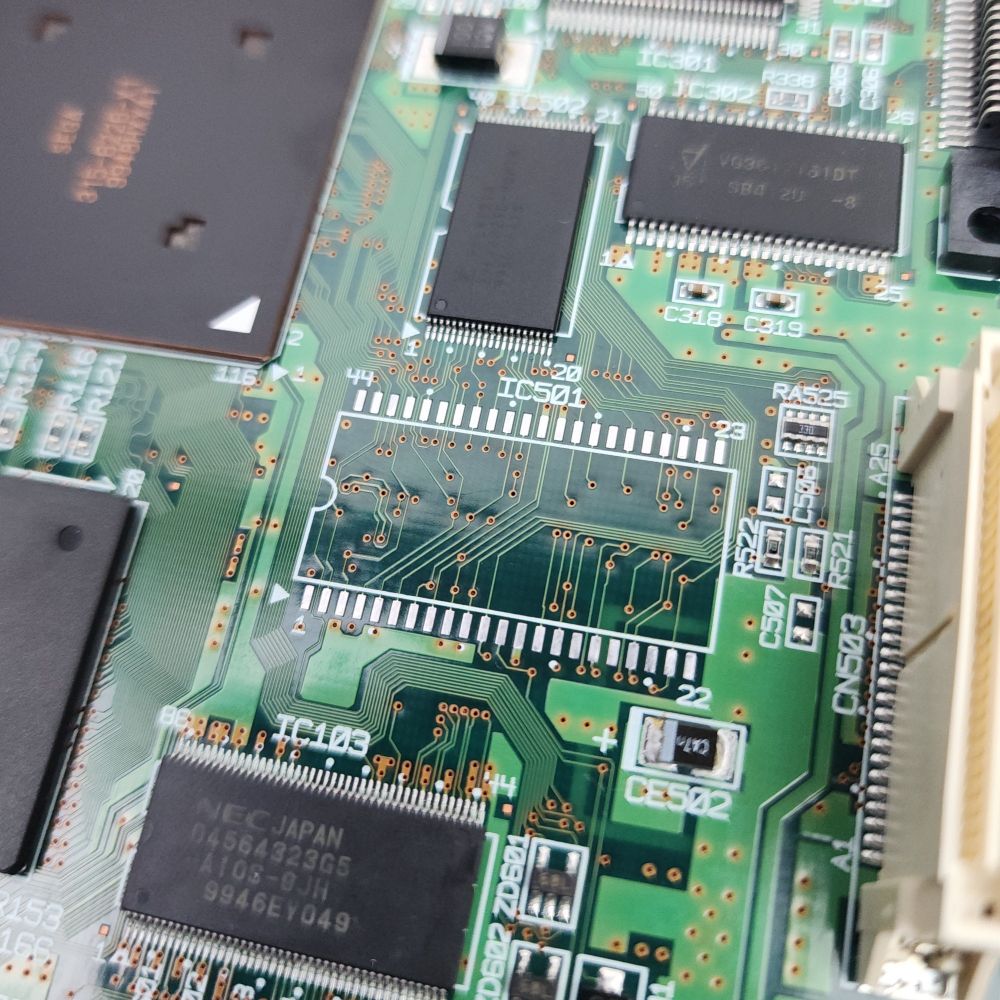
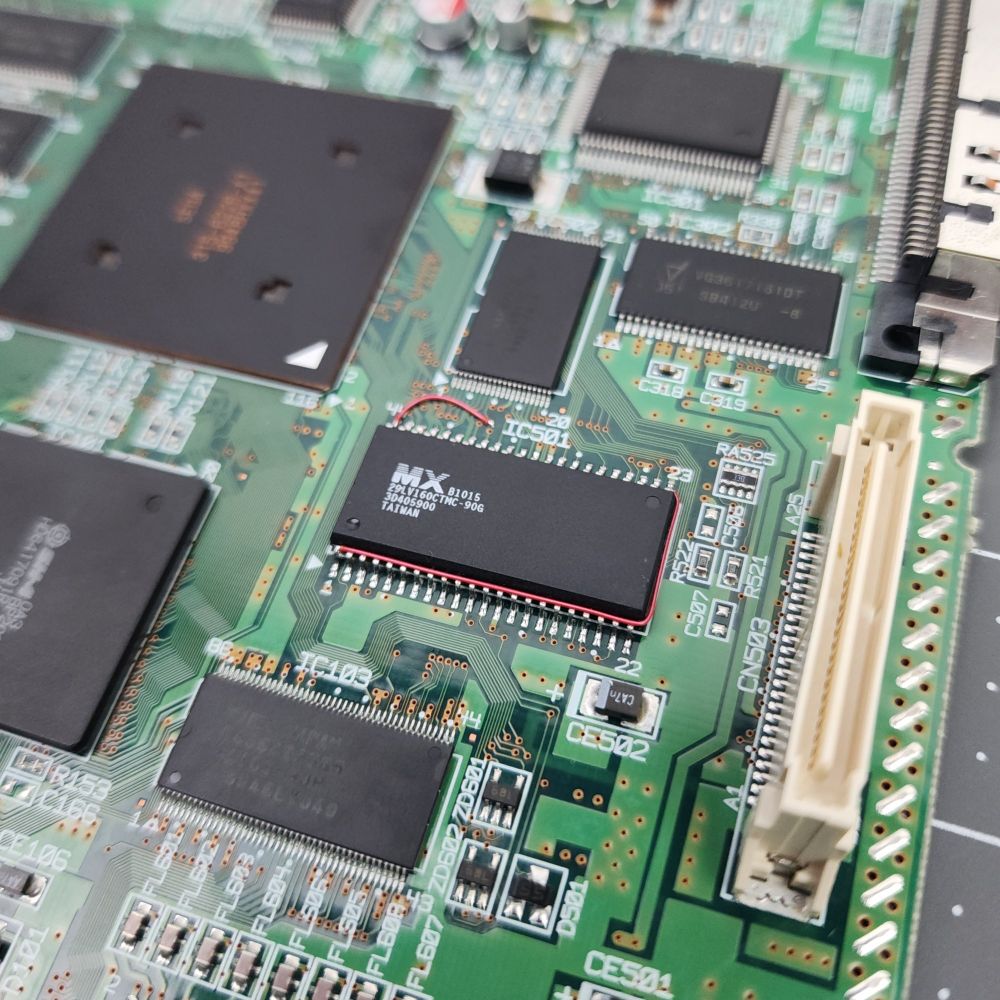
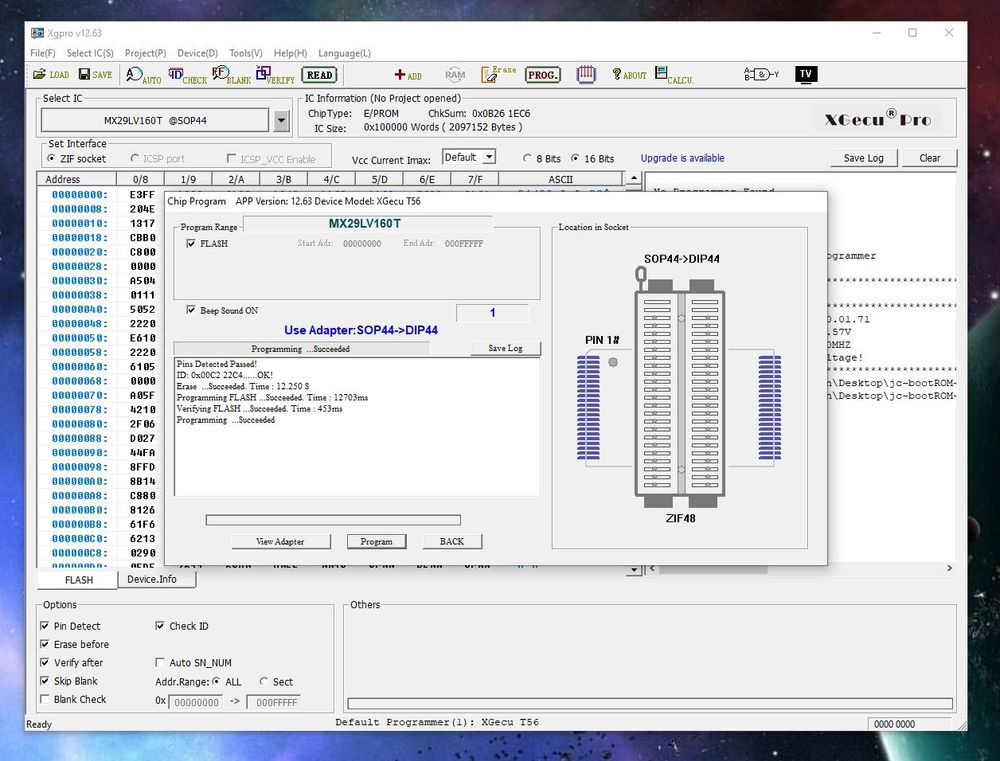
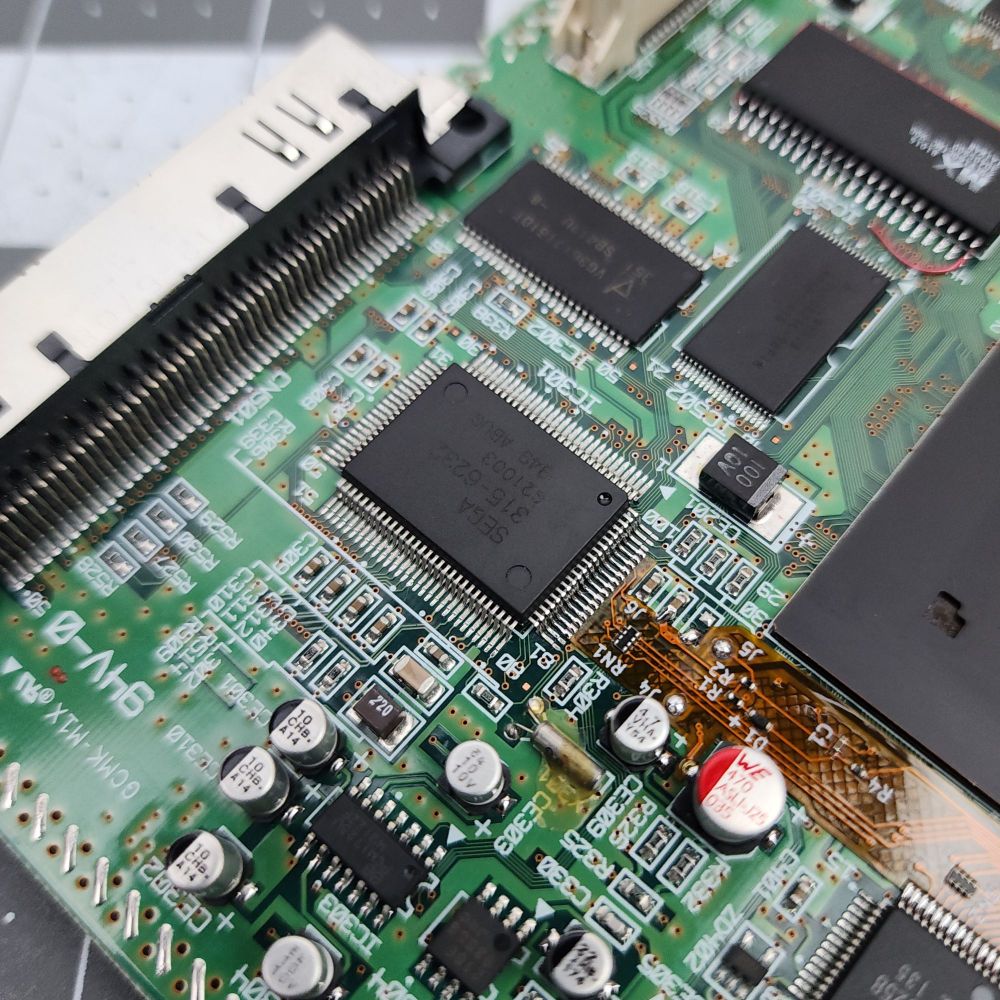
Next, some pics of the Retro G.E.M. install. The GH-026 motherboard doesn't have a large crystal under the resistor arrays, but it does have some slightly inconvenient resistors in front of where the controller flex goes. Firmware updated.
🧵 2/5
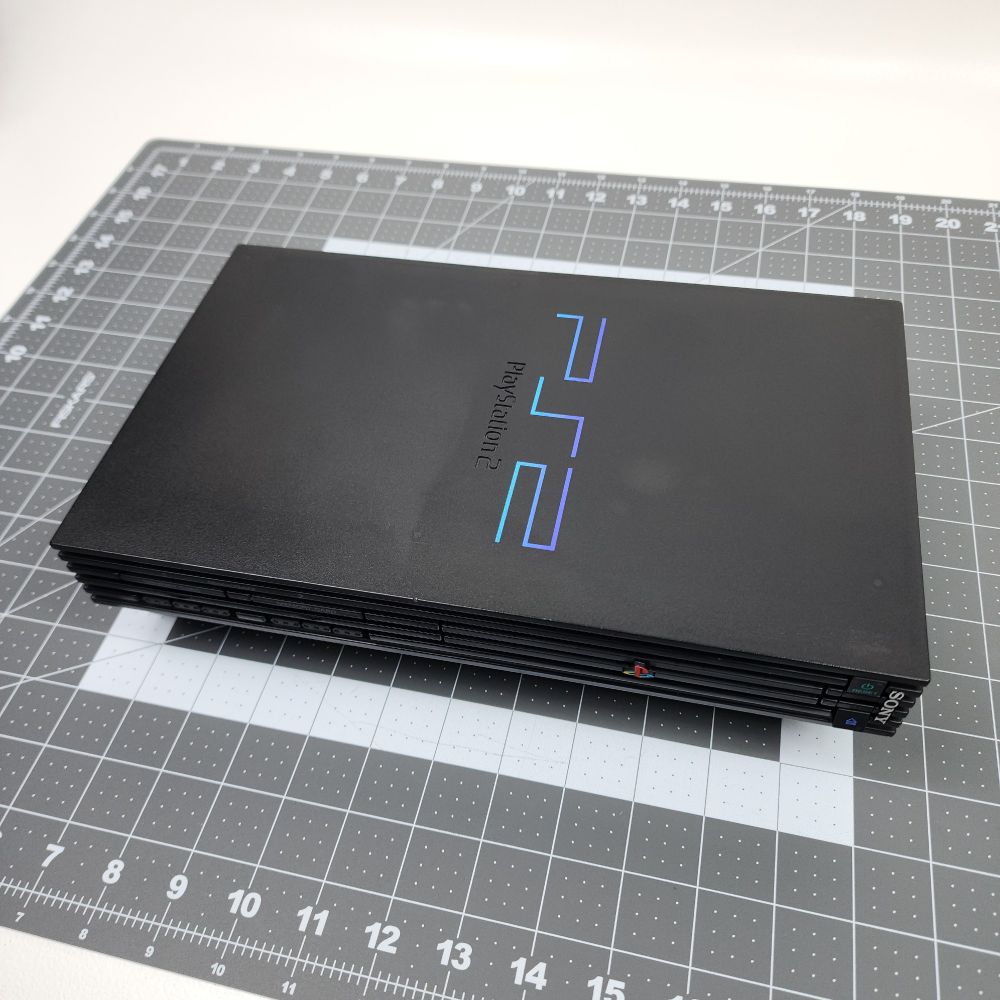
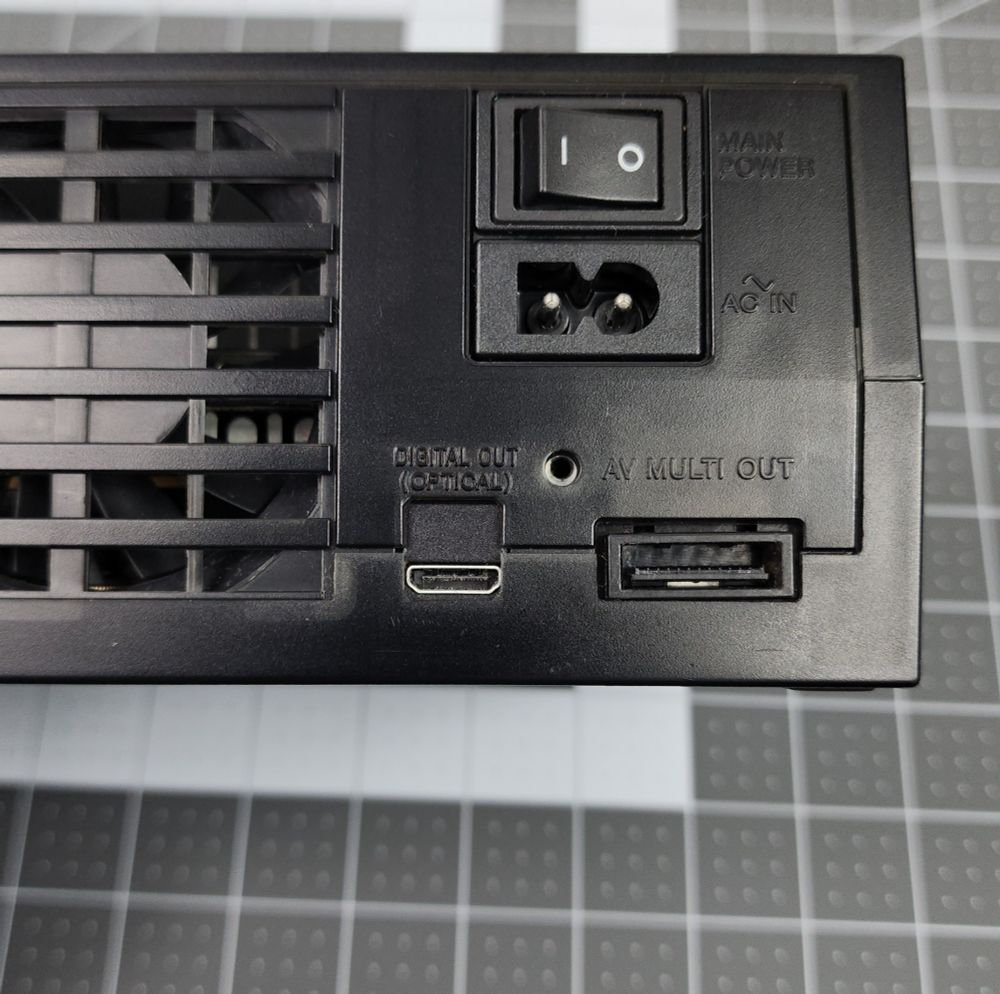
Midnight black PlayStation 2 console with
@pixelfxco.bsky.social Retro G.E.M. Shiny, Modbo 5.0,
@modzvilleusa.bsky.social PicFix, 2TB HDD w/ OPL, new thermal pads, and a new CR2032. Up to 1440p output via HDMI, region free playback of PS1 and PS2 from the disc drive, and laser protection.
🧵 1/5

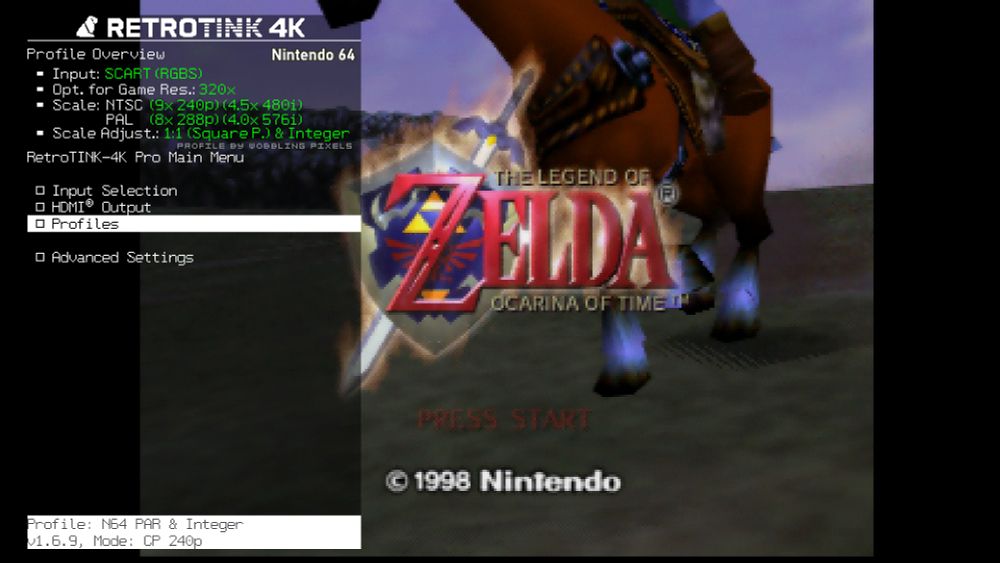
To finish things off, we have some screen captures that were taken using an awesome shielded SCART cable from
@misirajeduart.bsky.social going into the @retrotink.com
RT4K.
🧵 5/5
Next up, a few before and after pics. This one was a little dusty, but that is to be expected when the console has not been opened in twenty plus years. All good now. Console cleaned up and ready to go.
🧵 4/5
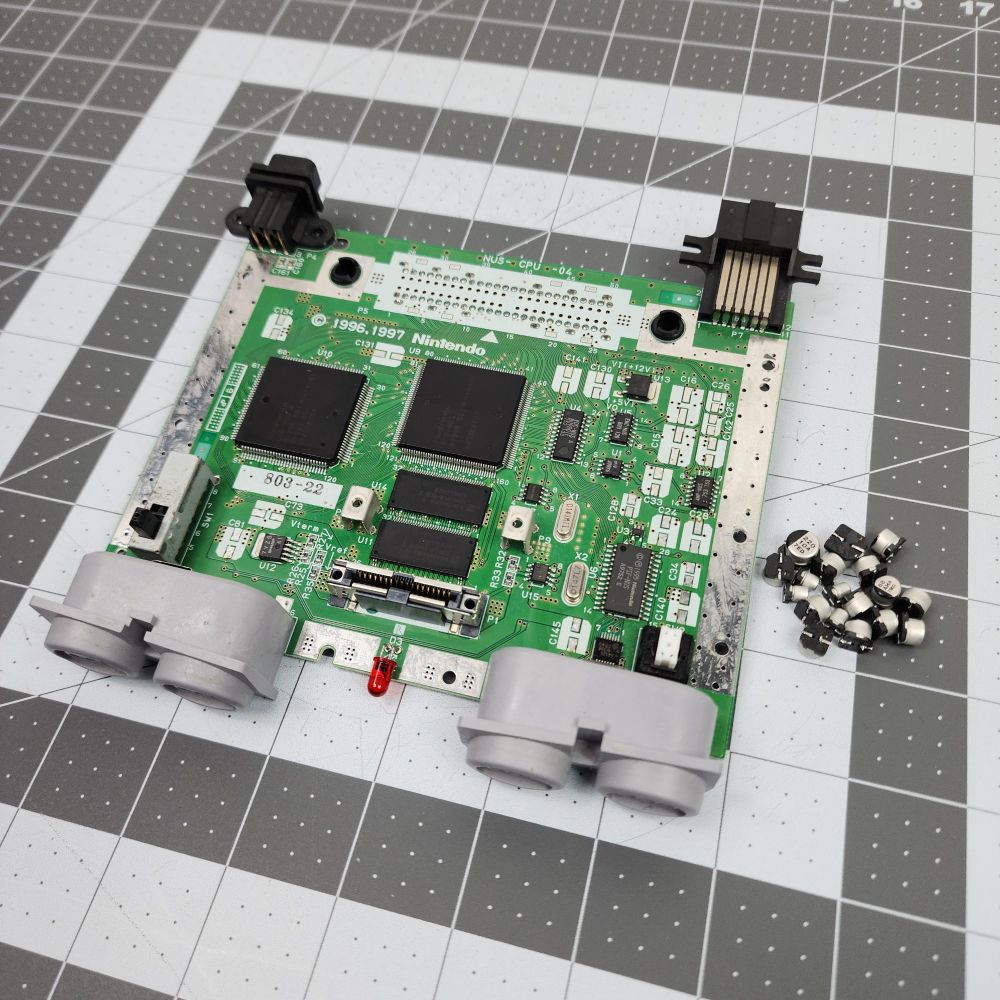


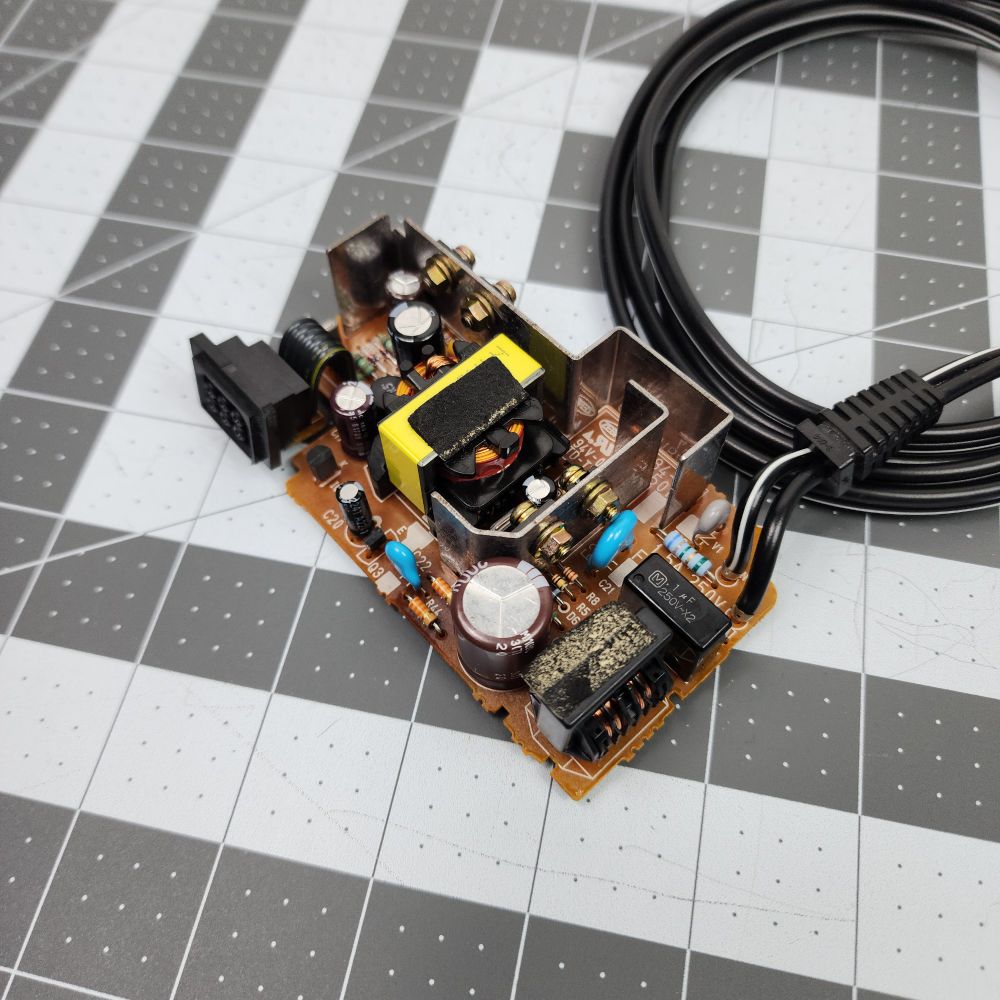
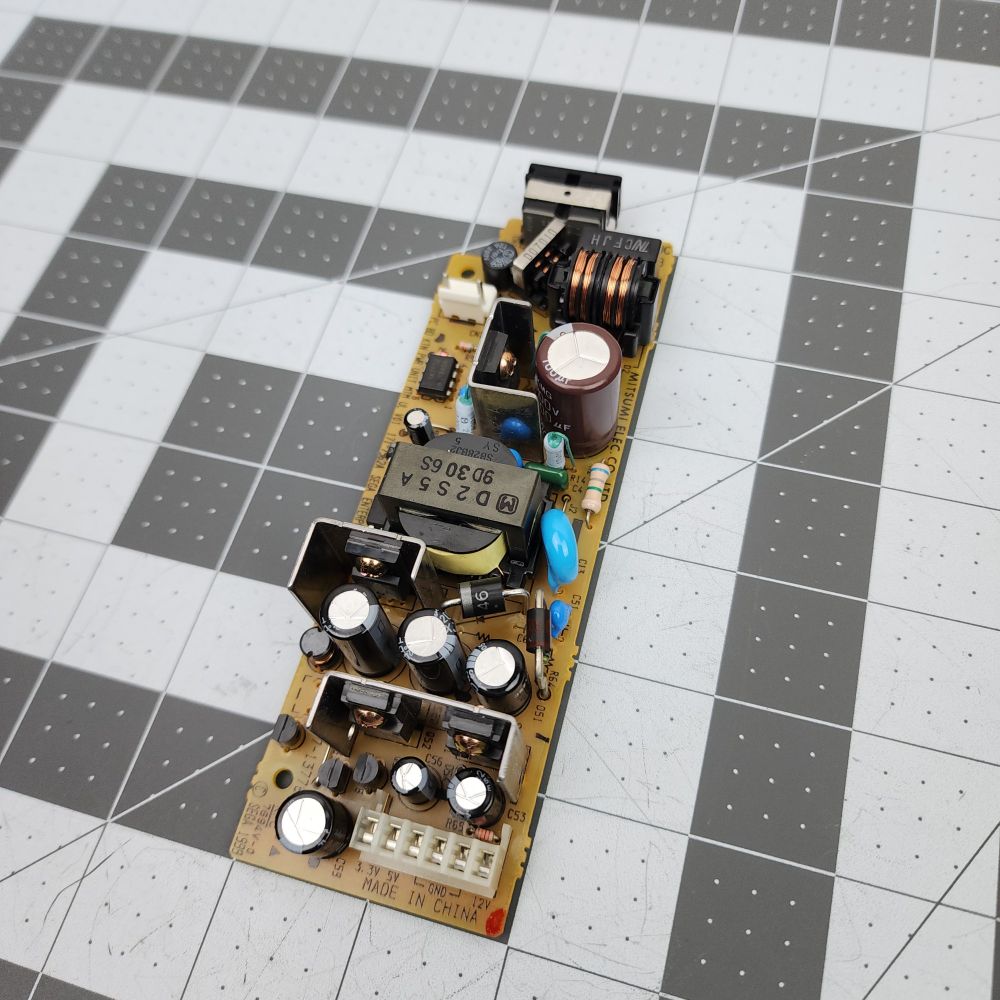
Moving forward, we have some pics of the recap. The motherboard and power supply were both cleaned and all electrolytic capacitors replaced. The motherboard also took a nice warm bath in the ultrasonic cleaner and is much happier now.
🧵 3/5
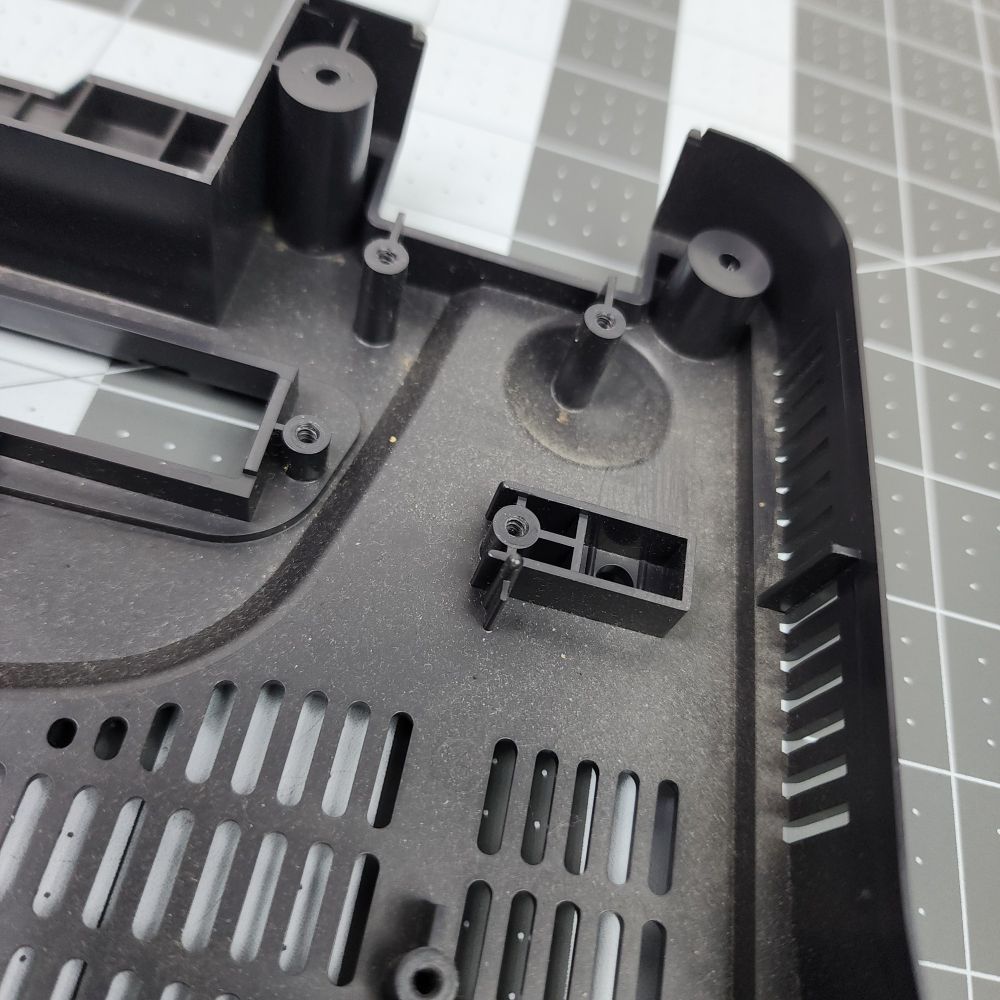
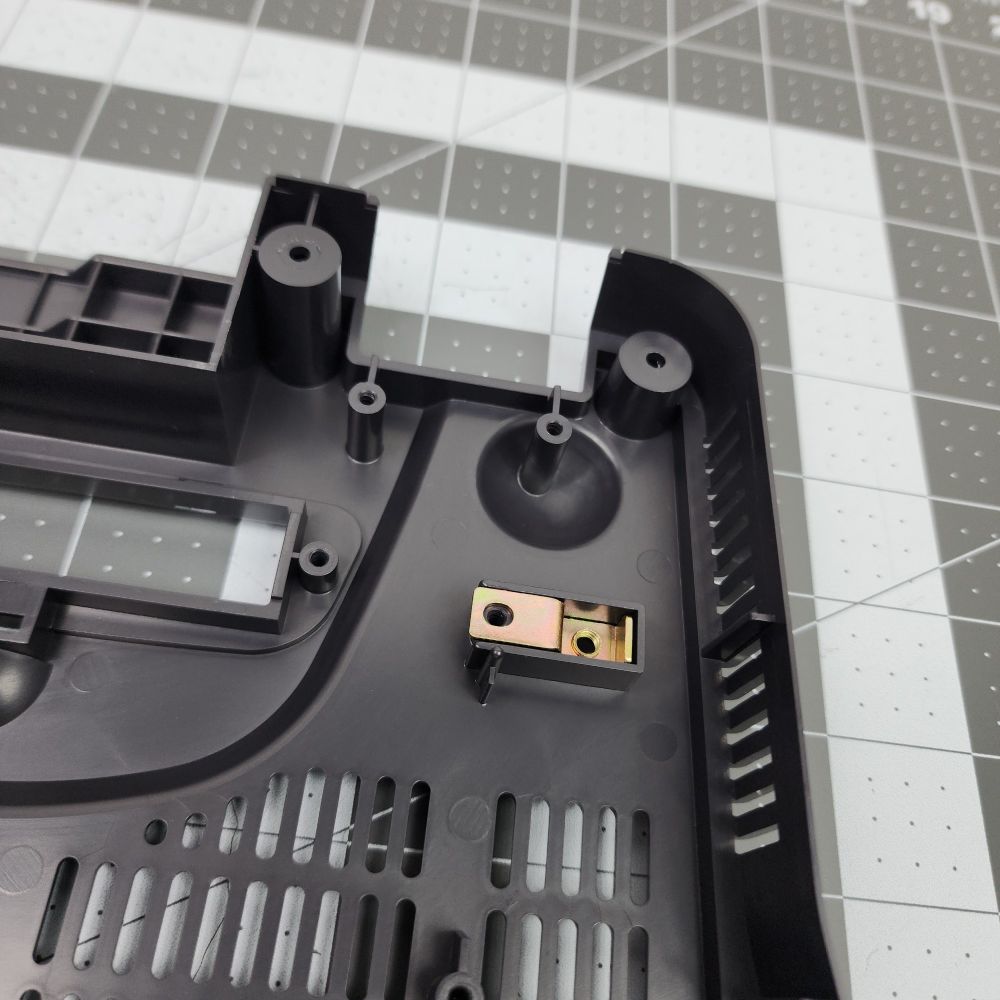
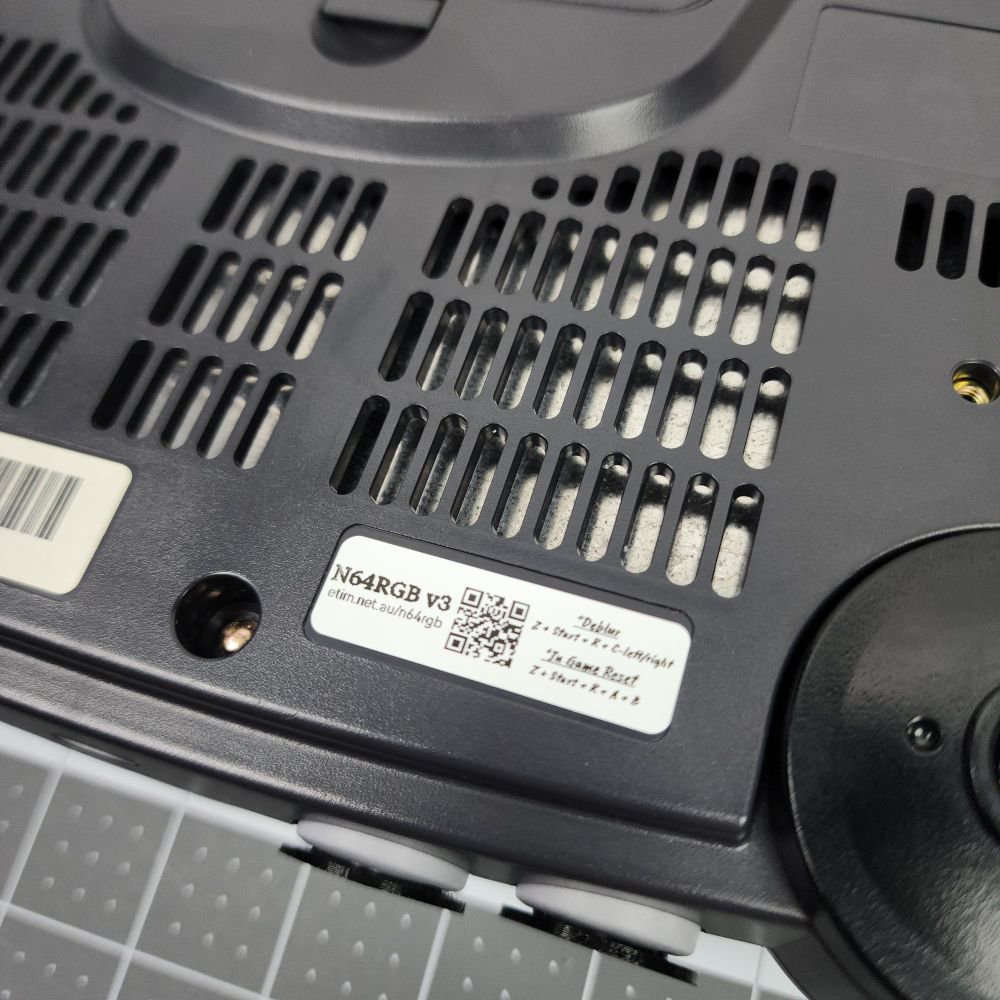
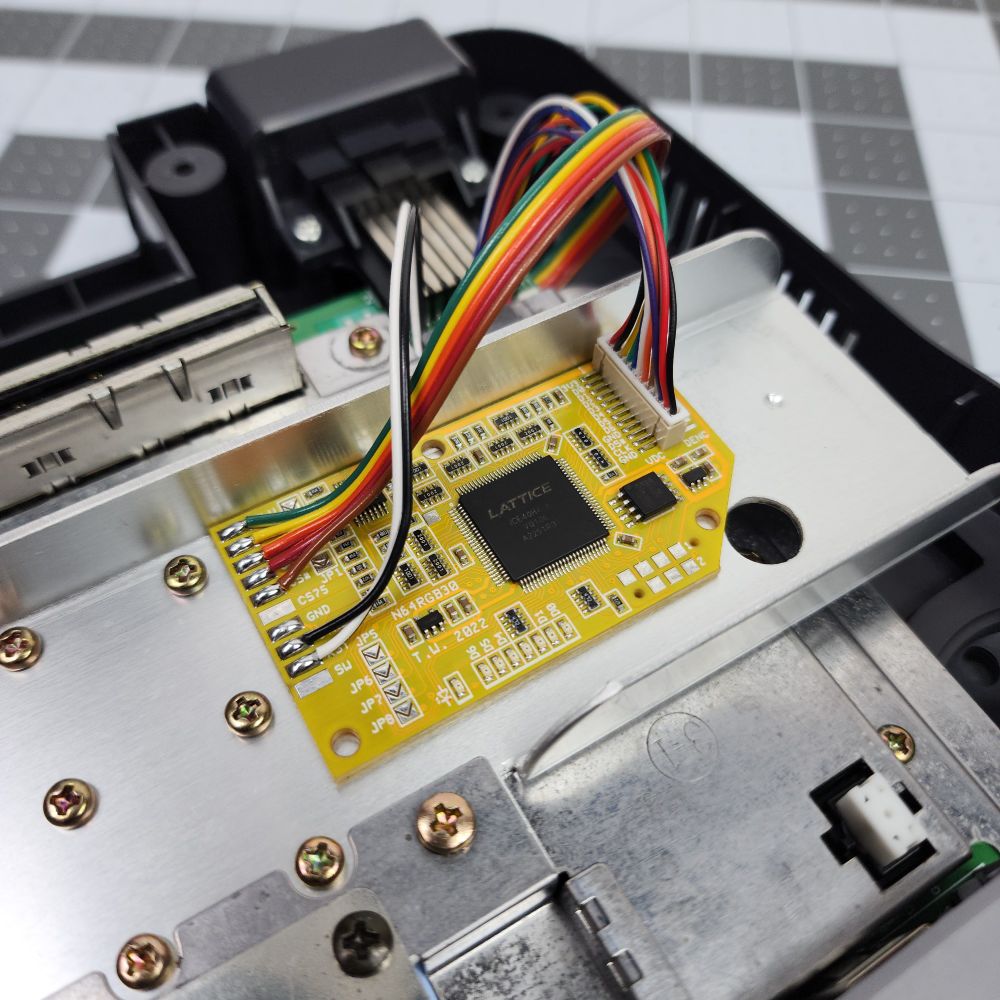
Next up, some pics of the work done. The new N64RGB kits include these nifty connectors to make the installation easier (instead of having to strip and tin a 12 wire ribbon). Connector further secured with some UV resin. Added new thermal pads, and a nice new green LED.
🧵 2/4
Order #5446
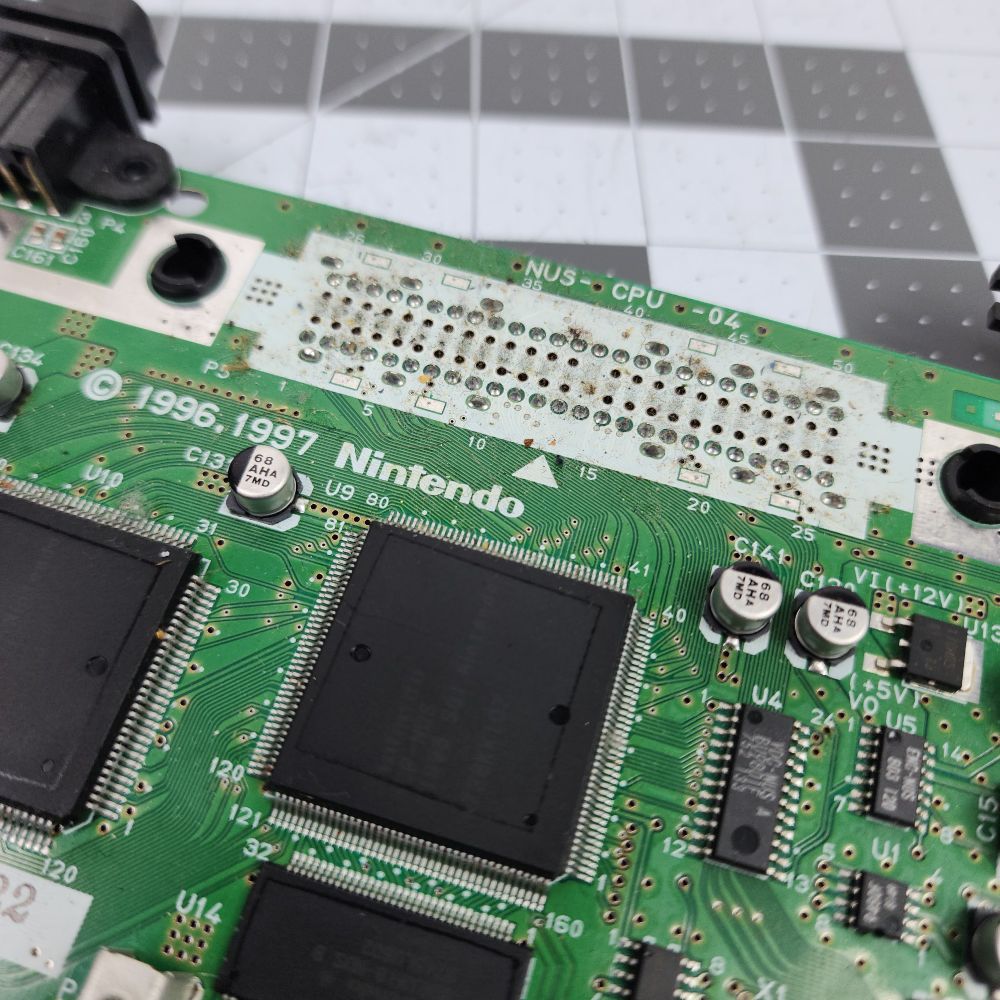
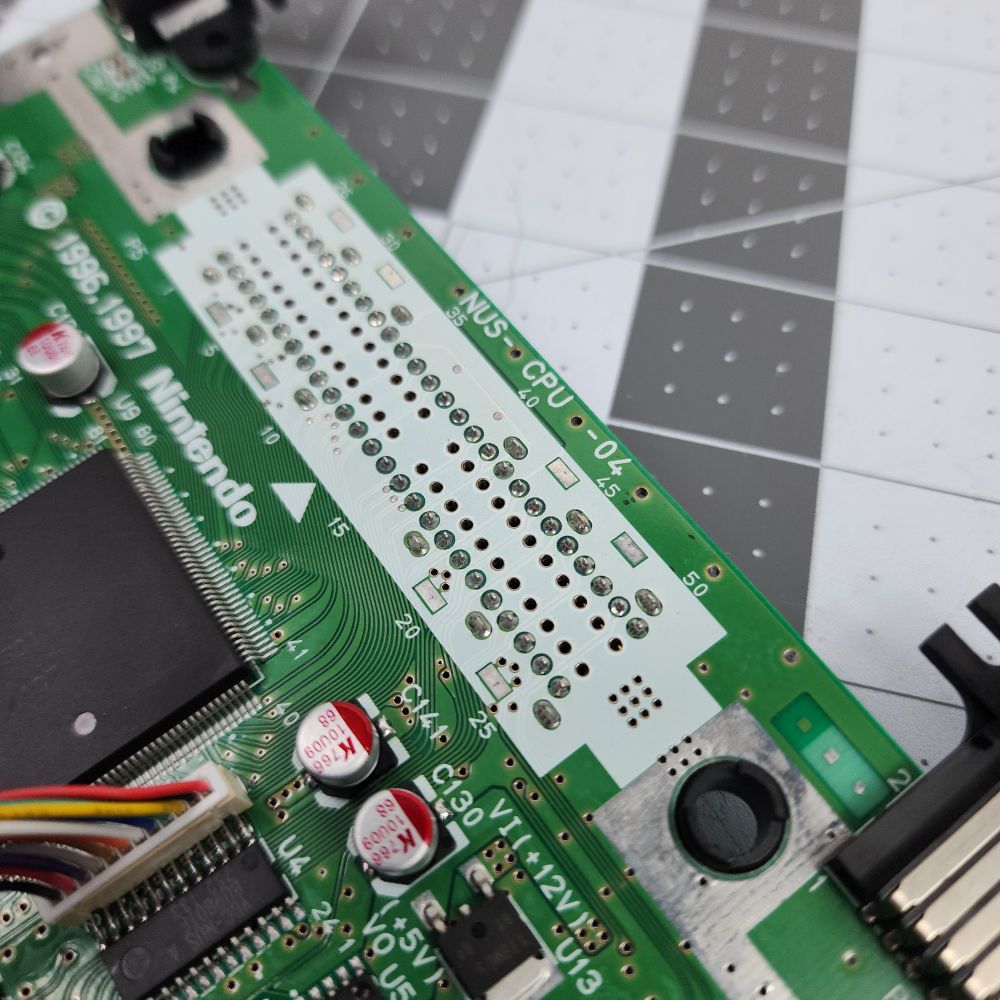
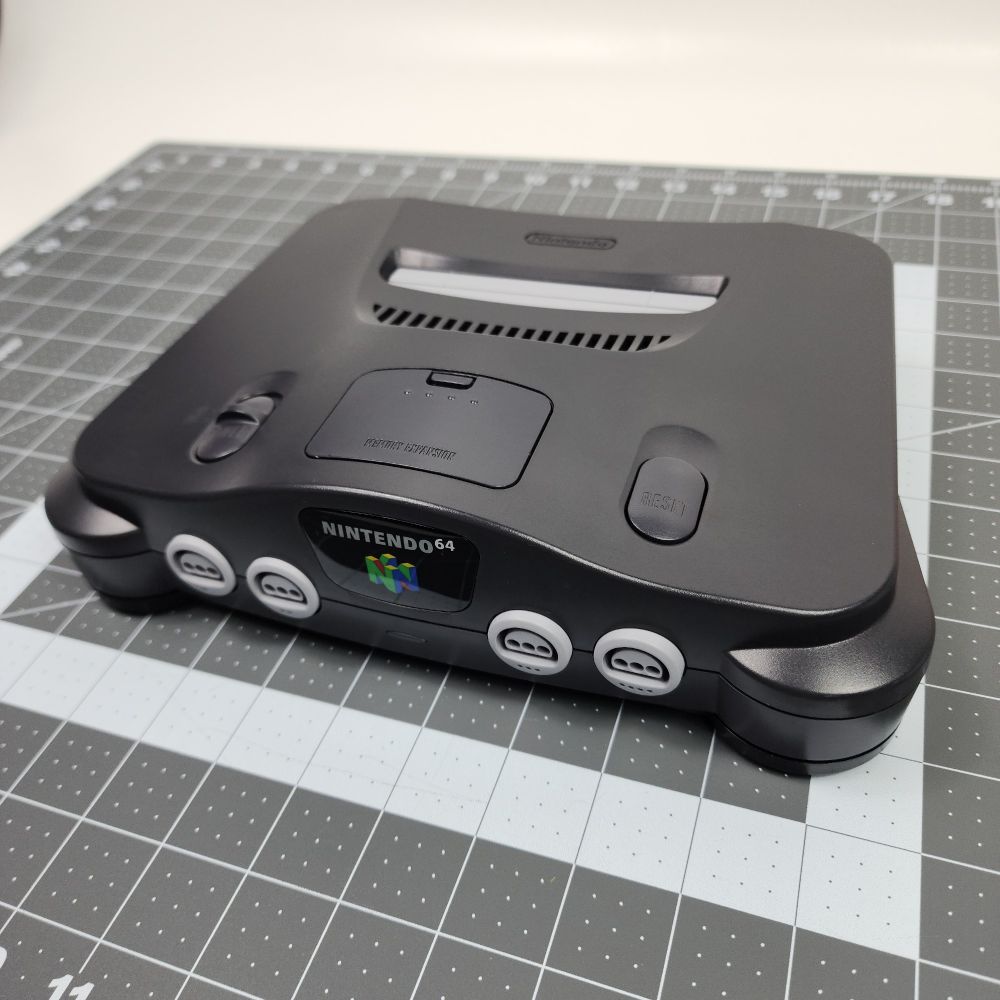
N64RGB from Tim Worthington (etim.net.au) installed in an NUS-CPU-04 Nintendo 64 console. This one was also cleaned, received a complete recap of the motherboard and PSU, new thermal pads, a black region free cartridge tray, and green power LED.
🧵 1/4
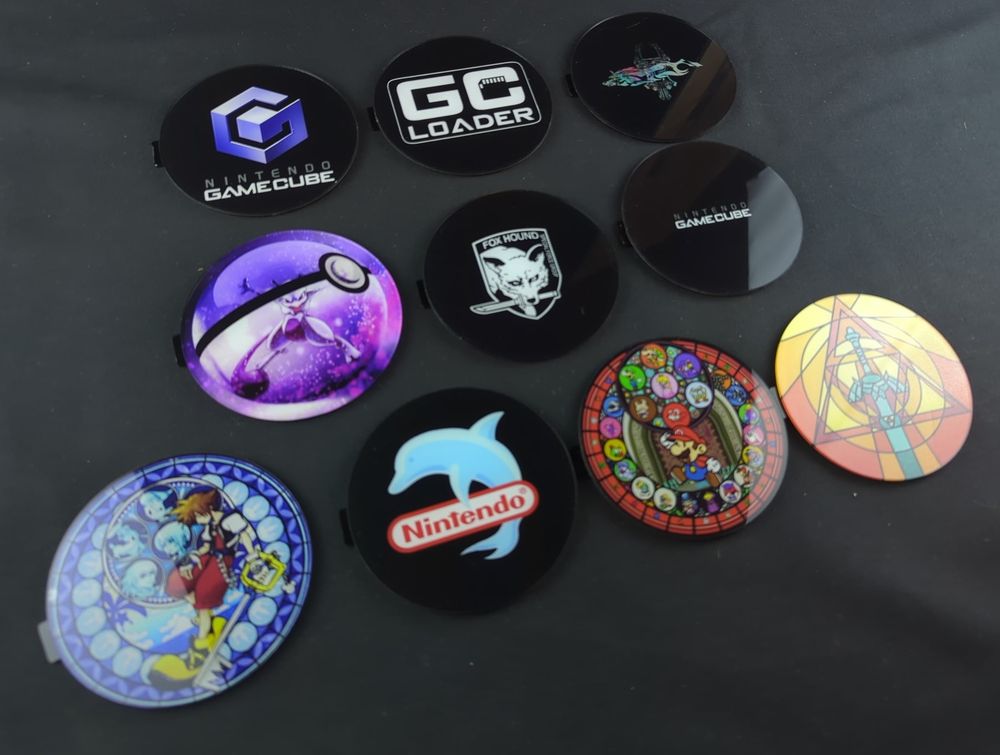
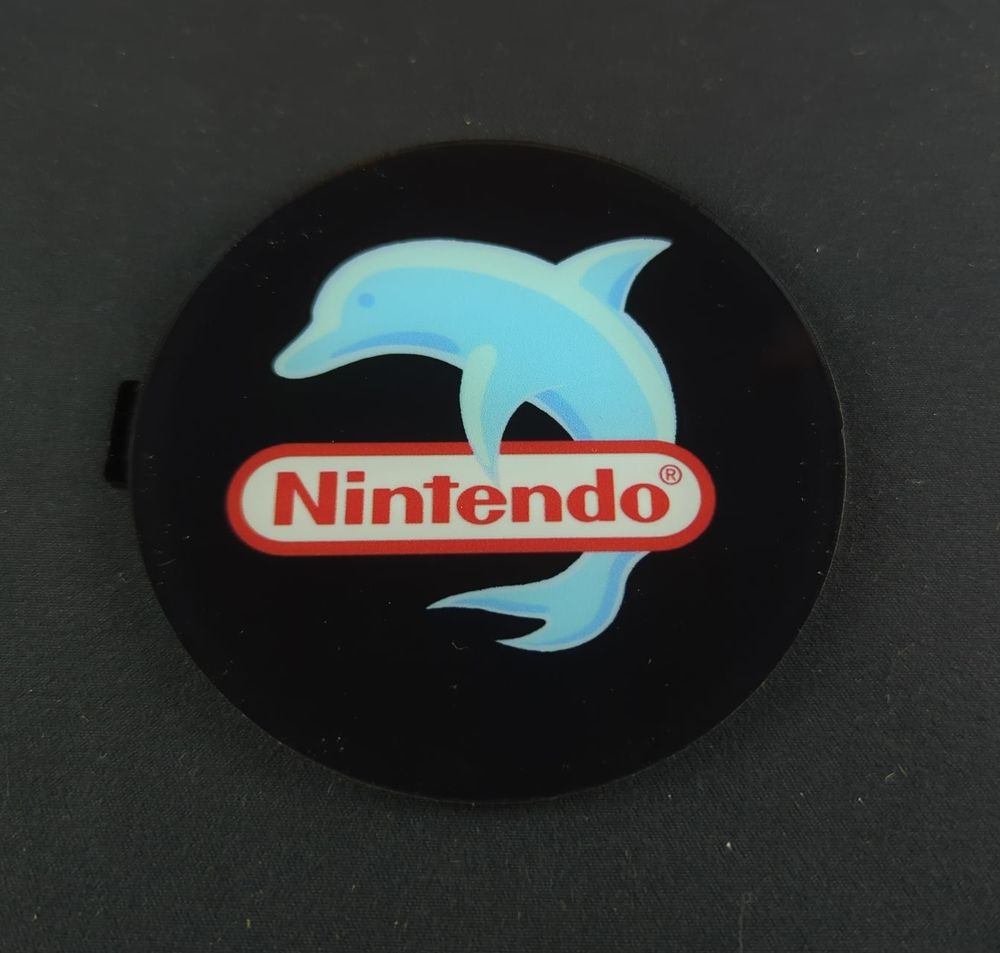
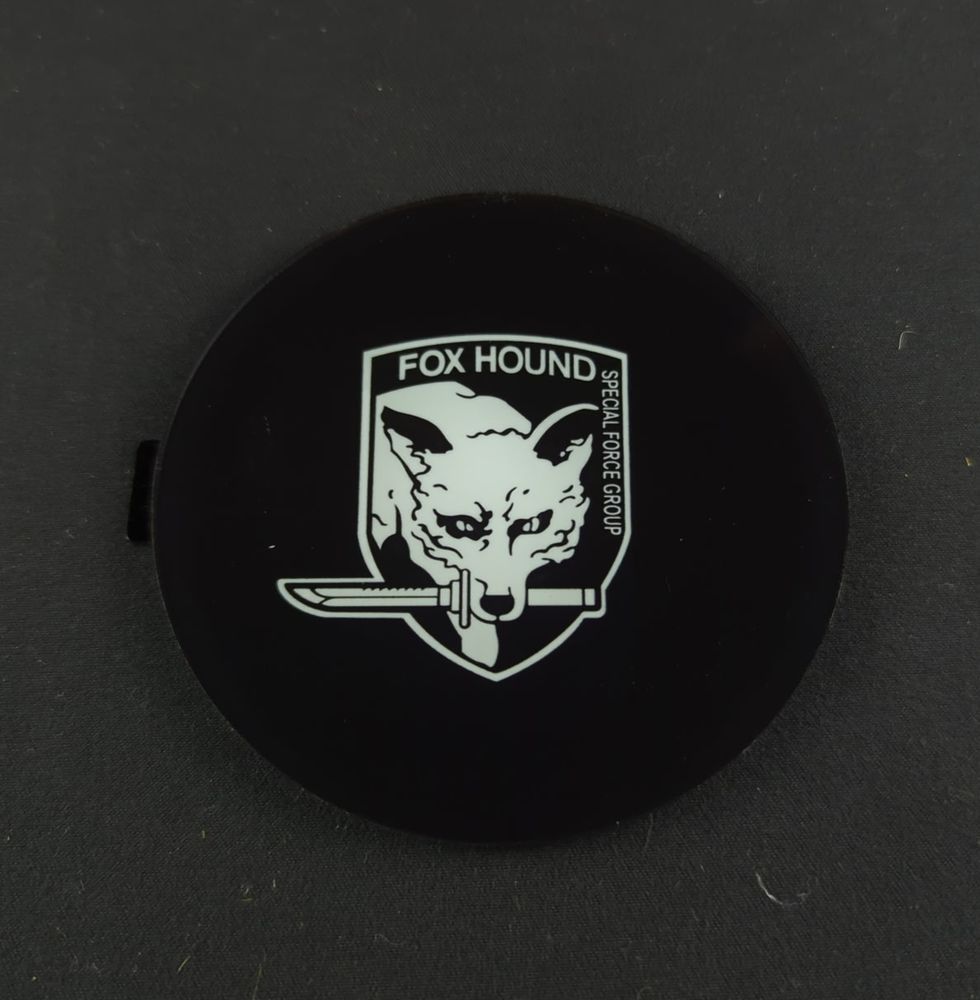
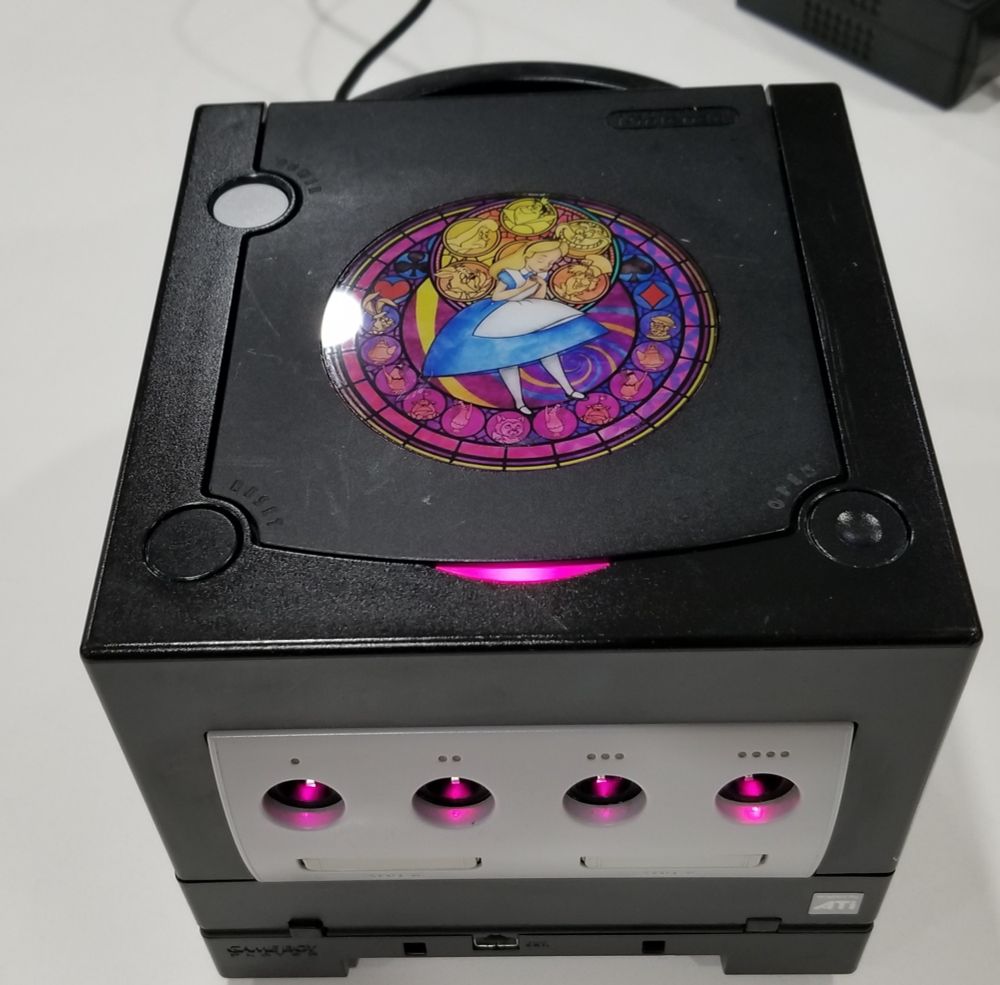
Restocked a bunch of GC jewels on my Etsy page, lots of favorites are back in stock 💖
16.02.2025 15:15 — 👍 11 🔁 1 💬 1 📌 0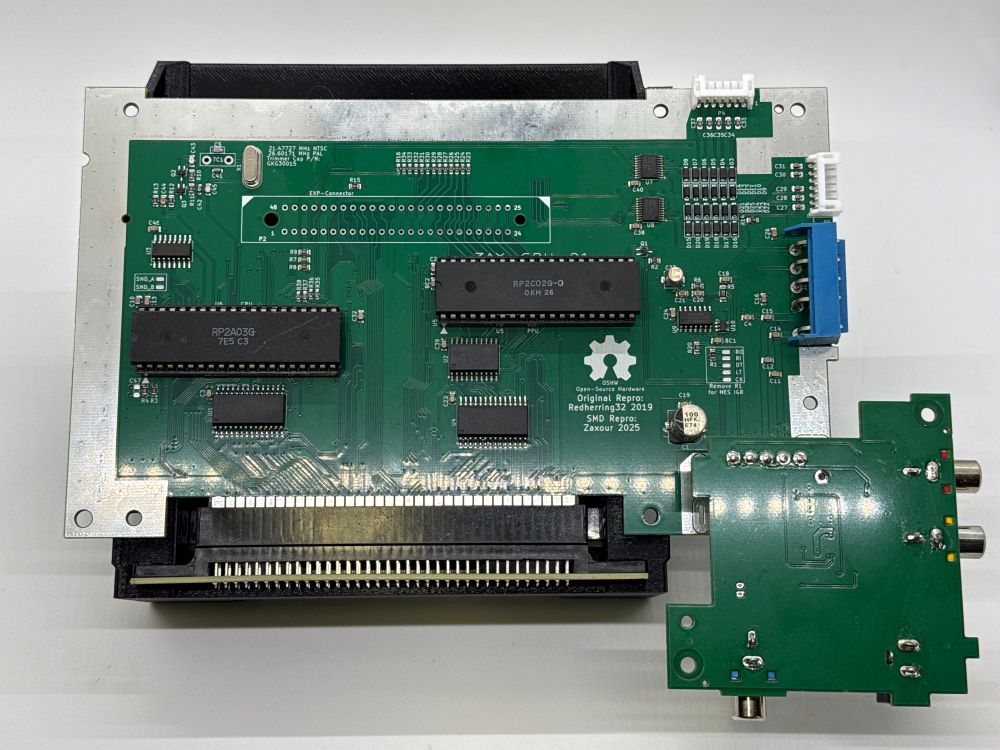
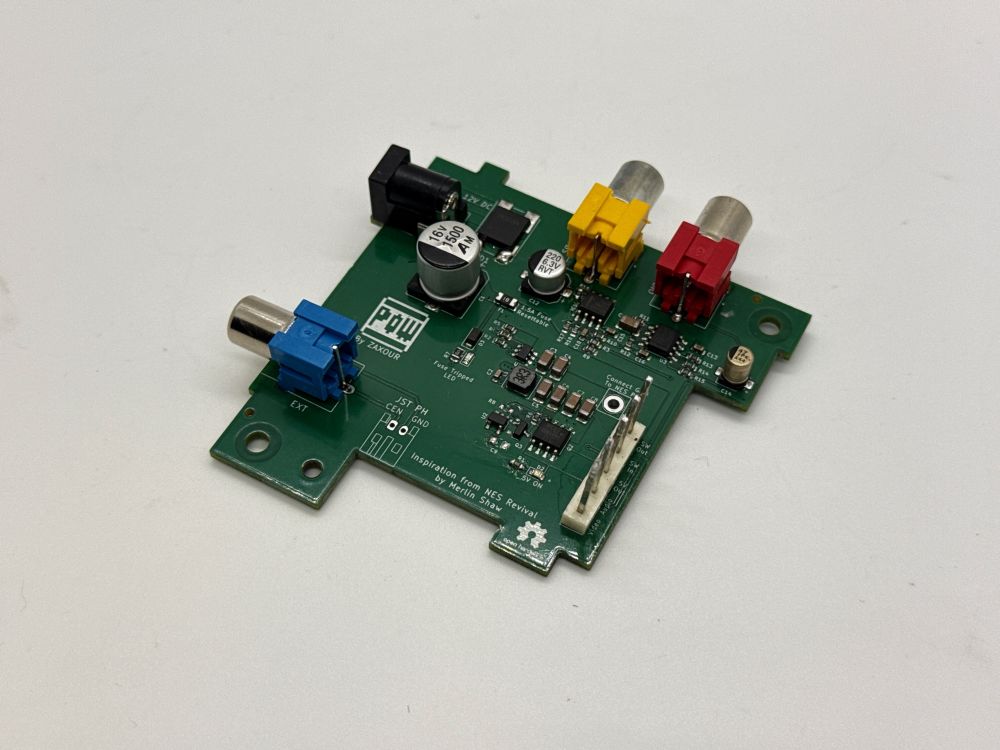
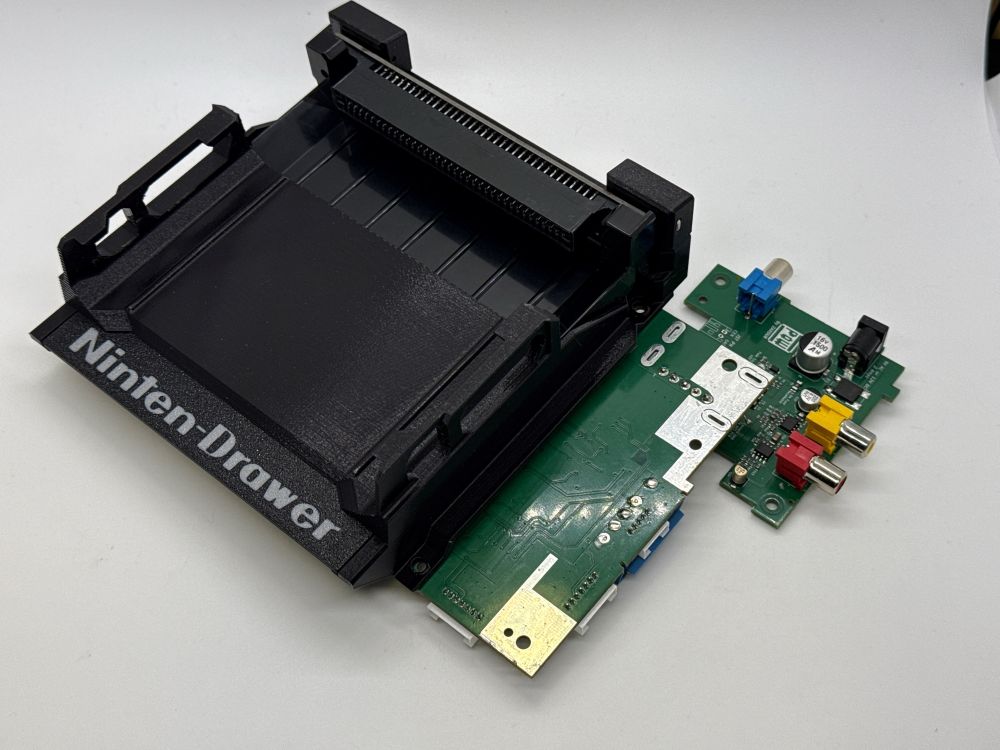
SMTendo + POW Block + @blueshell3d.com NintenDrawer = the ultimate NES of Theseus!
Minimal work required: slot the CPU/PPU, solder on power/reset header and install your Power/AV module of choice and you’re good to go!
SMTendo and POW Block Coming soon!
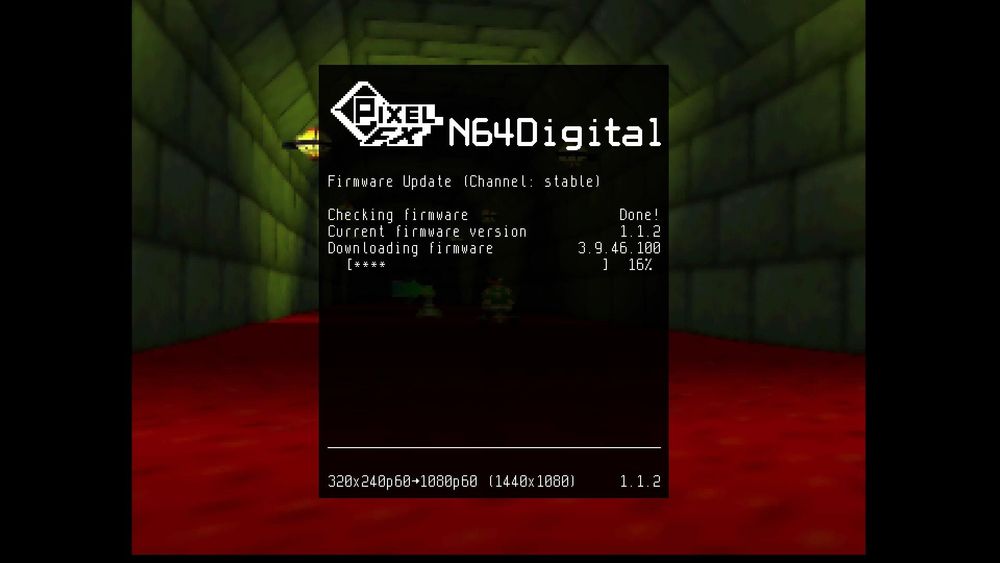
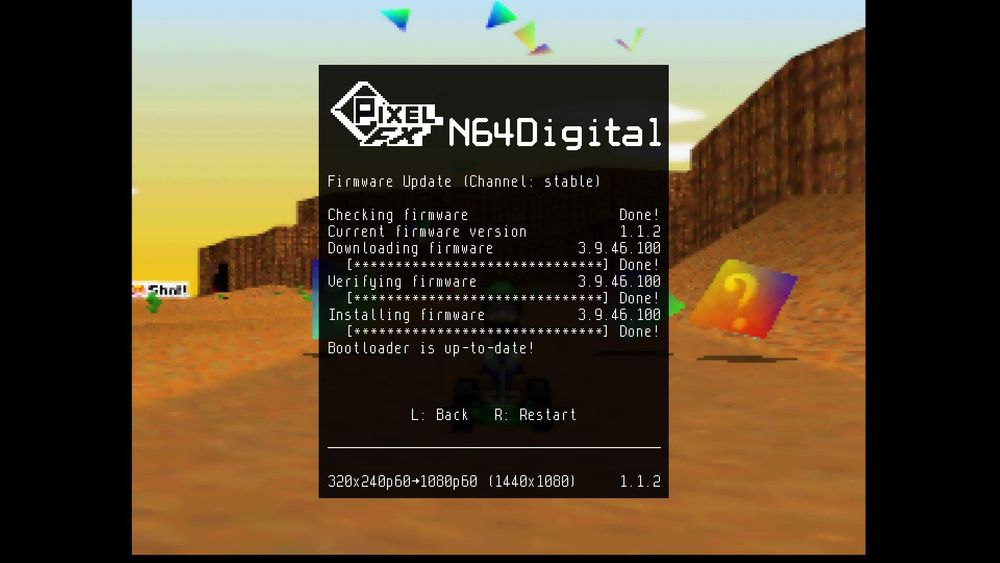

Last but not least, again, is the firmware. The N64Digital was new and sealed, so the firmware was, of course, in dire need of an update. After updating, the N64Digital has now transformed into an N64 Retro GEM 😅
🧵 3/3
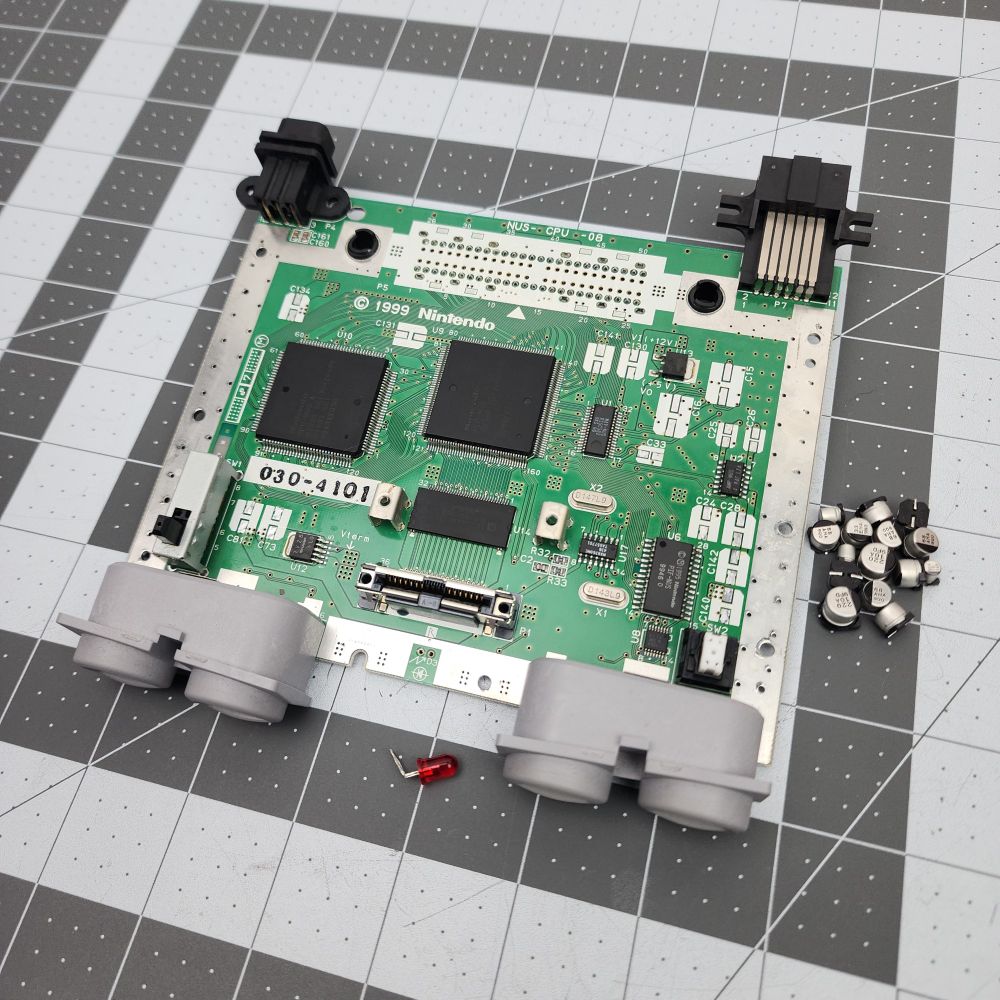
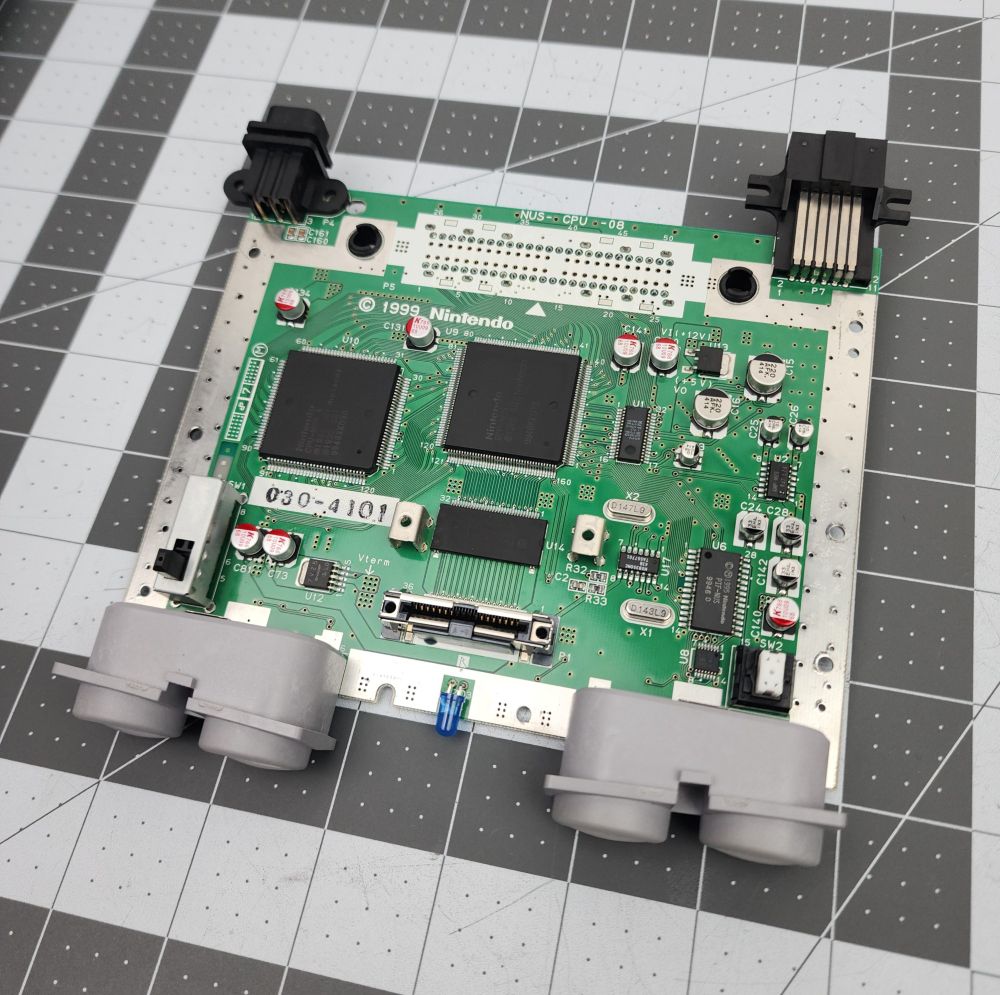
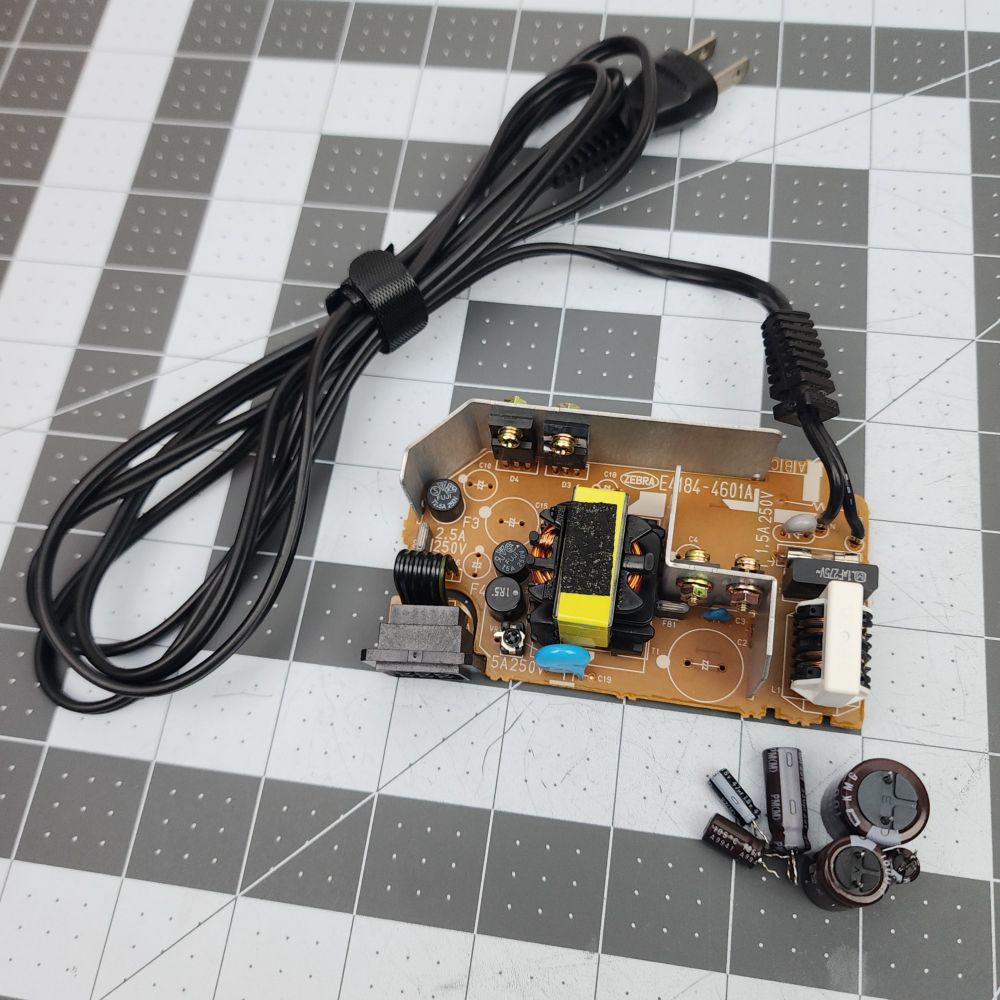
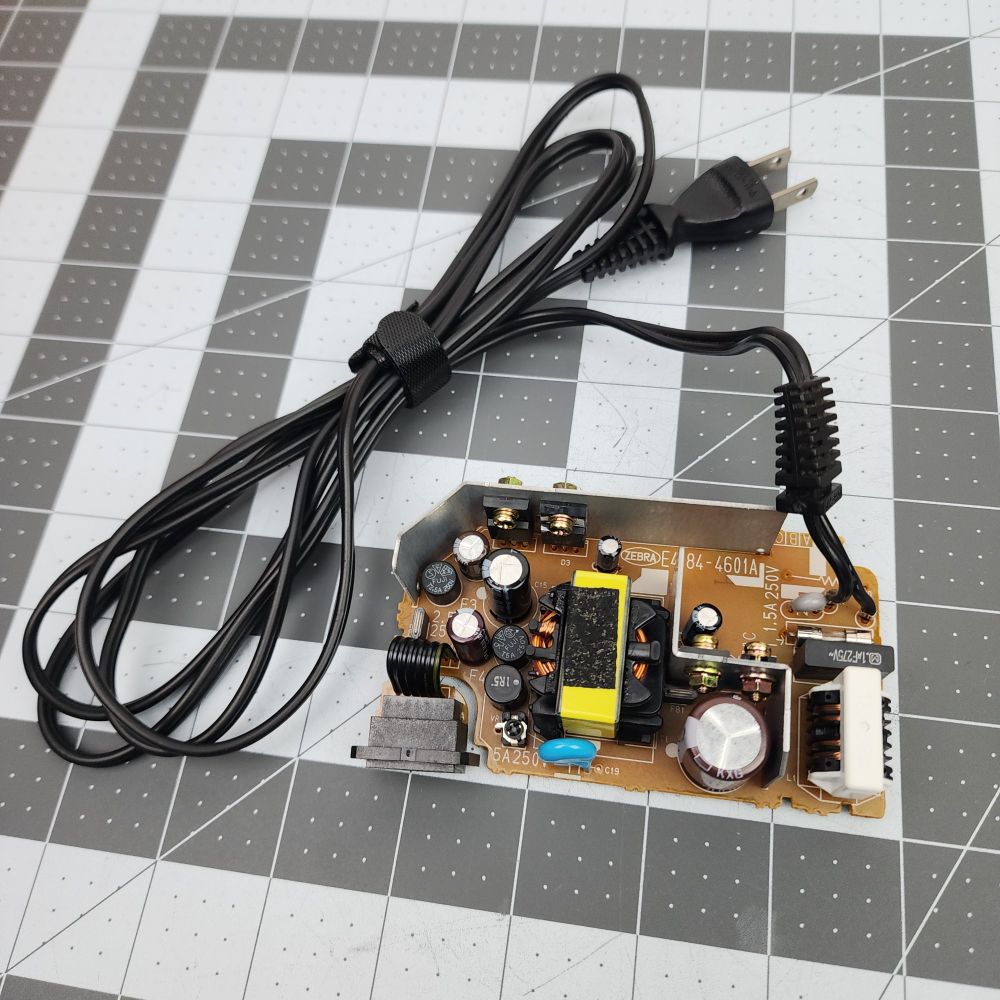
Pics continued. NUS-CPU-08 motherboard and original Japanese power supply were cleaned and recapped, and blue power LED added.
🧵 2/3
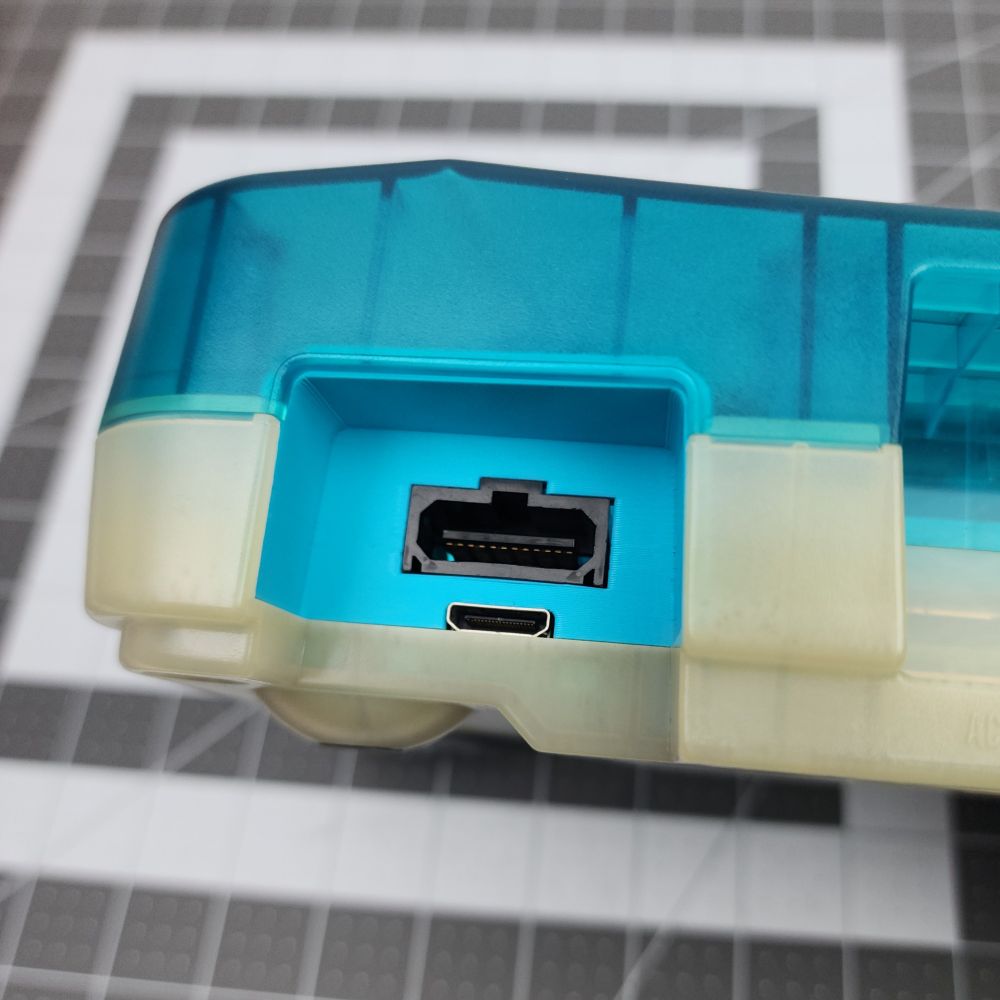
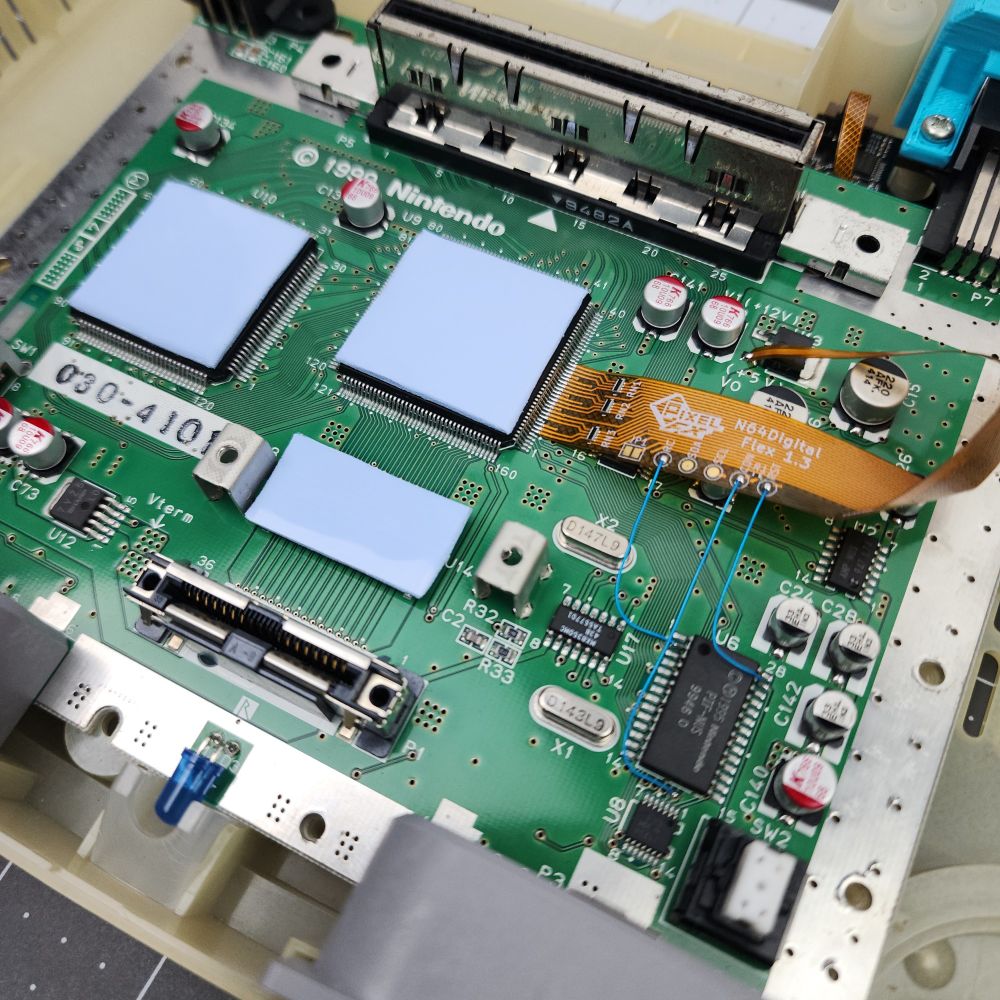
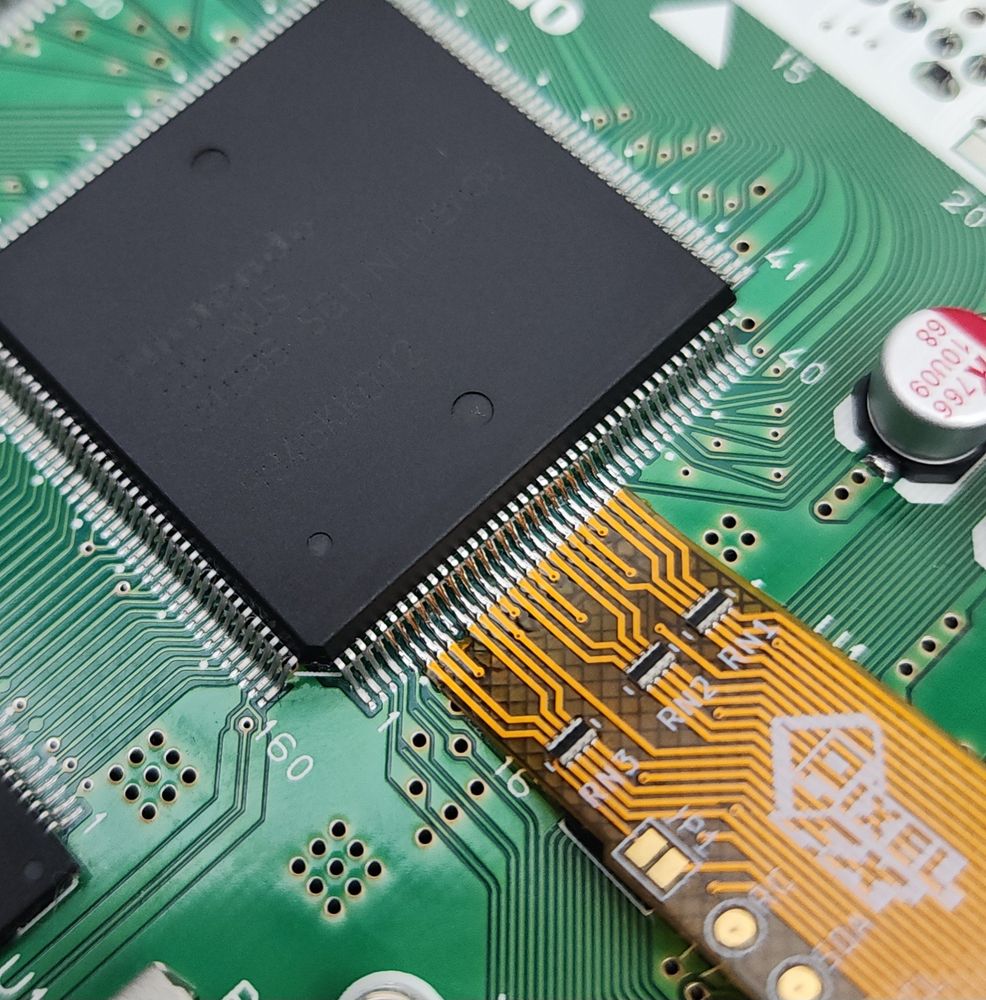
The second part of the same order. N64Digital from @pixelfxco.bsky.social installed in a Japanese Ice Blue console with blue power LED, blue no-cut with matching region free tray, new caps, and some new thermal pads. The firmware was also updated to the latest N64 stable build.
🧵 1/3
Bonus Pics: Here is a before and after the cleaning and retrobright treatment. This was done as a courtesy for a good customer, and I'd say it is a noticeable improvement.
29.01.2025 17:17 — 👍 4 🔁 0 💬 0 📌 0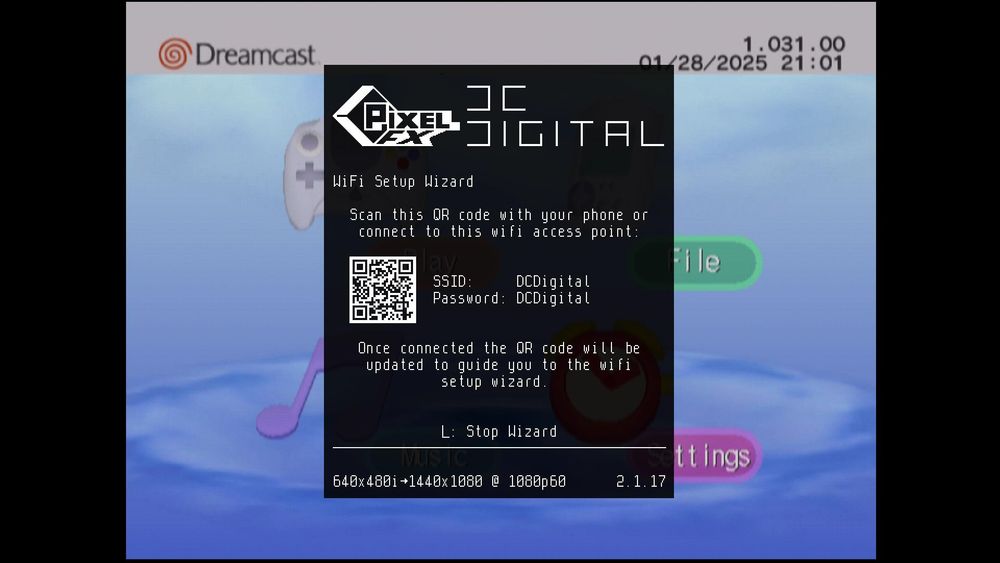
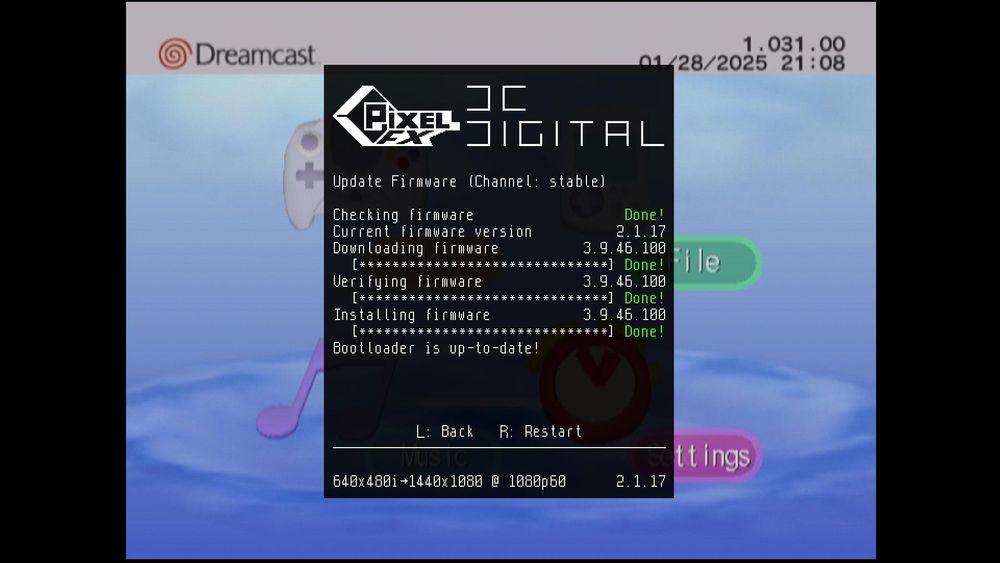
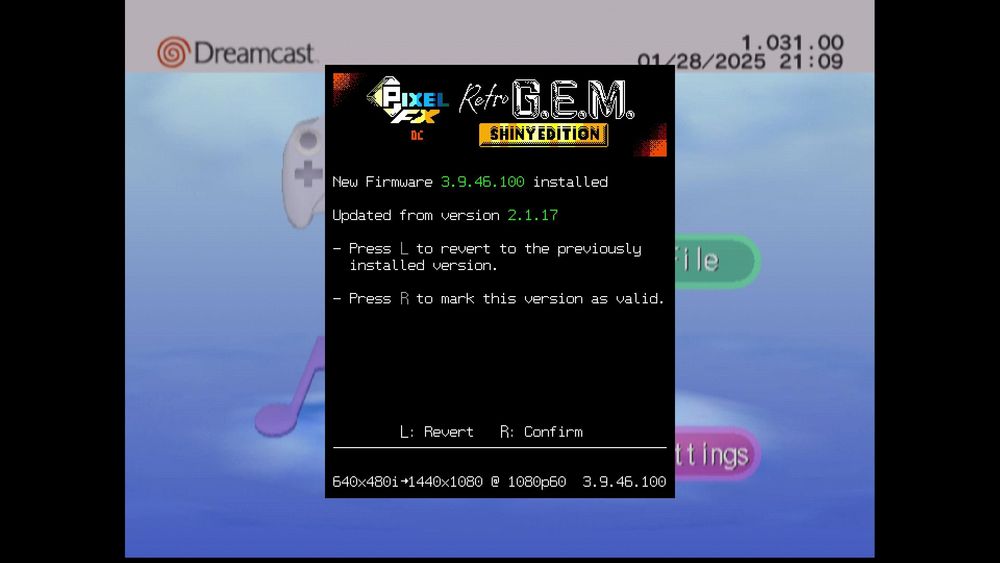
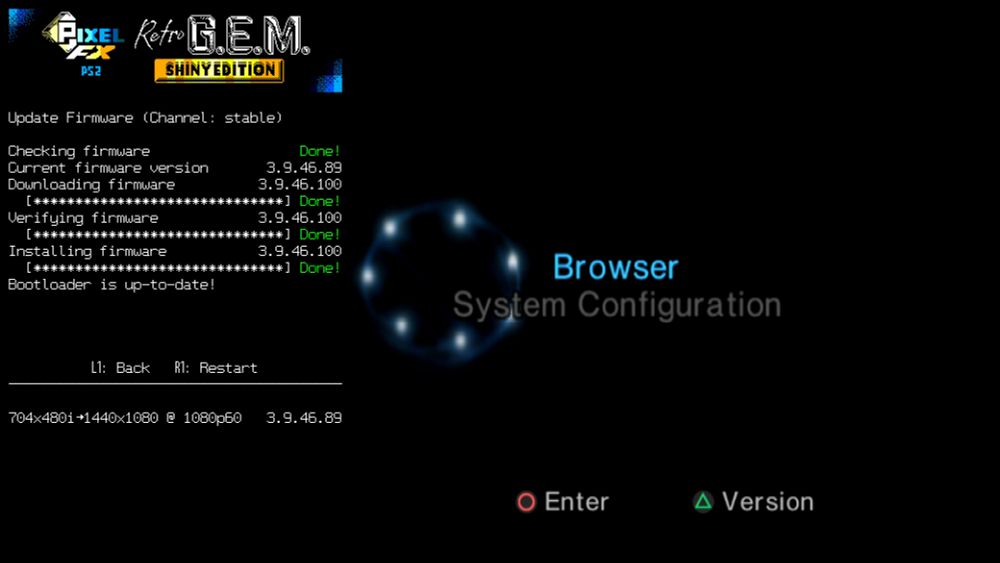
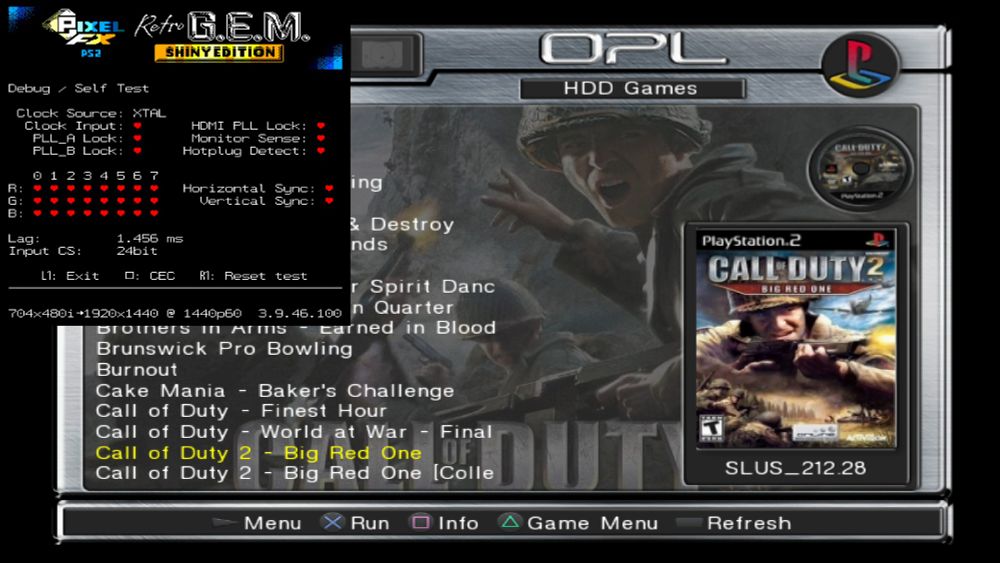
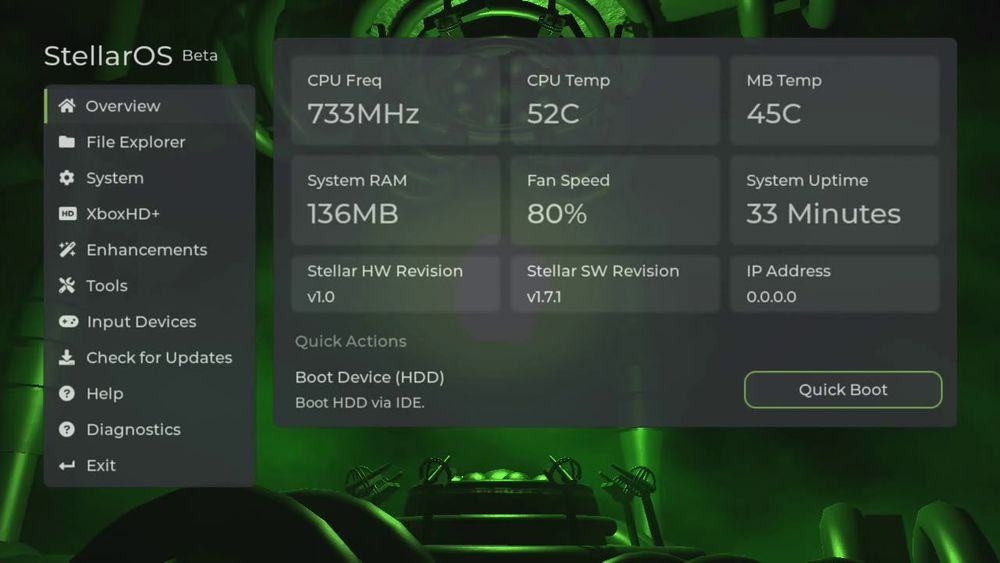
Last but not least, we have the firmware. This came in on v2.1.17. After updating, we are now at v3.9.46.100.
"Hey, look! The DCDigital is evolving into a Retro G.E.M.!" 😆
🧵 5/5
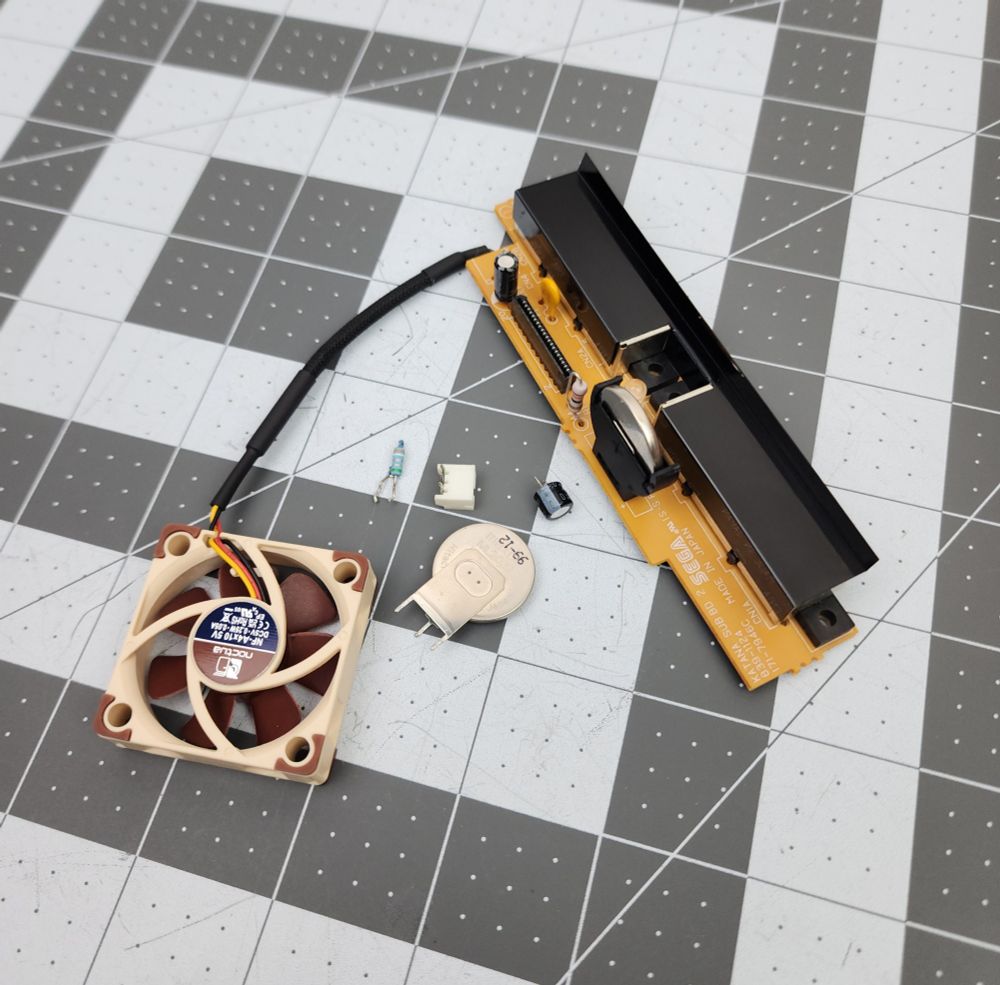
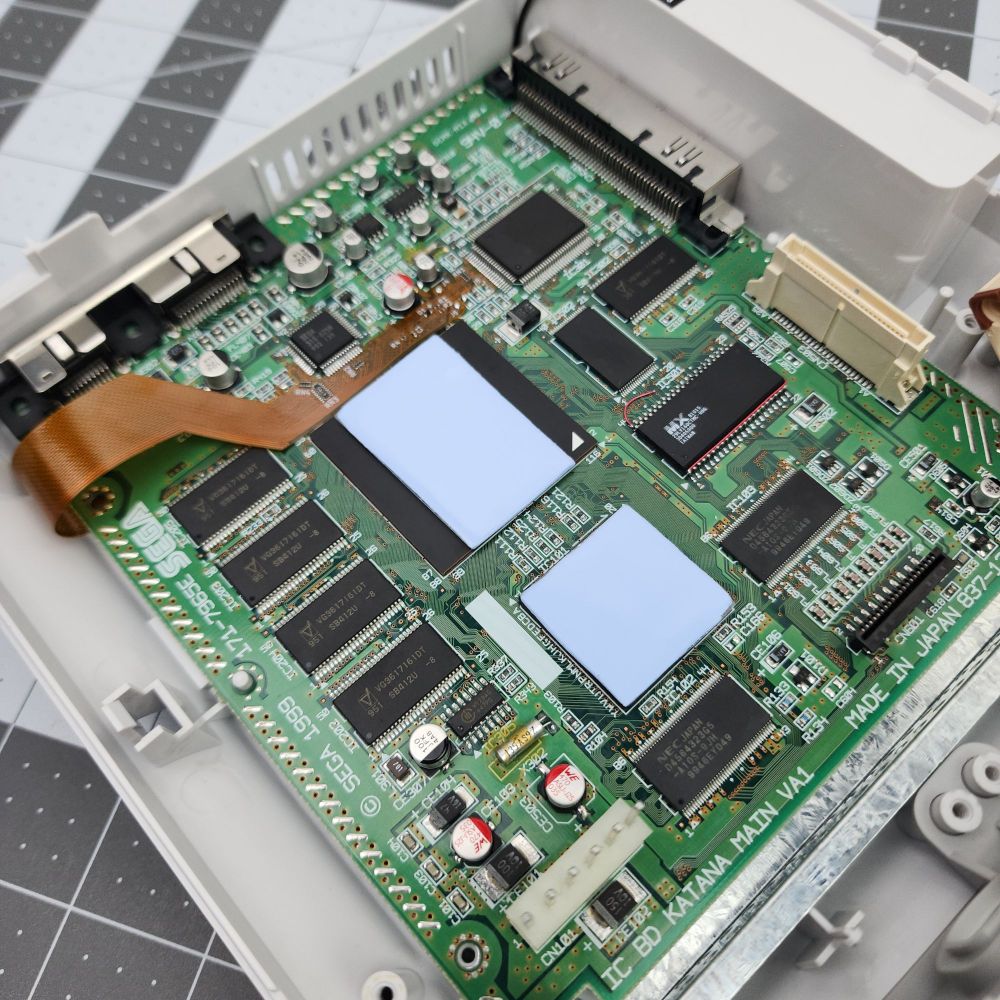
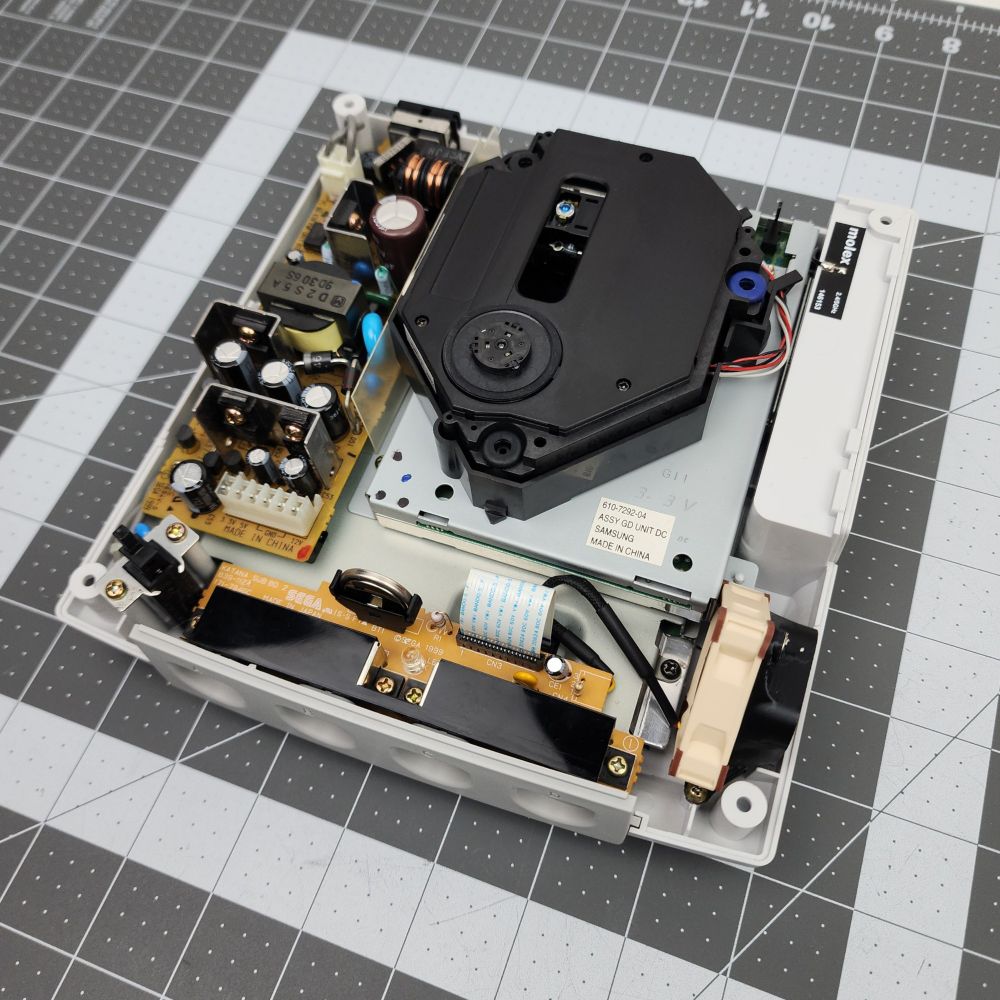
The motherboard, power supply, drive board, and controller board were all recapped/serviced. GDROM drive was cleaned, recapped, relubricated, and replaced the lone thermal pad. The controller board received a new cap, self-resetting fuse, socketed ML2032, and Noctua fan.
🧵 4/5
Next up is the region free BIOS. OEM BIOS removed, area cleaned, and new RF BIOS installed. The new BIOS was programmed with japanese cake v1.031 (devkit boot animation).
🧵 3/5
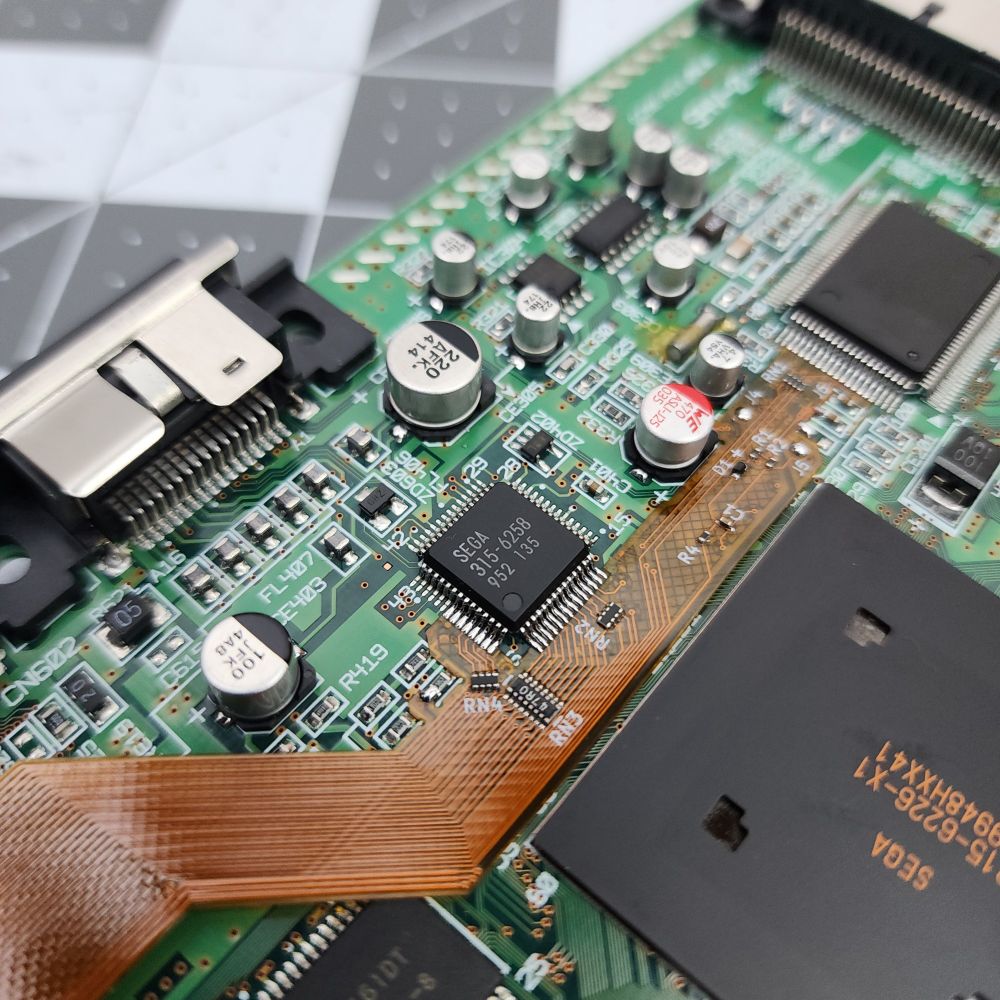

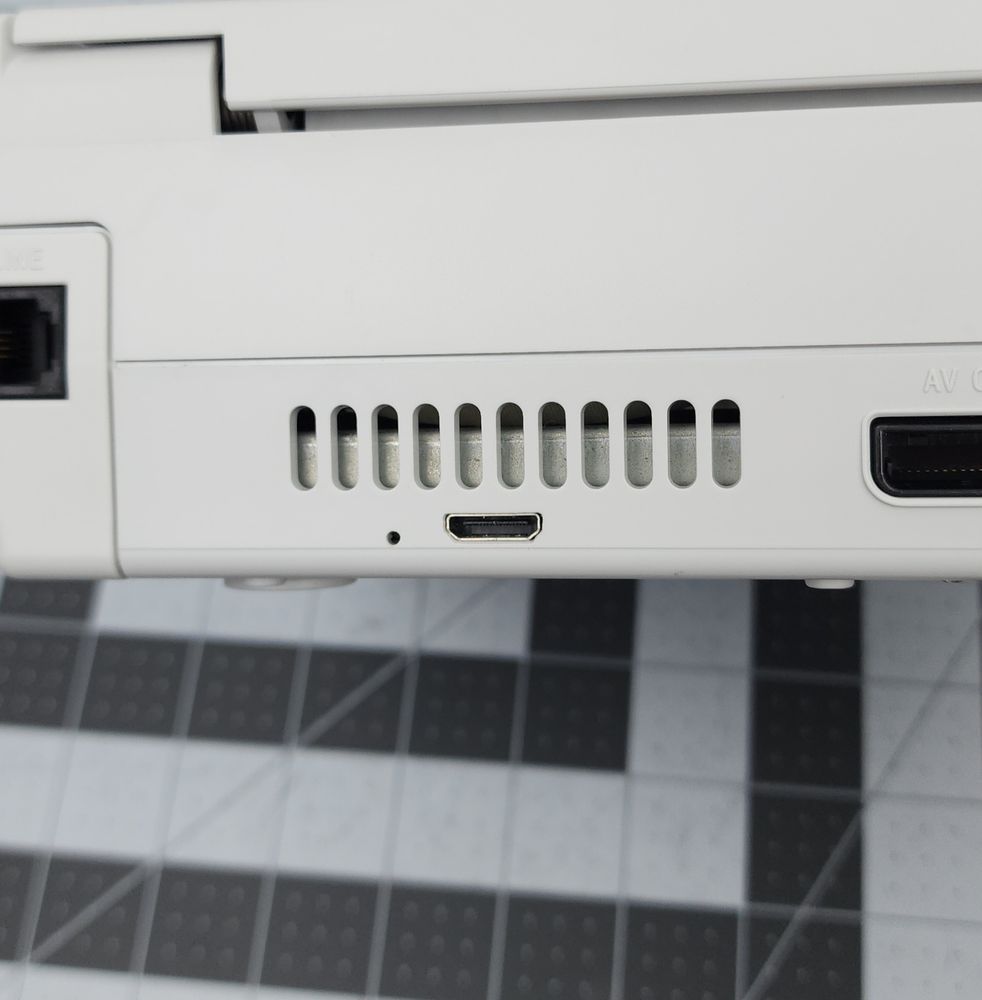
Diving deeper, we have some pics of the DCDigital HW2 flex installation and some new bigger and better thermal pads. These are cut larger than the OEM ones to make full use of the heatsink for optimal heat transfer.
🧵 2/5
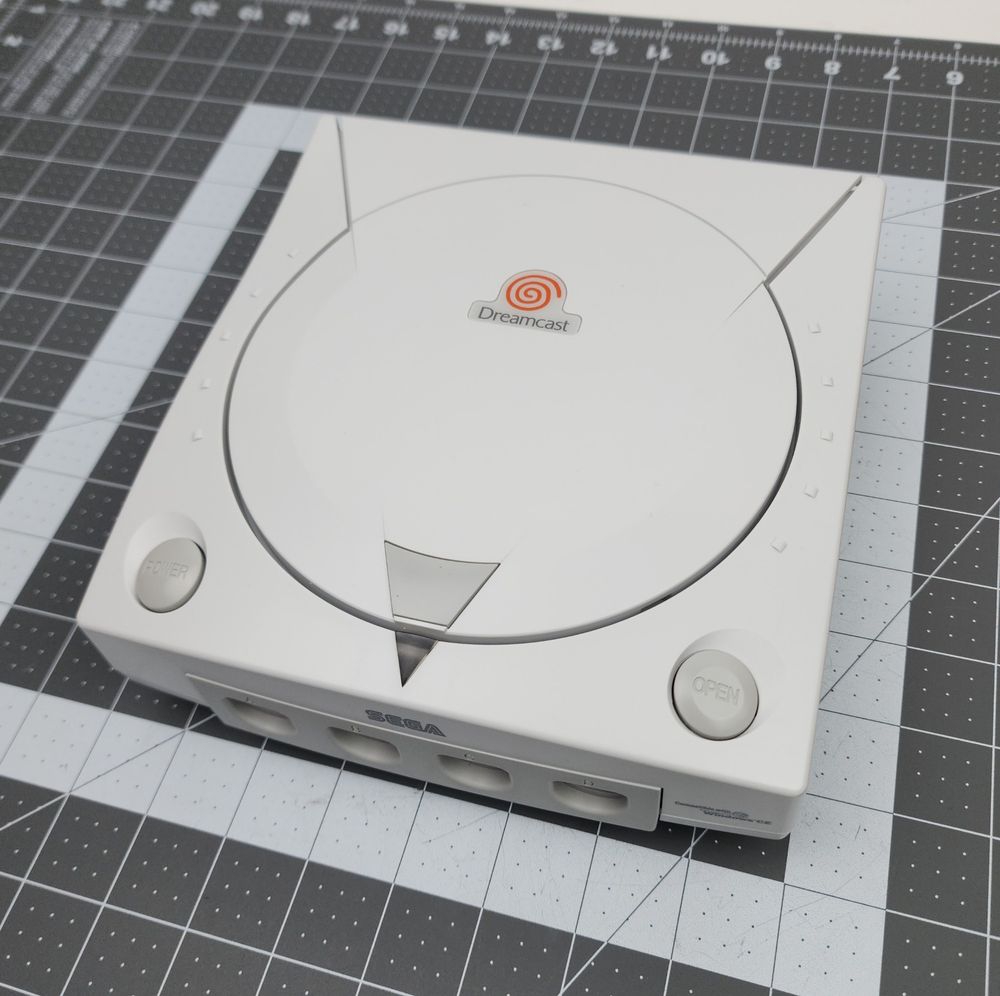
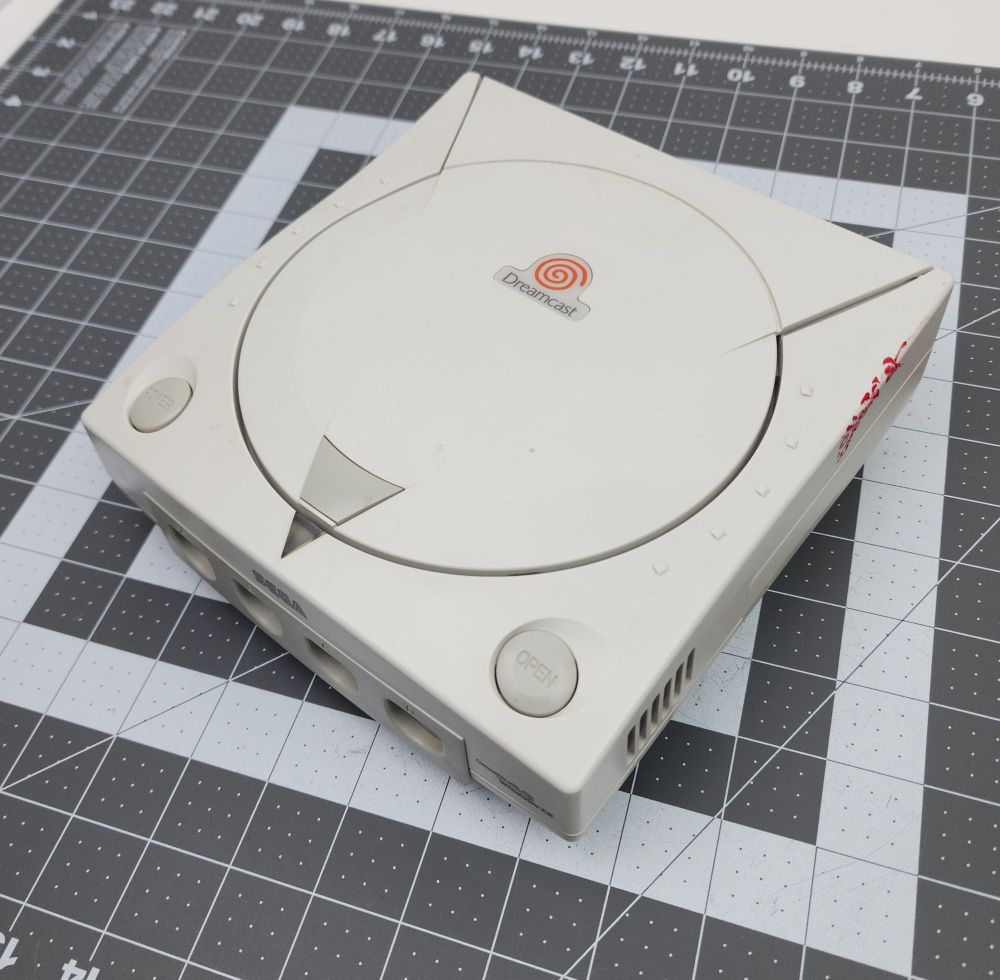
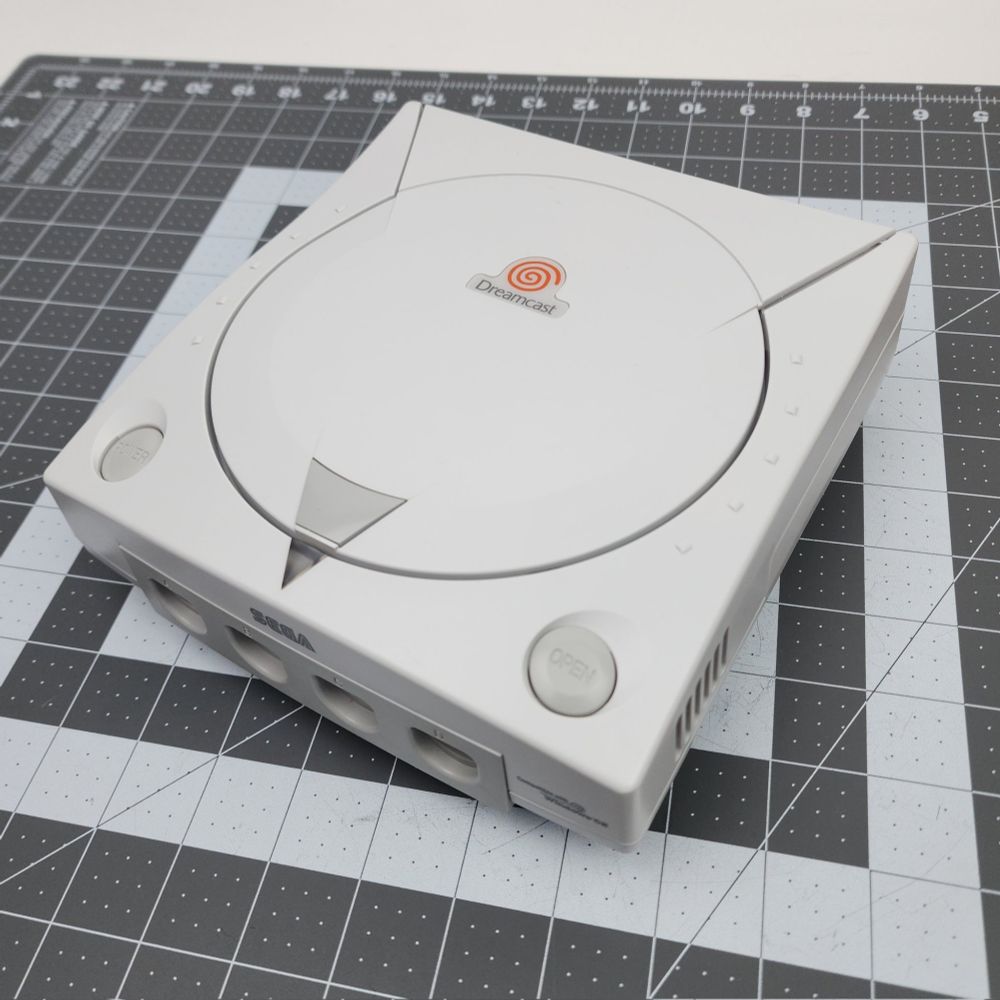
Good morning, afternoon or evening, everyone! The first thing on the agenda for today was finishing up this Sega Dreamcast with DCDigital HW2 from @pixelfxco.bsky.social, updated to the latest Shiny firmware, along with an RF BIOS, new pads, recap, Noctua fan, and new battery/fuse!
🧵 1/5
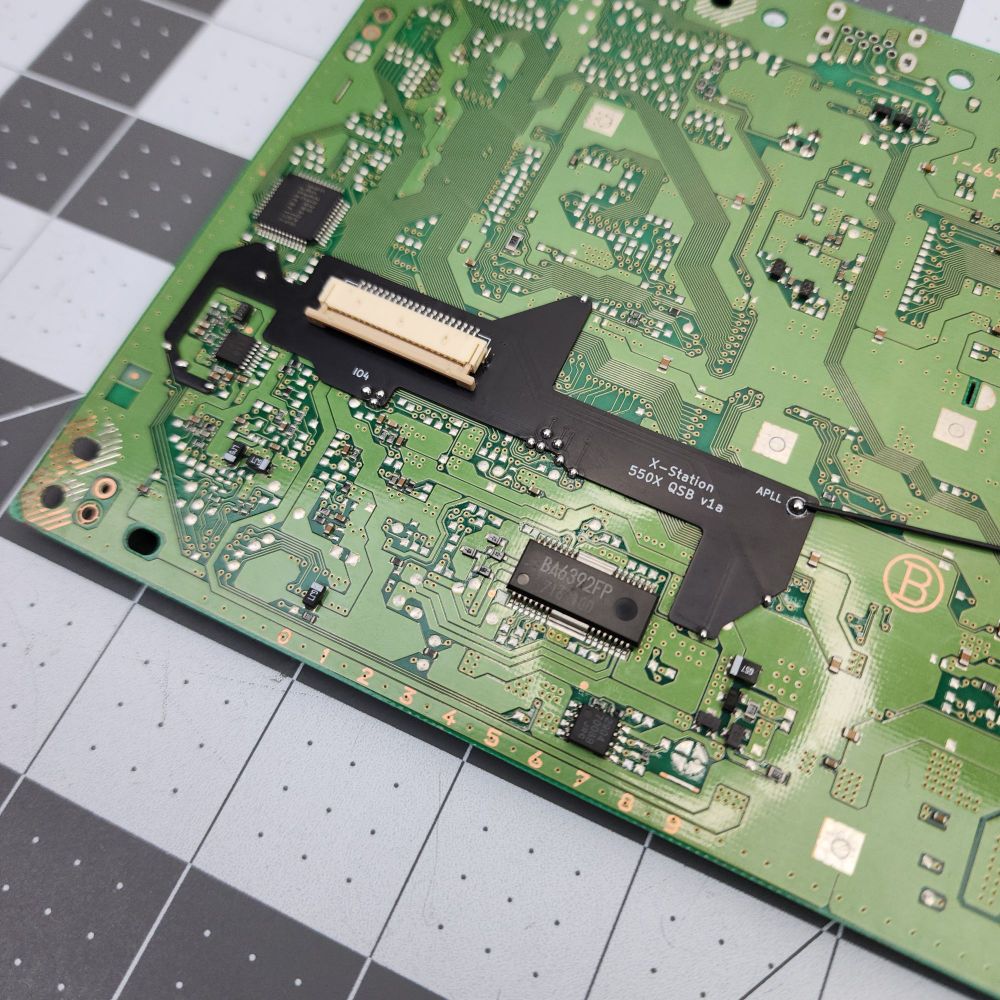
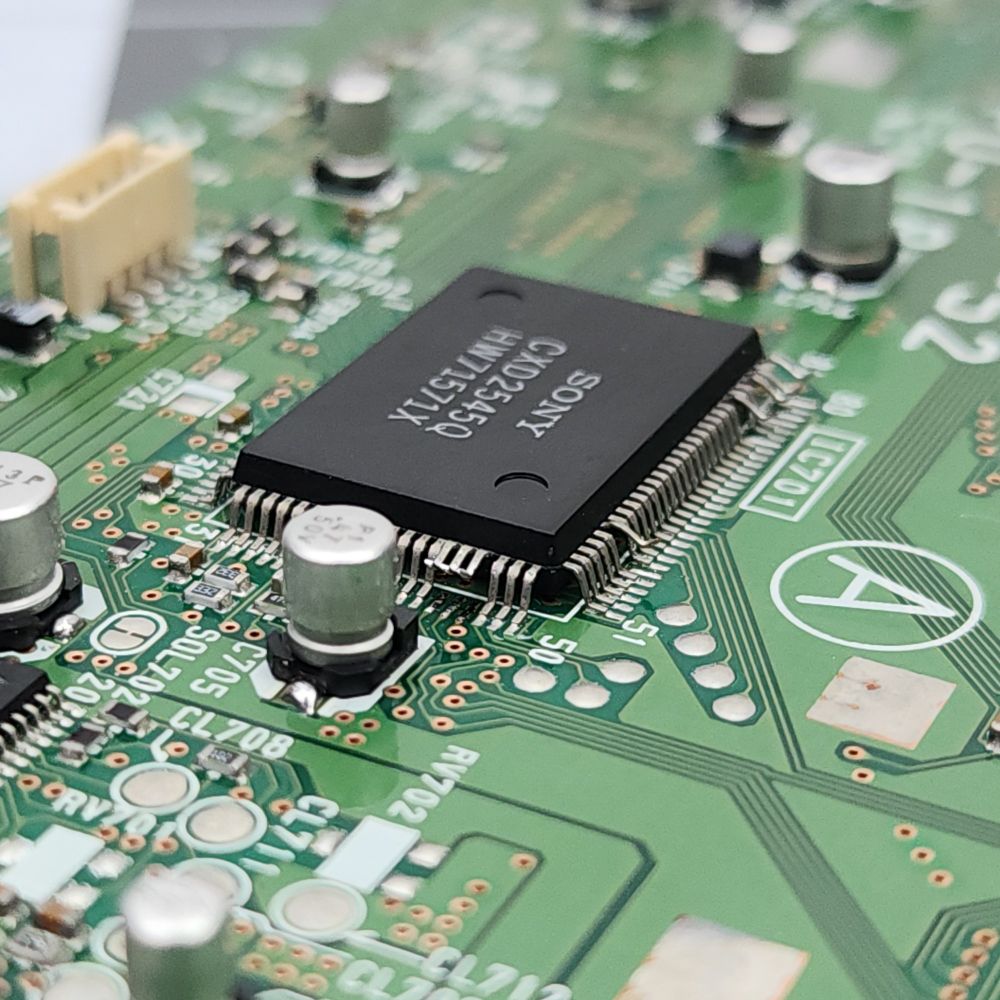
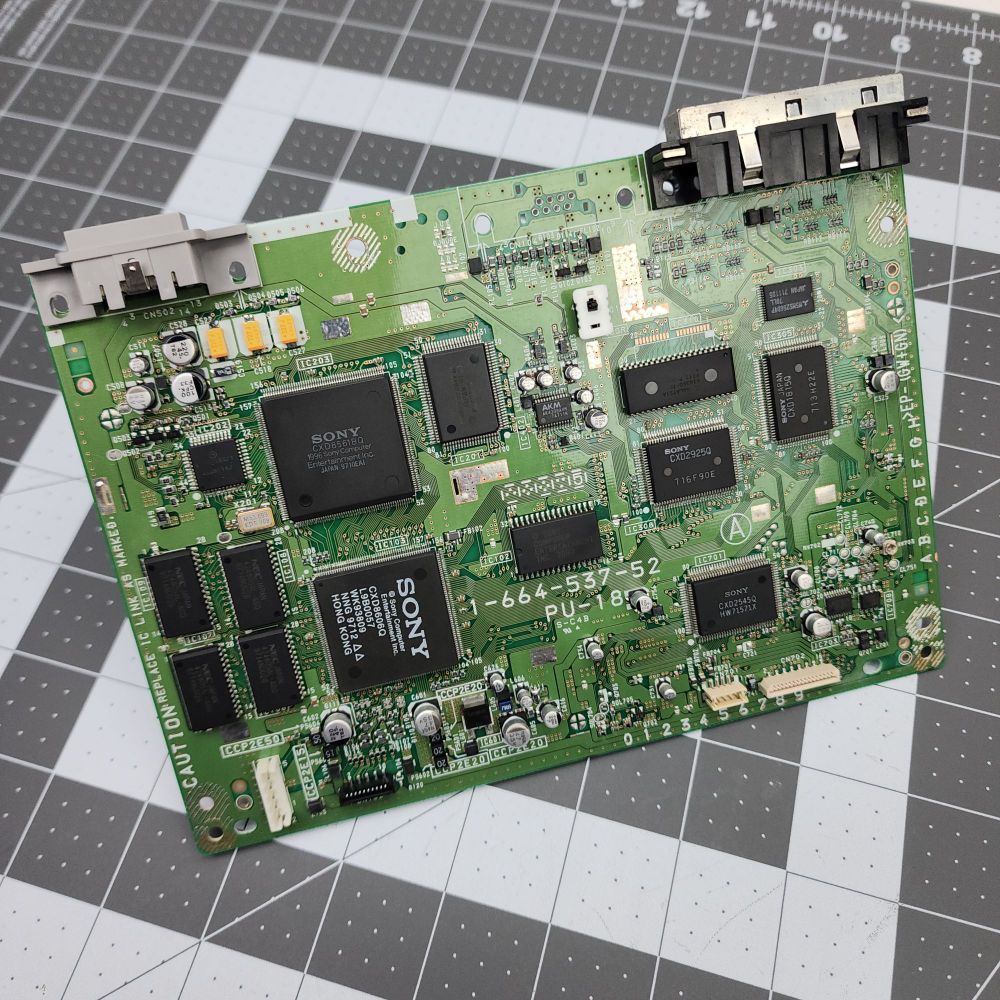
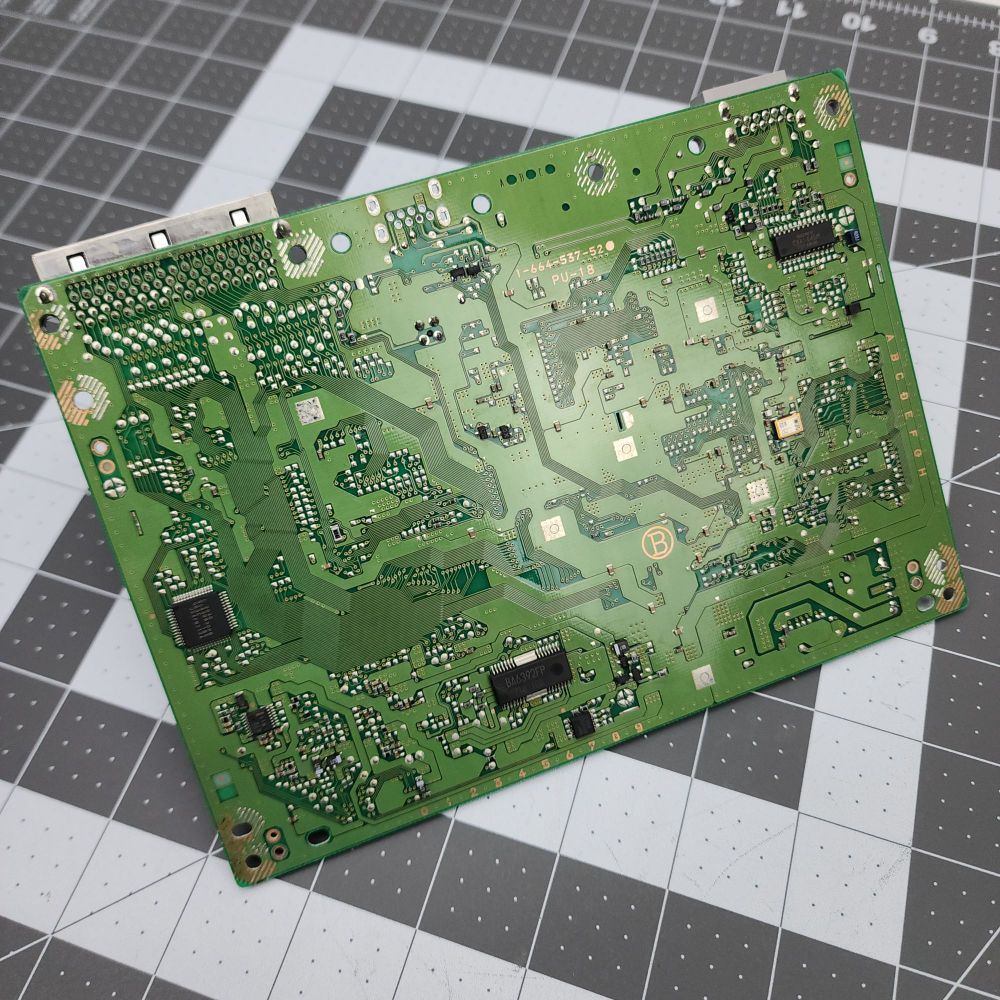
Finally, some pics of the xStation install and motherboard recap. The board was also run through the ultrasonic cleaner to remove any residual residues.
🧵 3/3
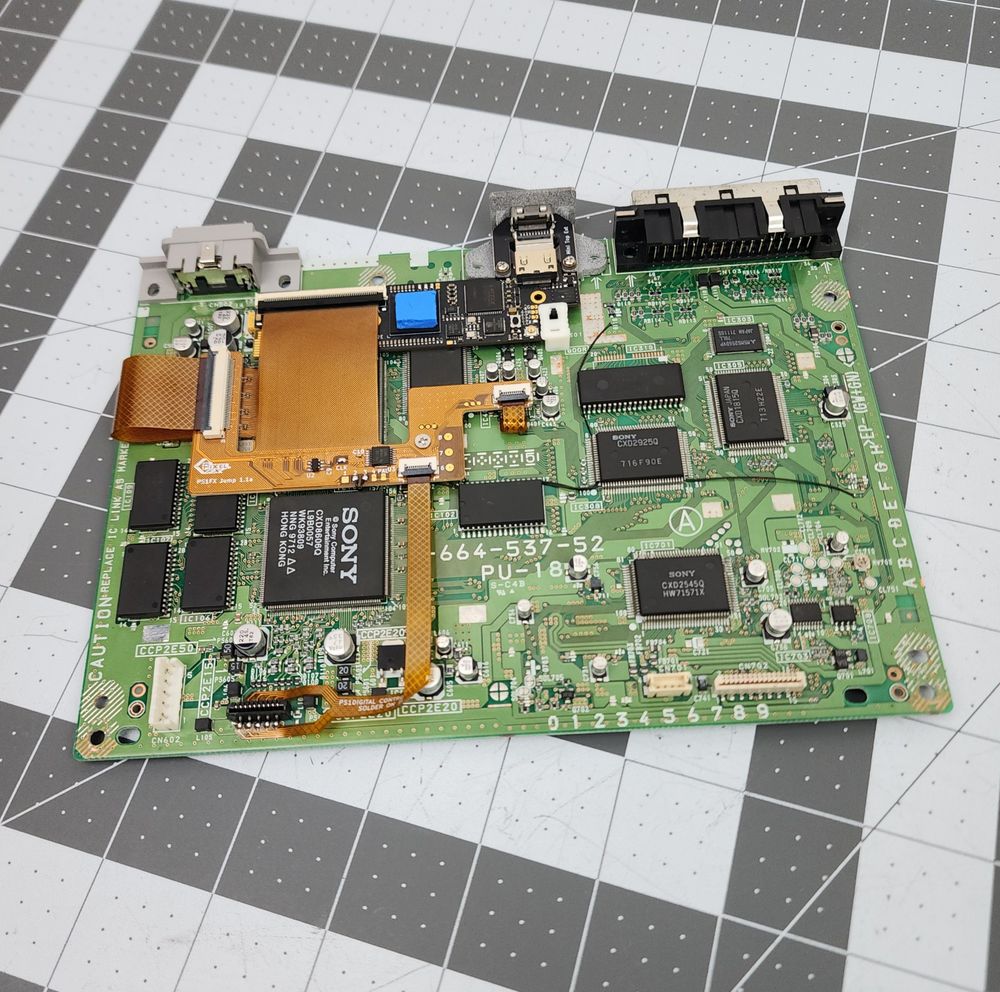
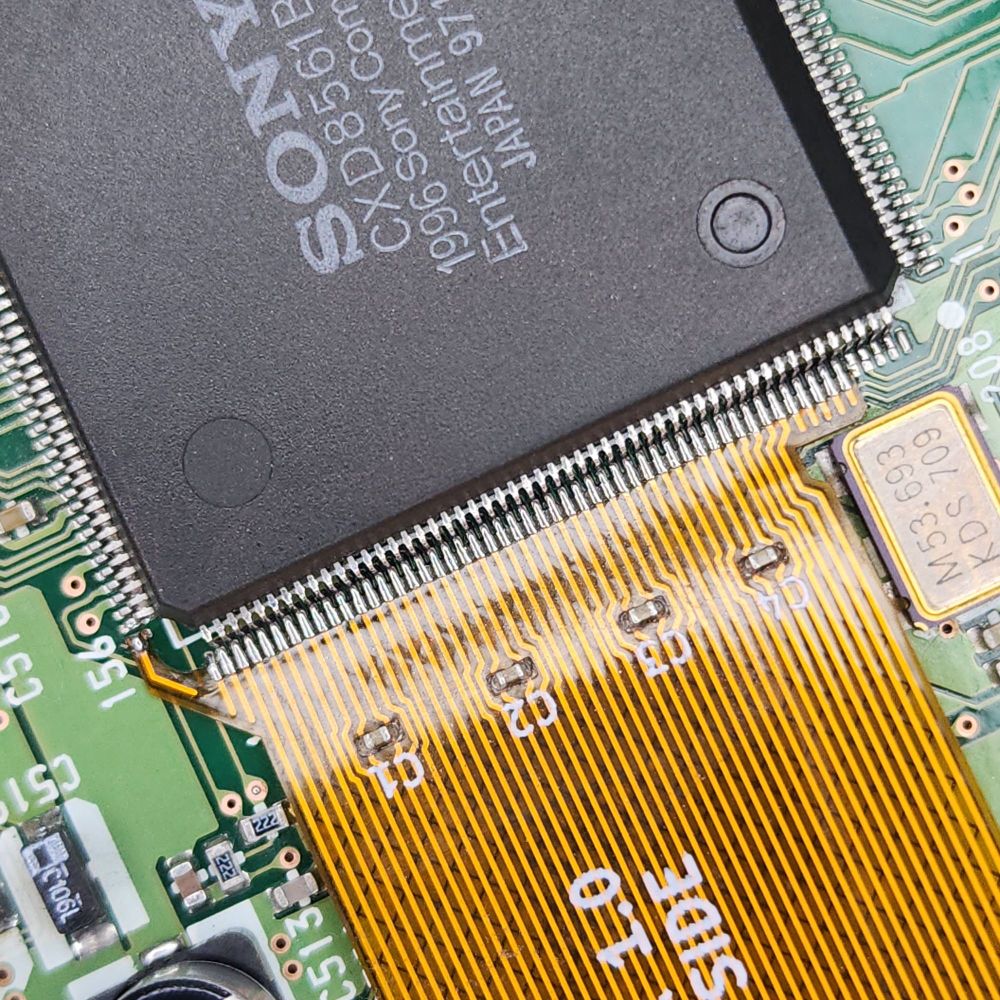
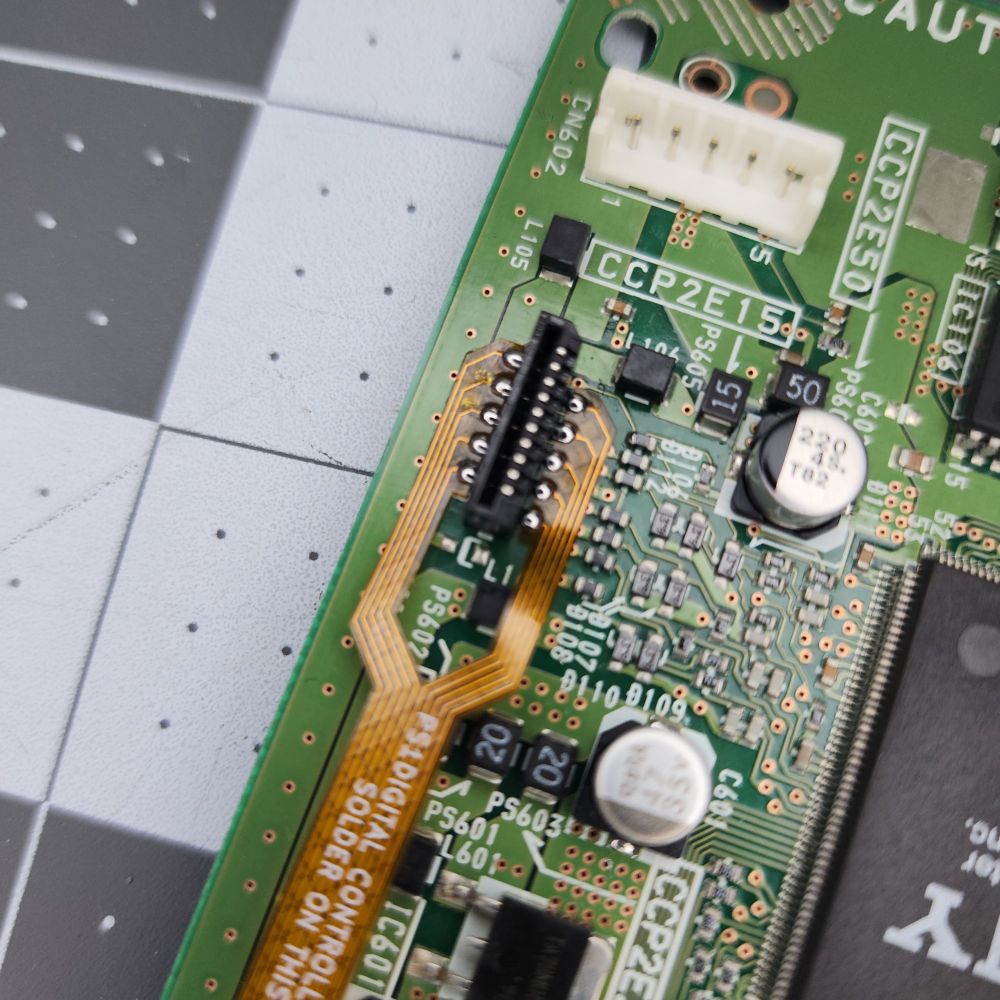
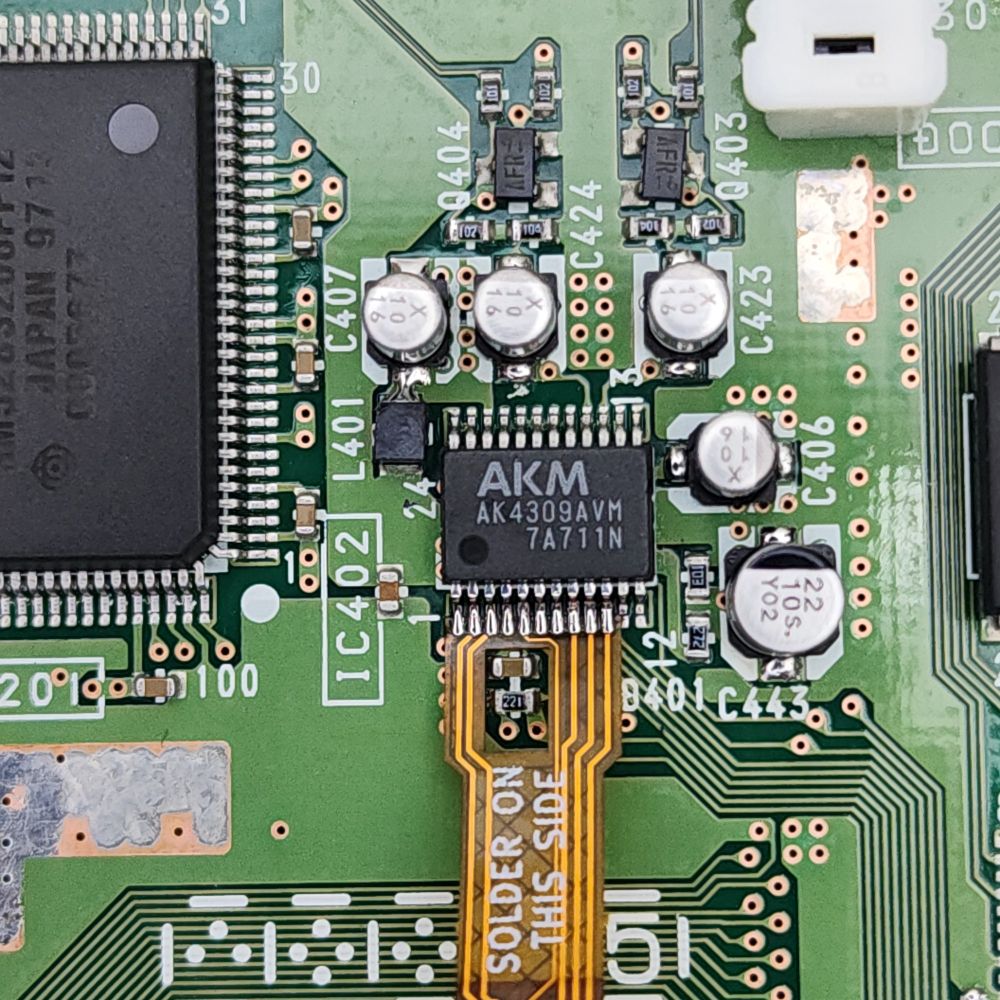
Next up, a few pics of the internals. PS1 Retro GEM board mounting and associated flex installations. Retro GEM lid switch control and clock mod were also enabled.
🧵 2/3

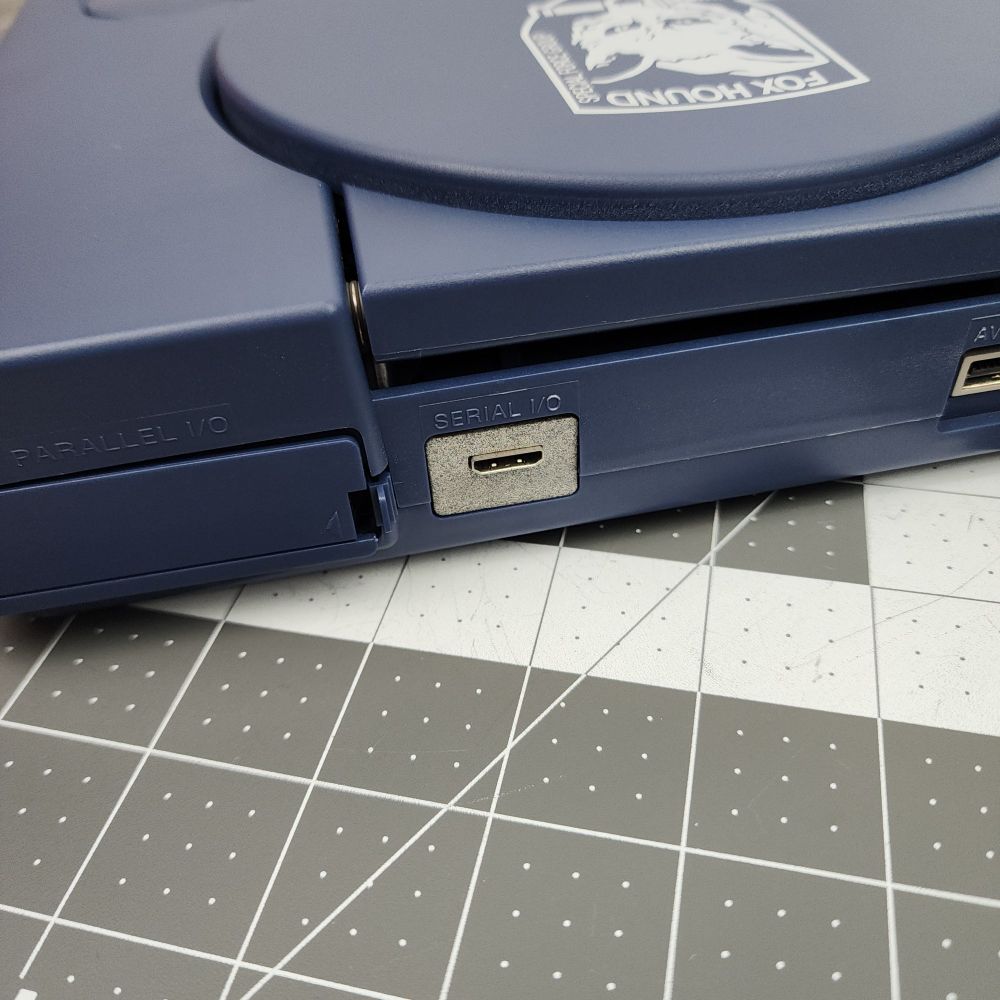
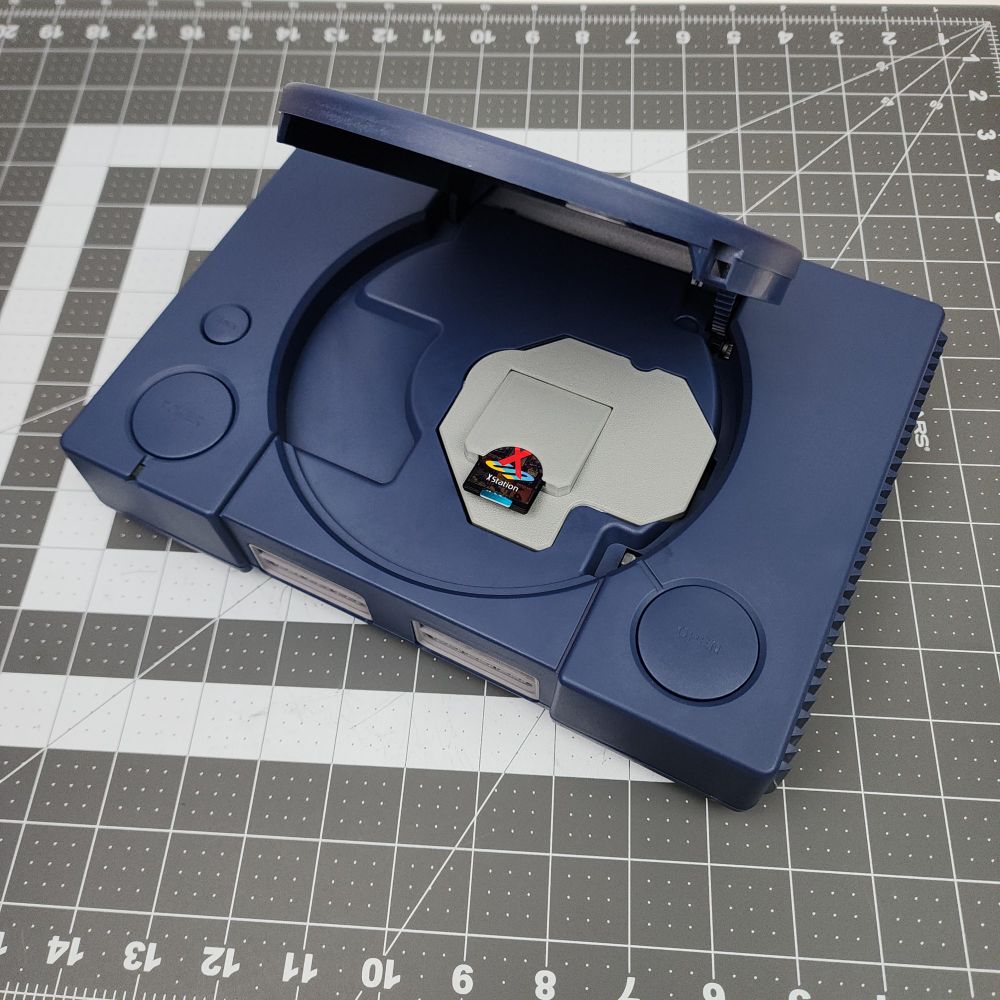
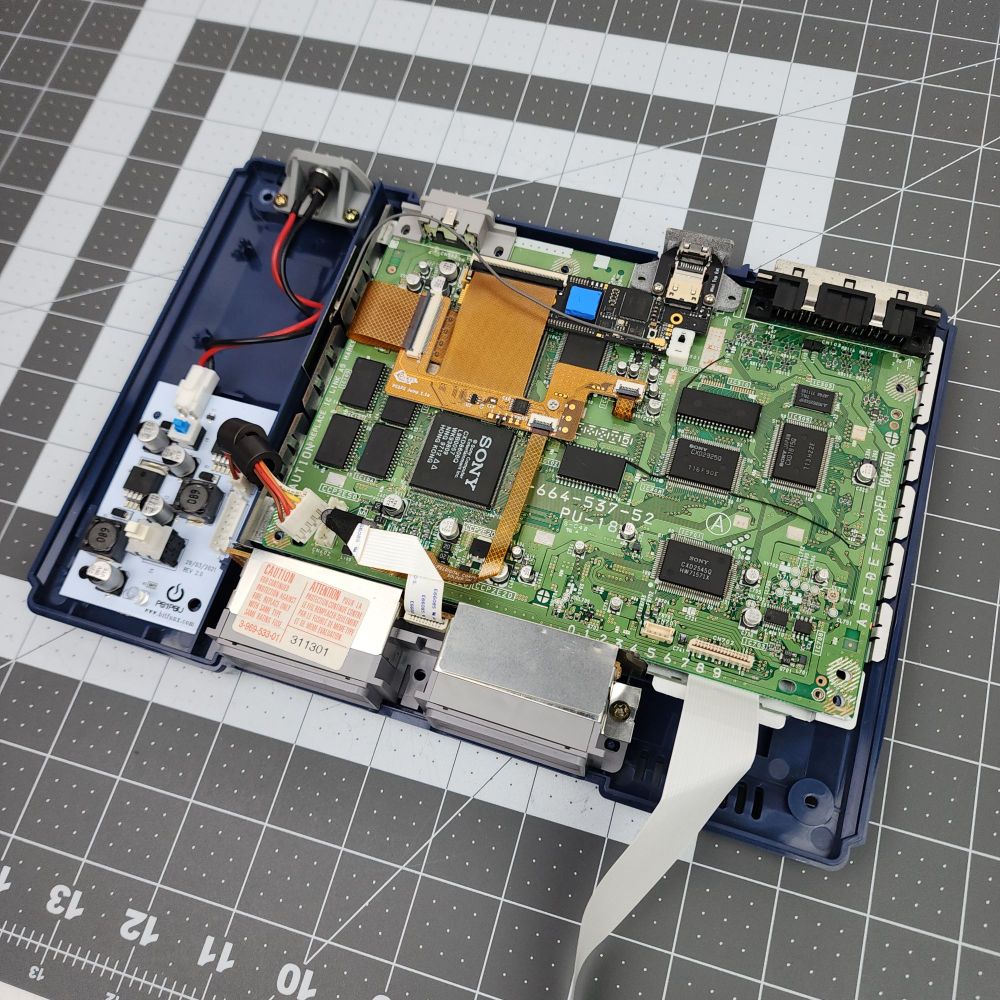
Happy Saturday, everyone! Just finished up this awesome #PlayStation 1 build with custom Metal Gear housing from Yoei_RetroCOOL, PS1 Retro GEM from @pixelfxco.bsky.social, xStation with @collingall.bsky.social SD extension tray and PicoPSU.
🧵 1/3
Finally, we end at the beginning. A few before pics of the console and how it arrived. I save this for last because most people don't want to see it.
As per usual, it's dusty, and the clock cap has leaked. We also have a nice marking from a previous owner/seller 😆.
🧵 6/6
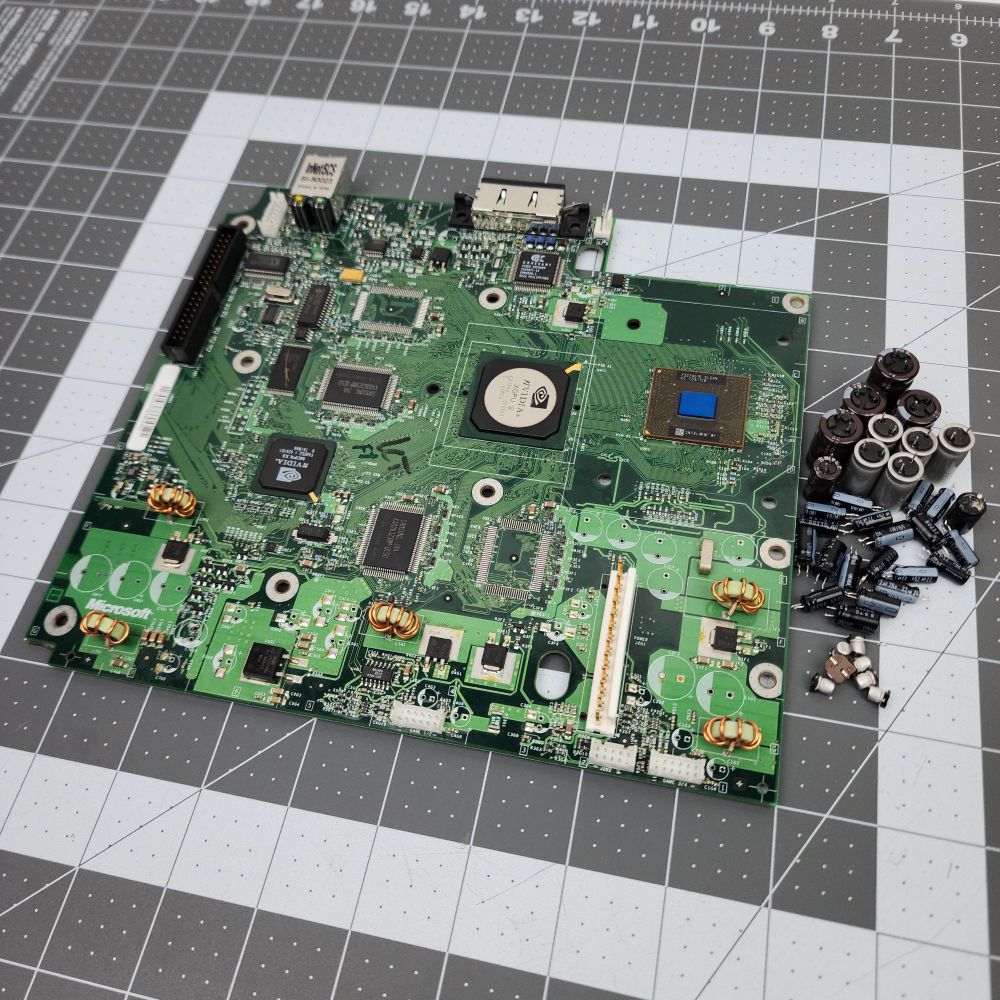
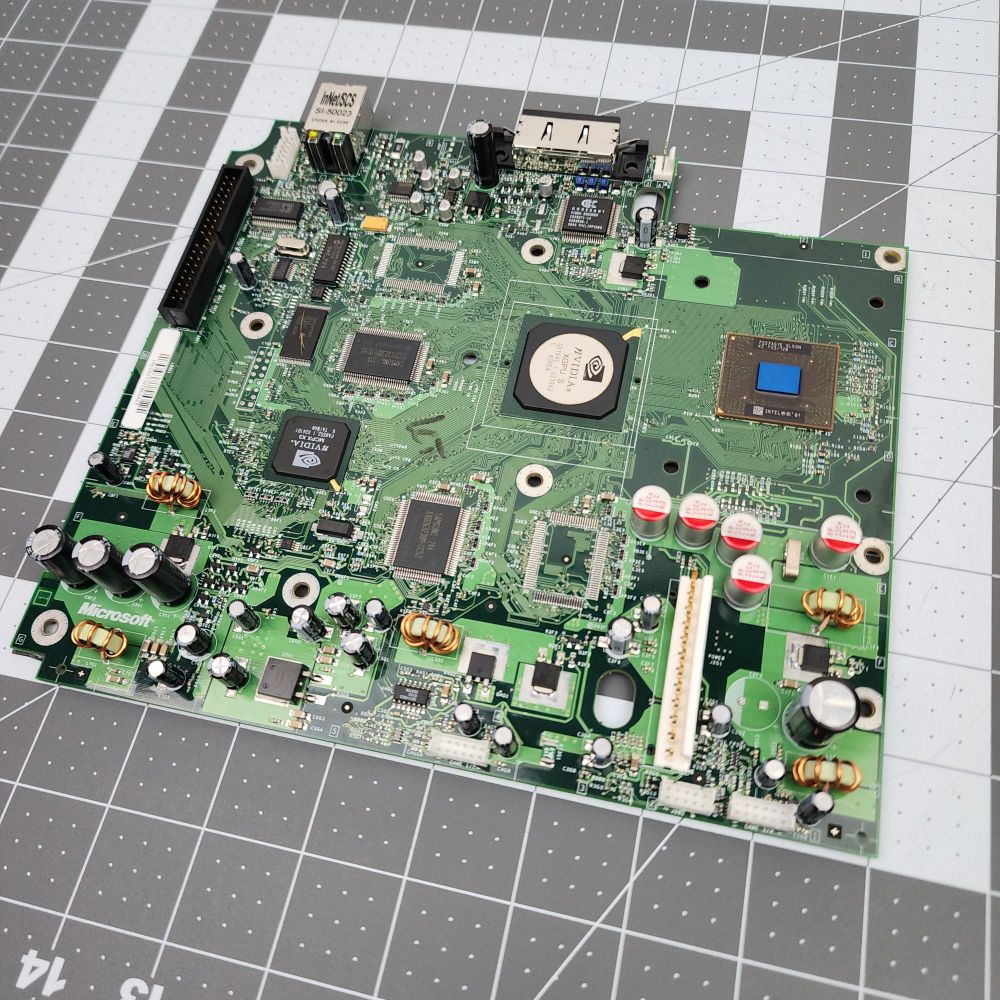
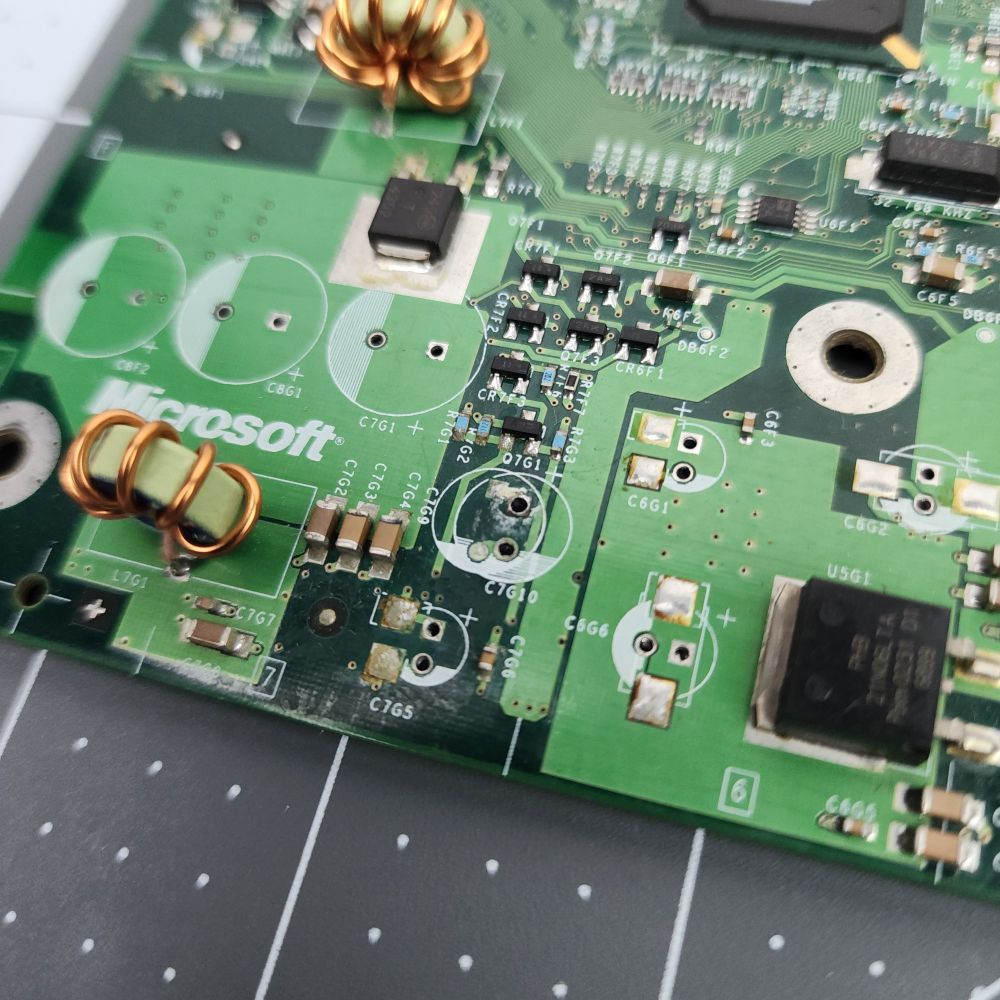
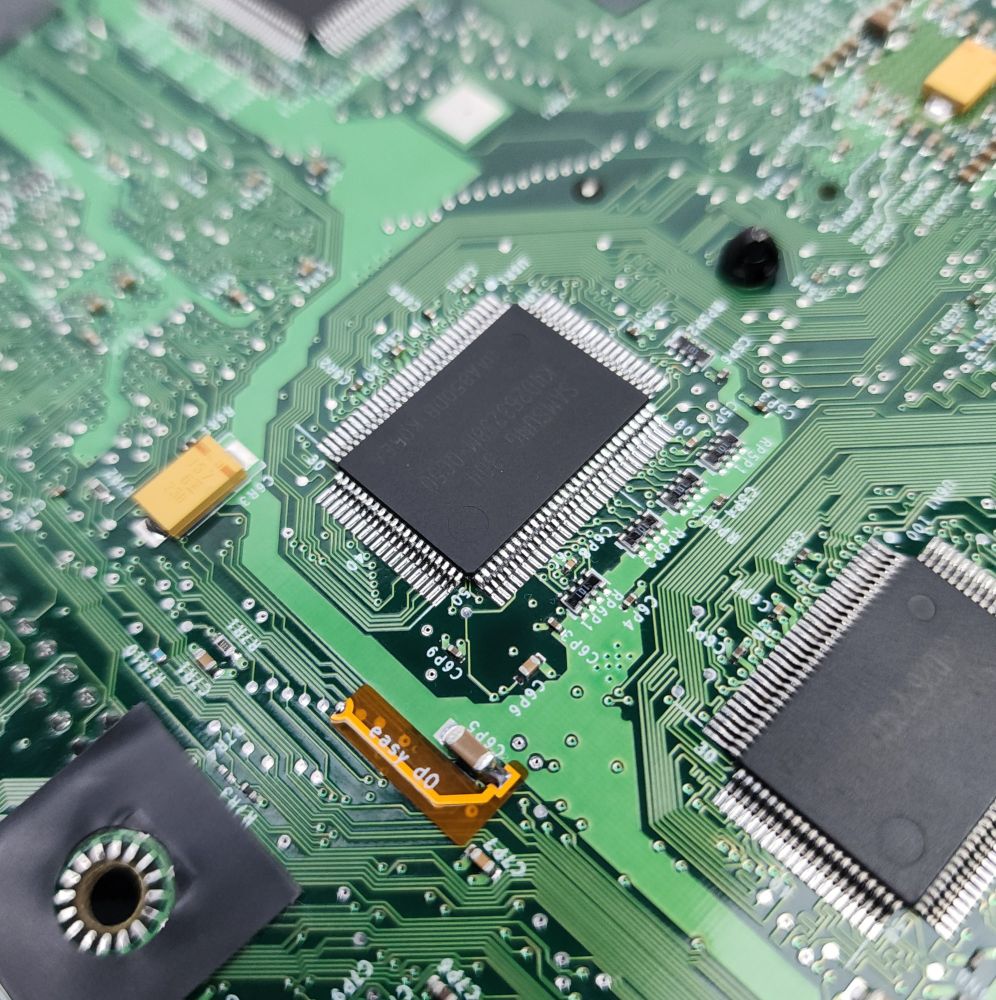
Continuing our time traveling Xbox
adventure, we come to the recap portion of the experience. Motherboard, power supply, and drive board all recapped. Motherboard run through the ultrasonic PCB cleaner.
Yes, I use 2 different cleaners/solutions (Degreaser/Branson EC).
🧵 5/6
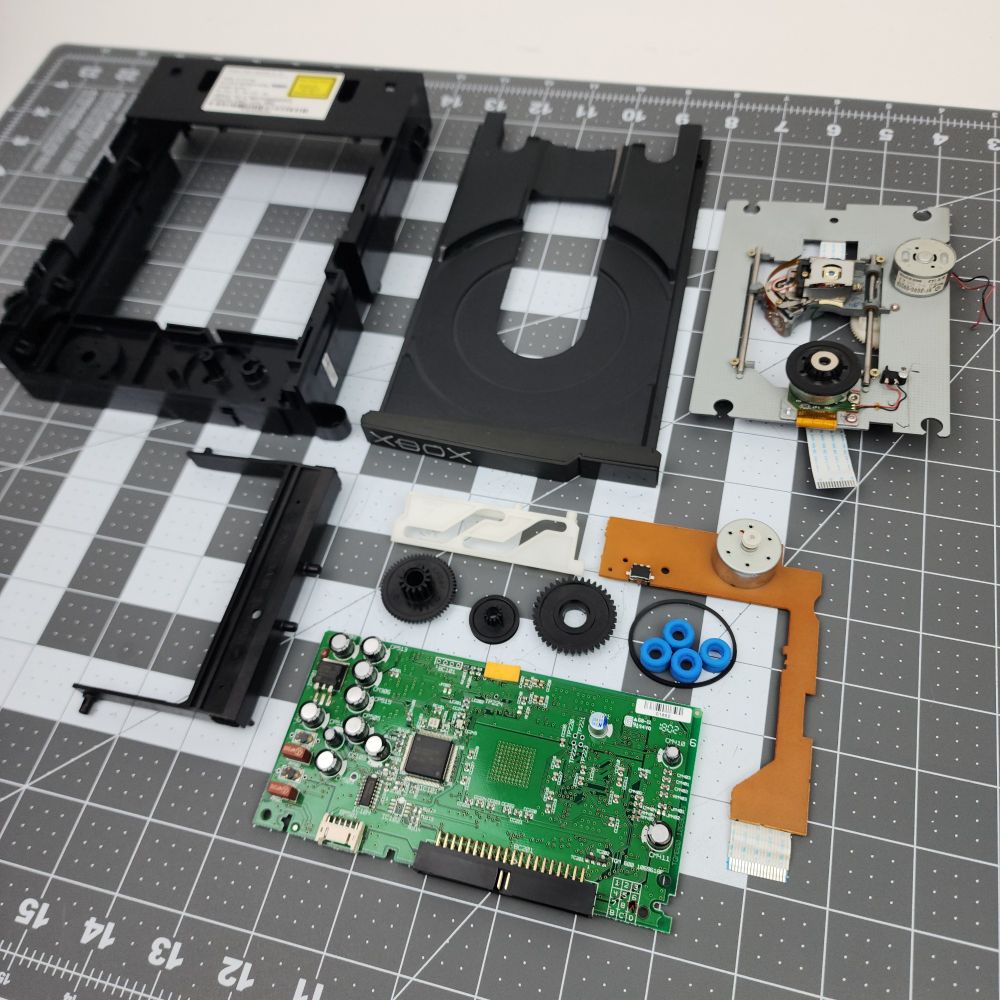
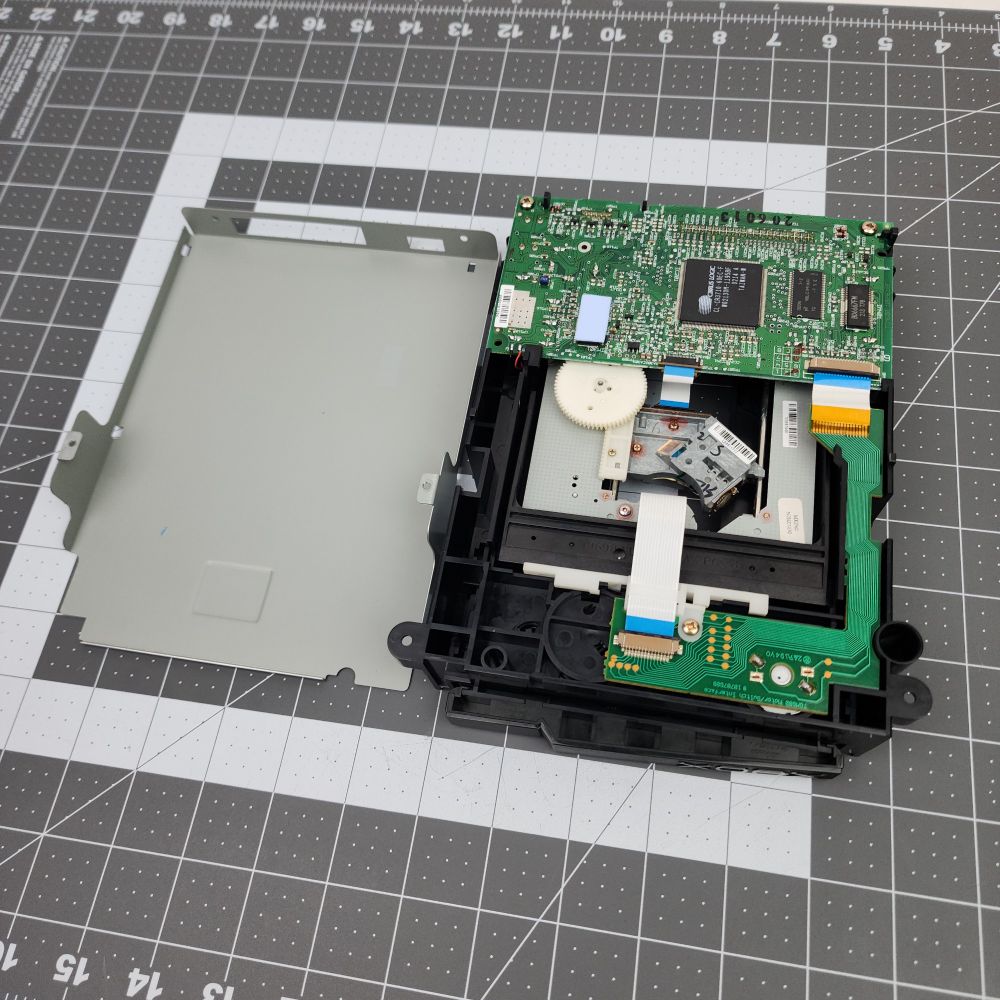
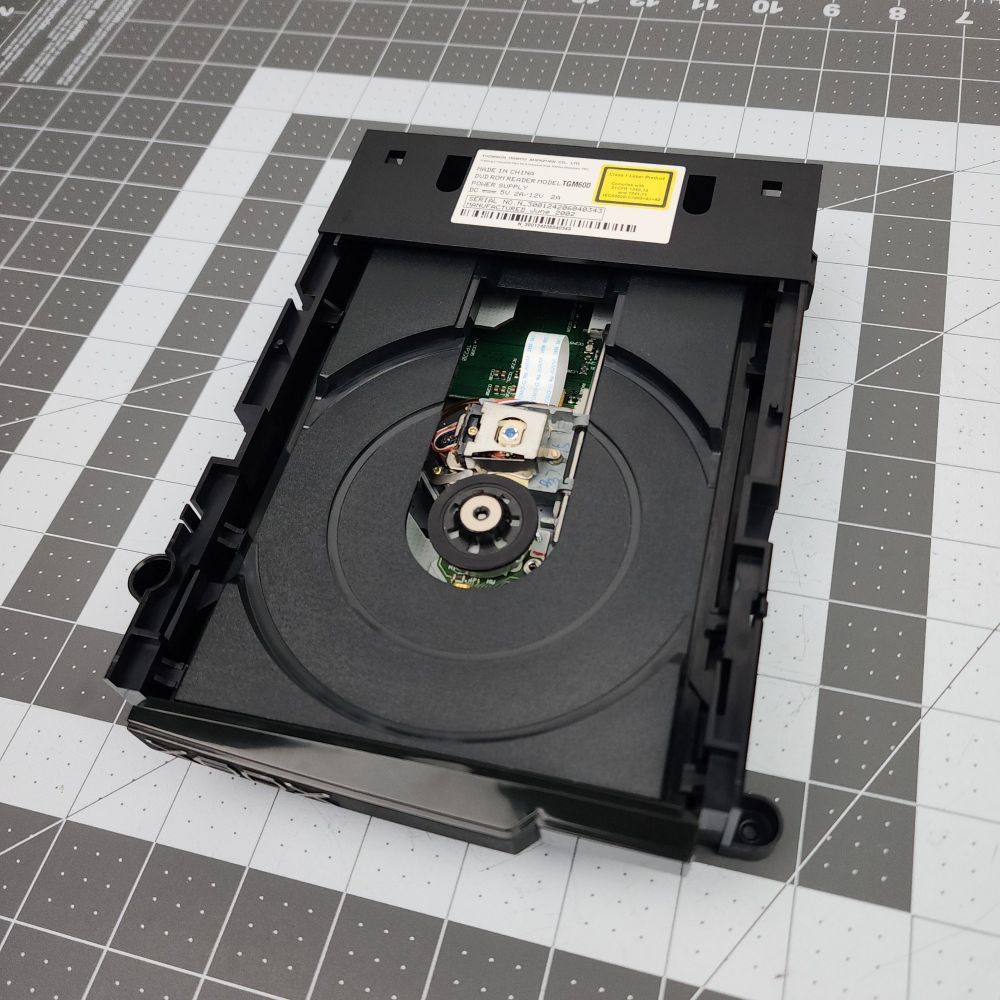
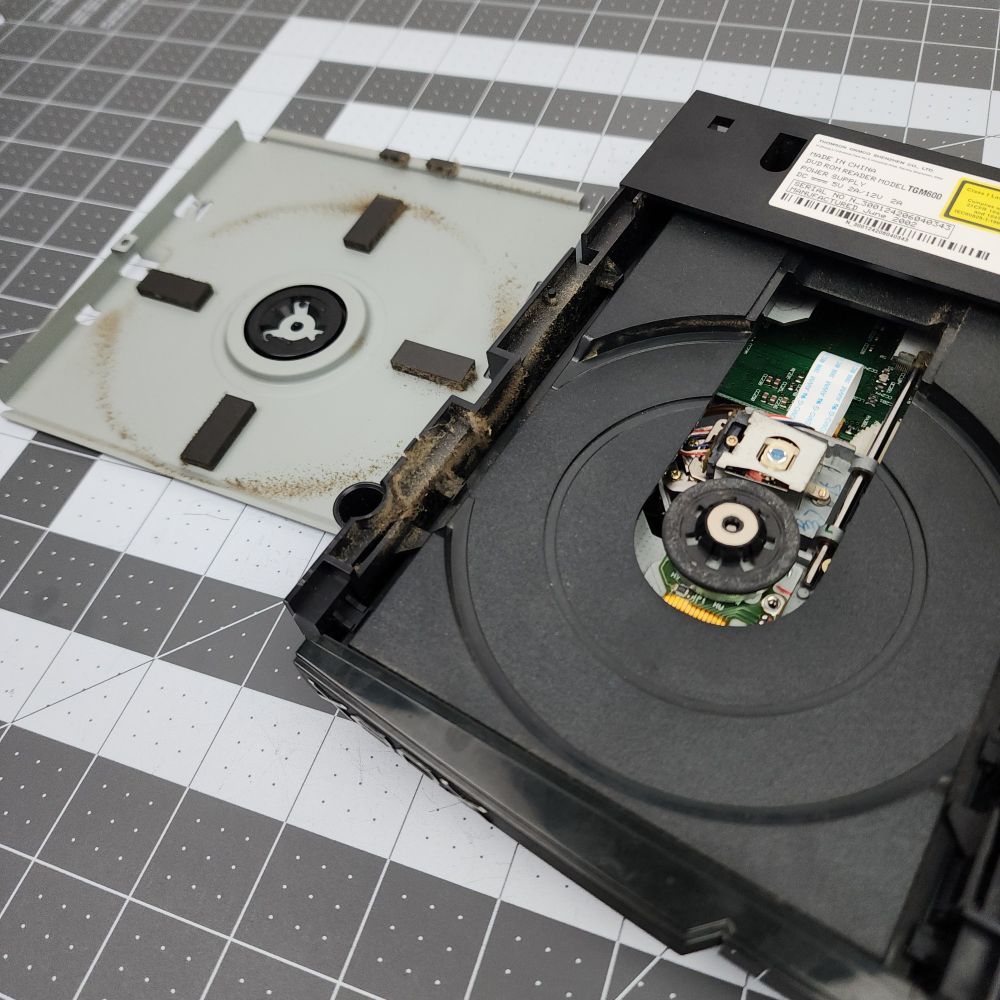
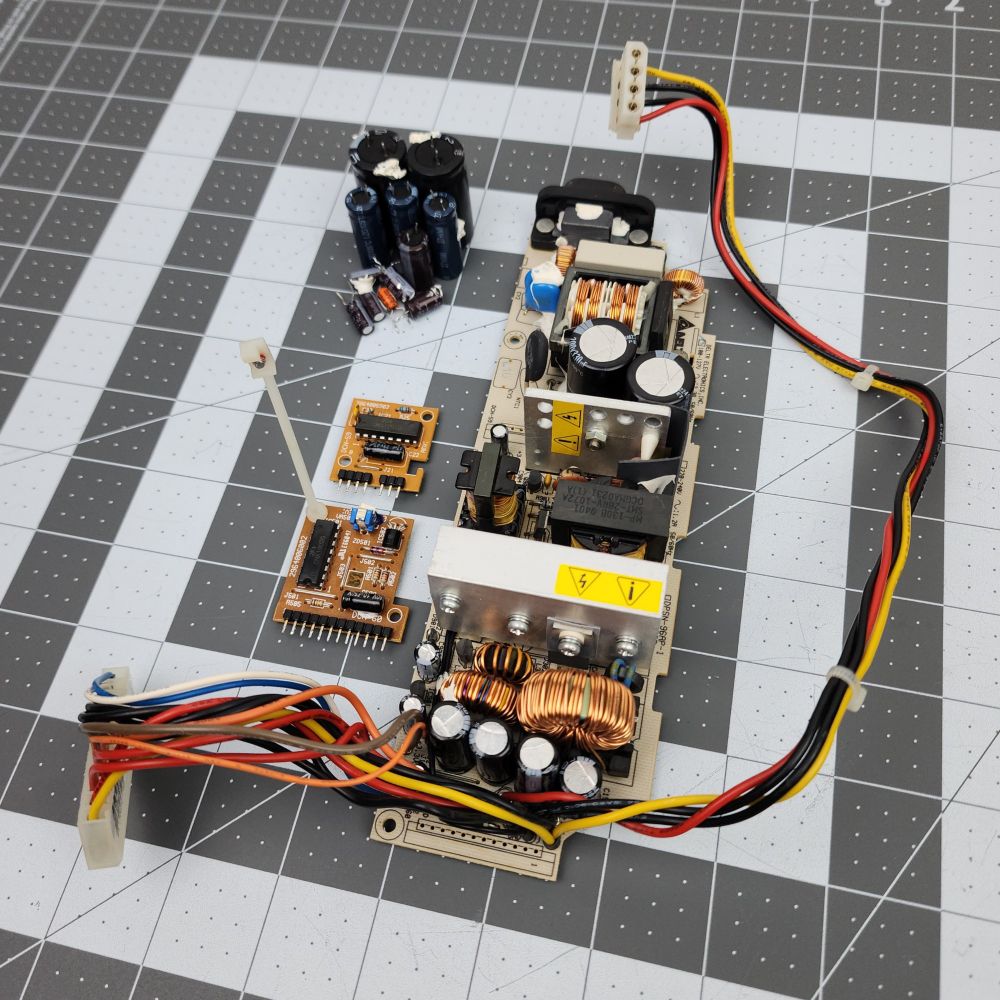
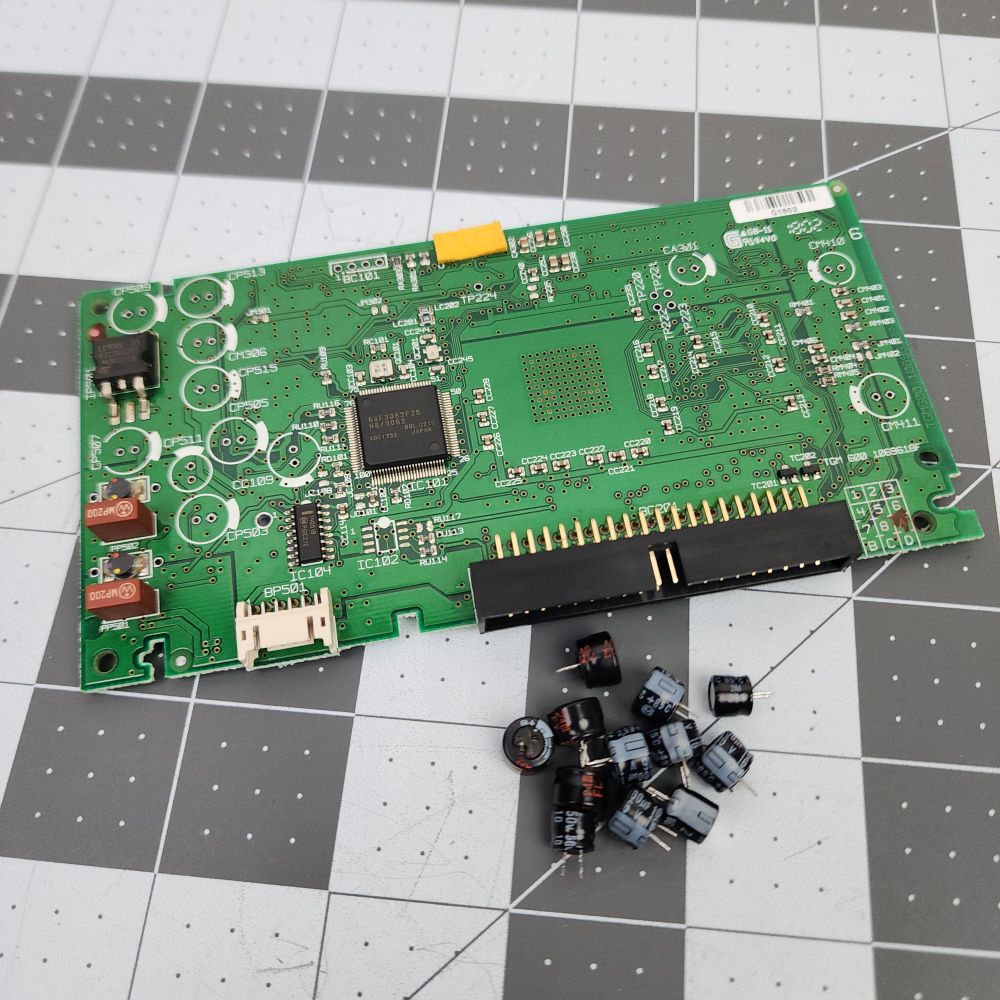
The optical drive definitely needed some TLC, so it was broken down, board recapped, and everything except the laser/motor run through the ultrasonic parts cleaner. Rails/gears/sled/tray, etc. all relubricated with Shin-Etsu, and the lone thermal pad was also replaced.
🧵 4/6
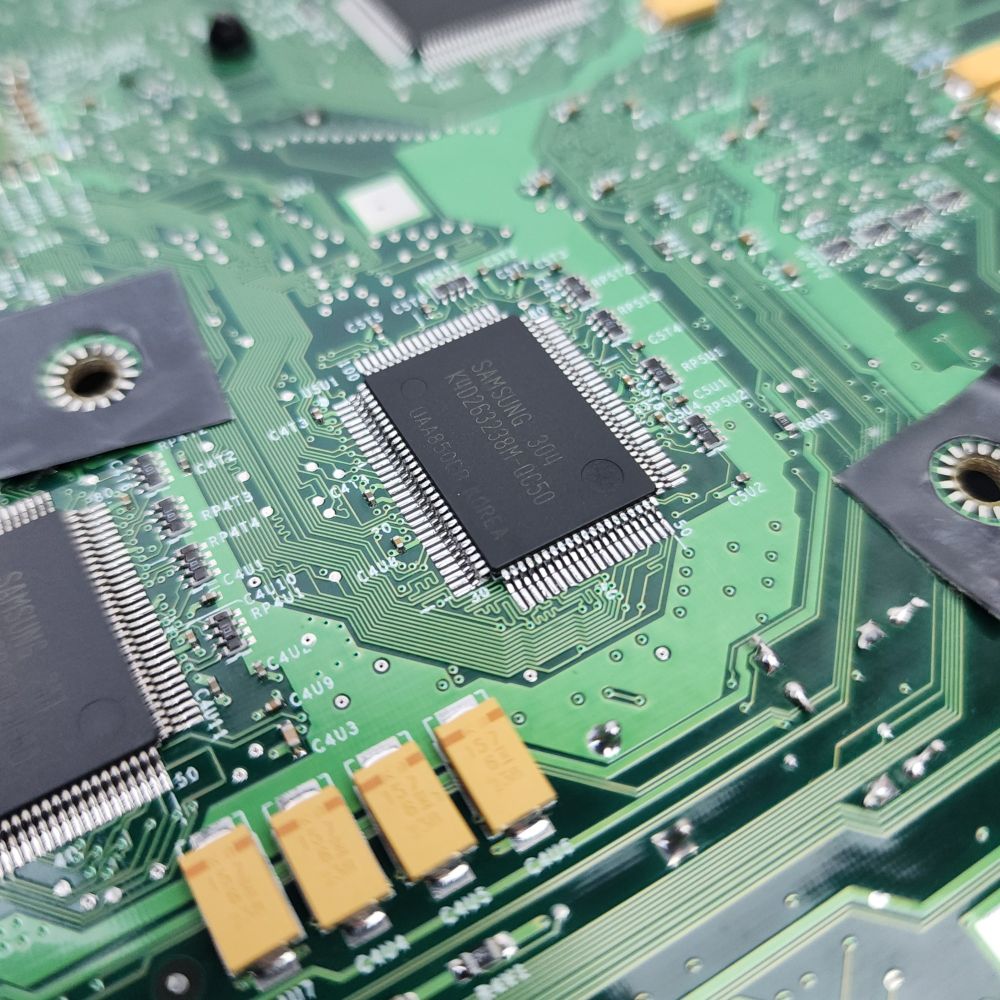
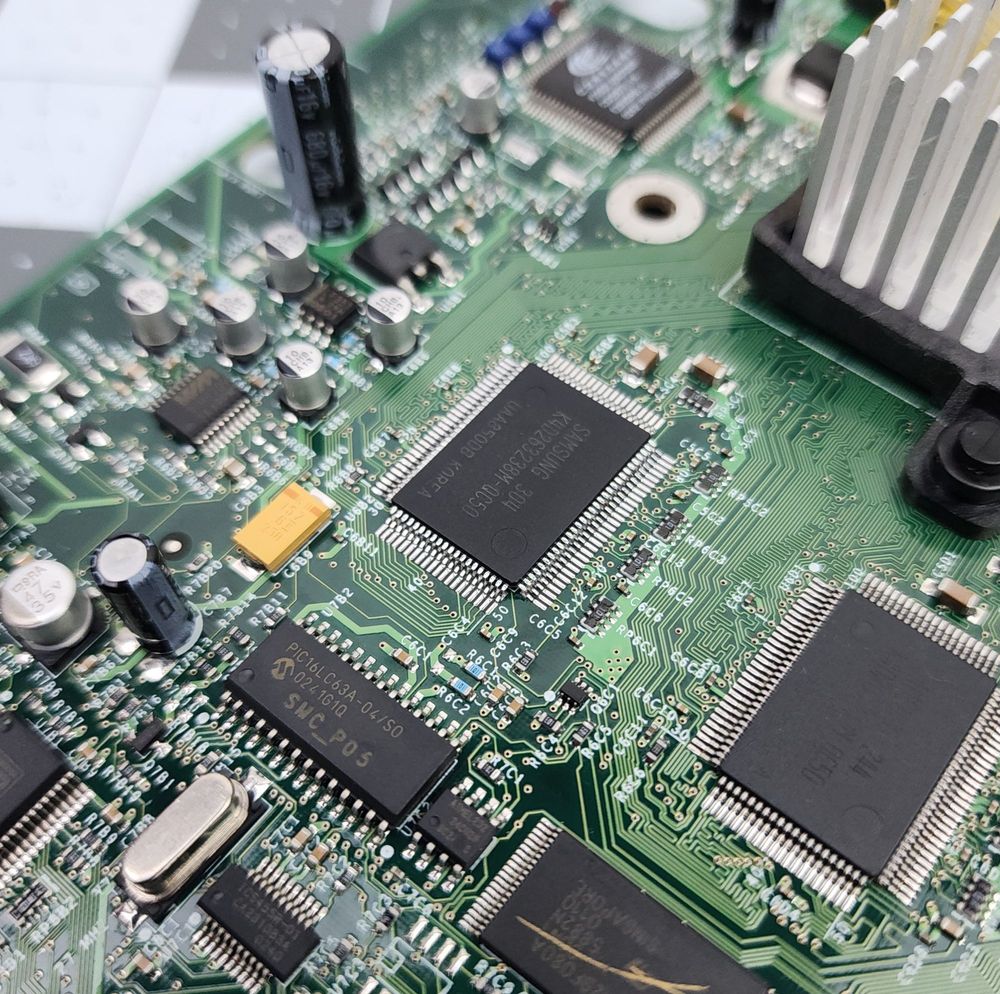
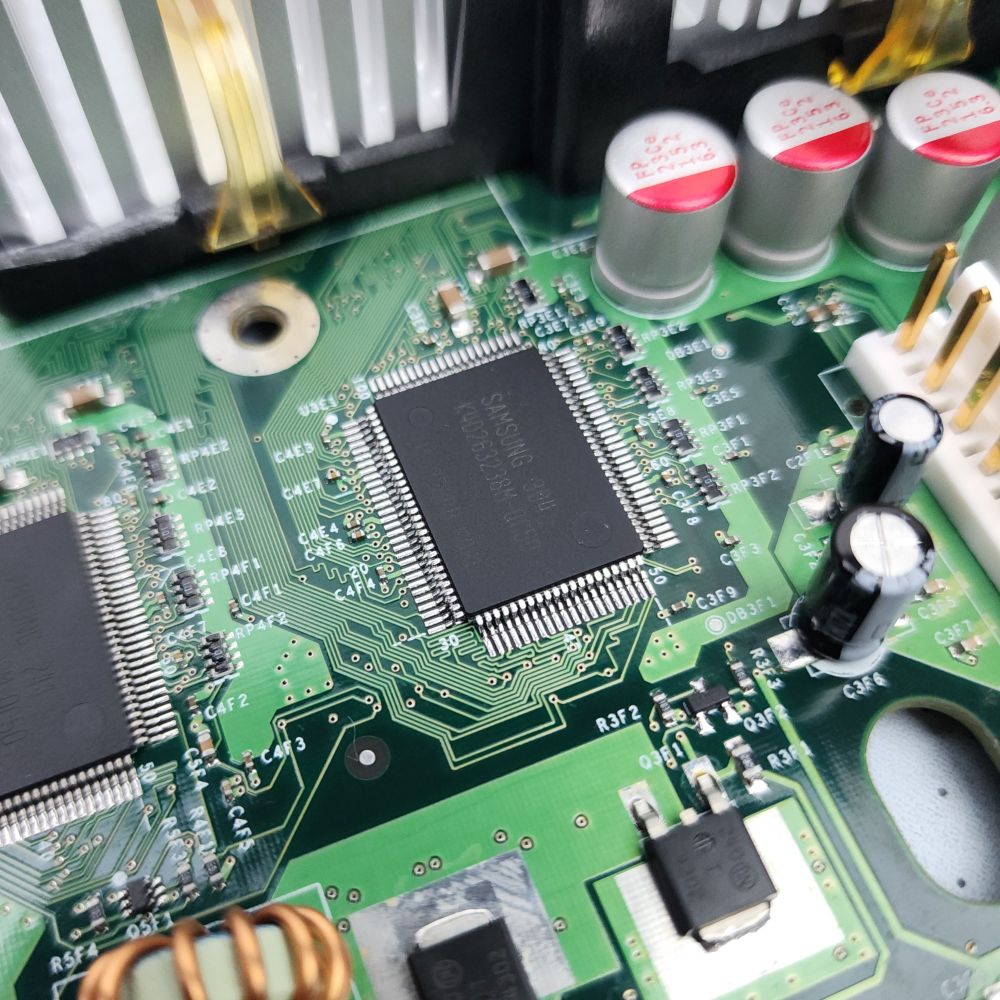
Next up, some installation pics of the 128MB RAM upgrade. 4 picture slots on the post, 4 RAM modules, a perfect fit. Now its Chihiro time.
🧵 3/6
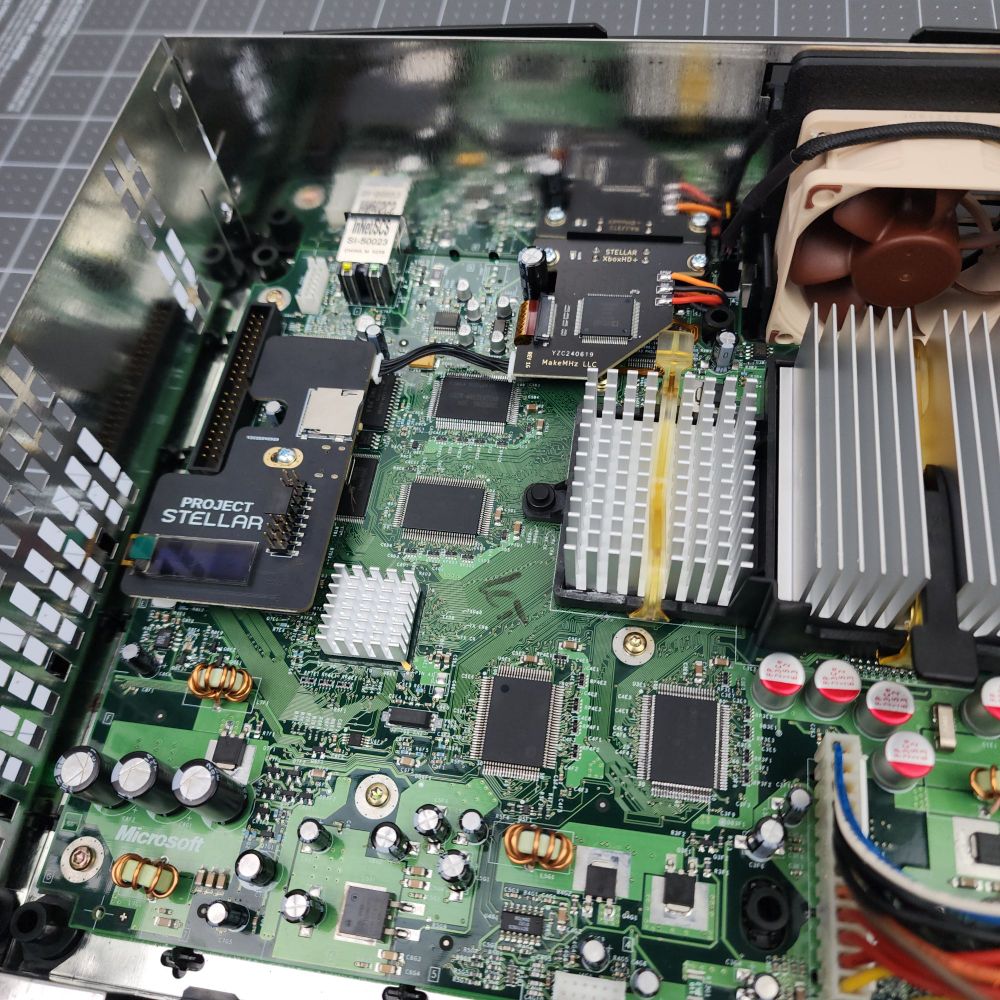
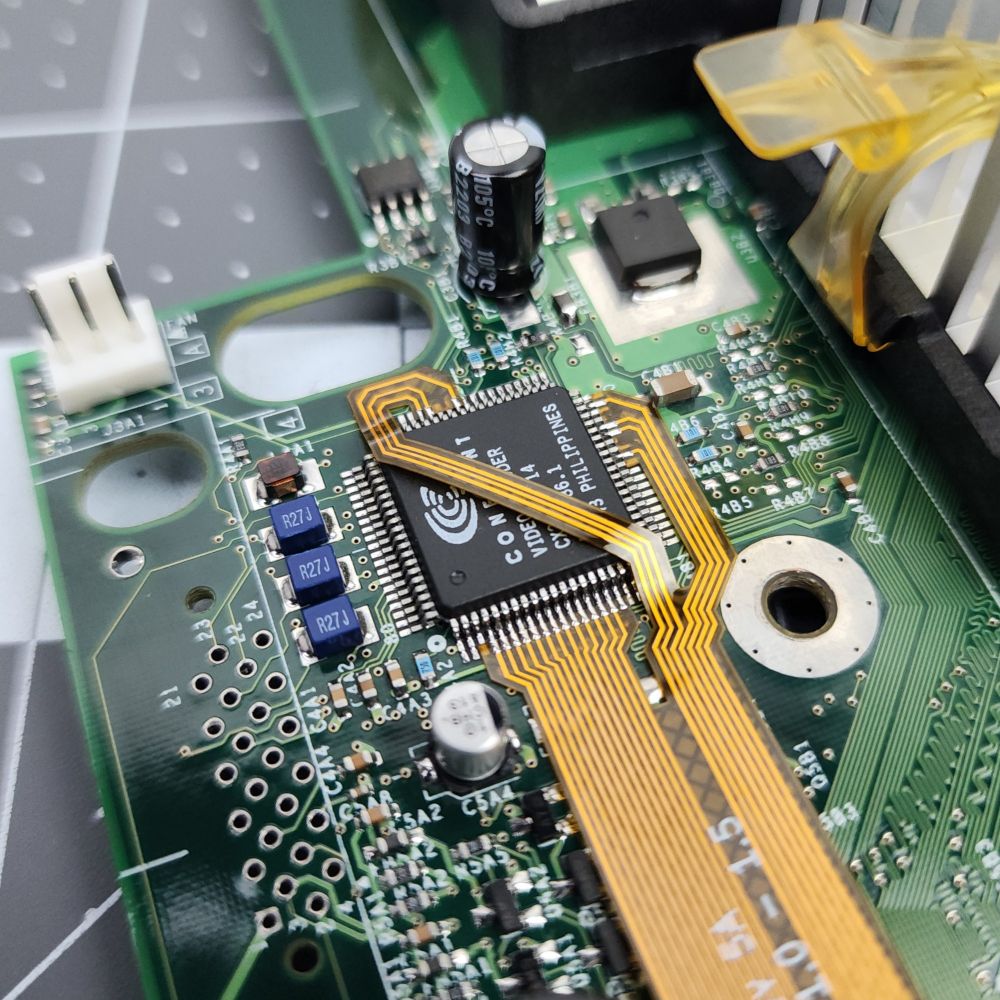
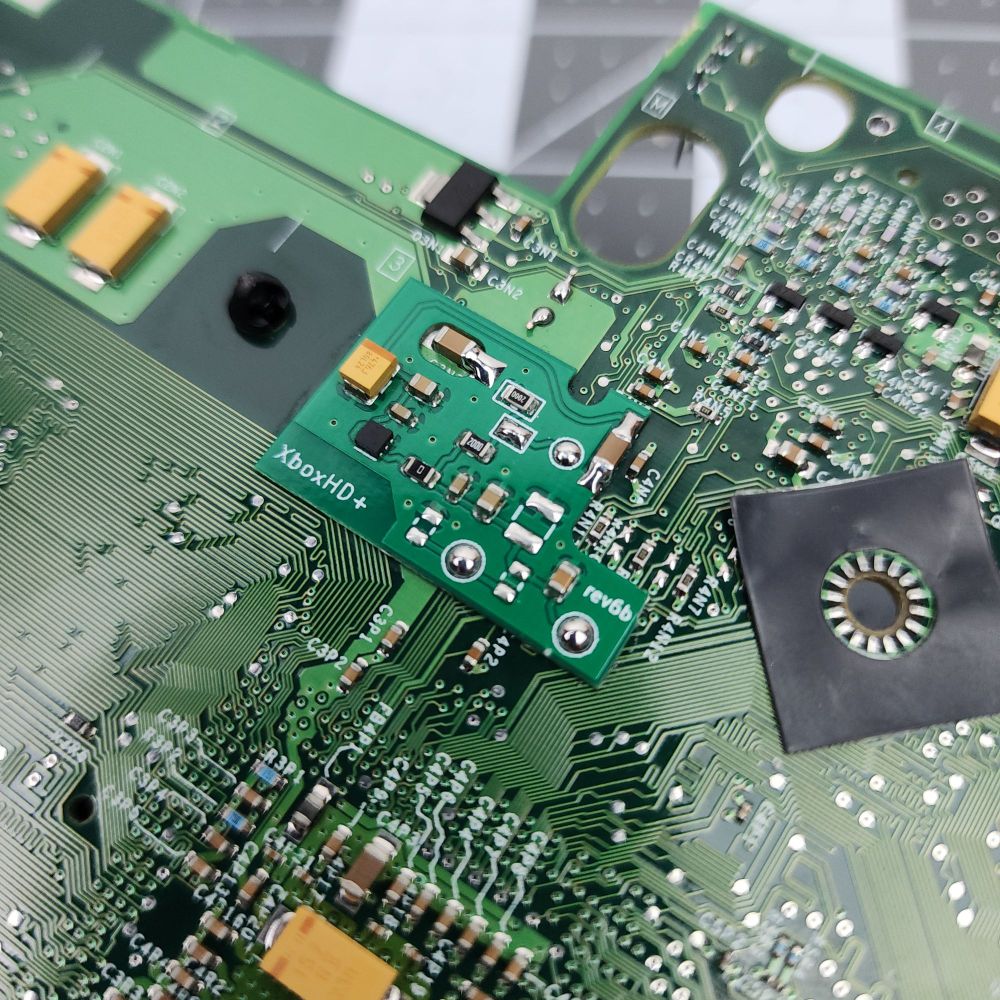
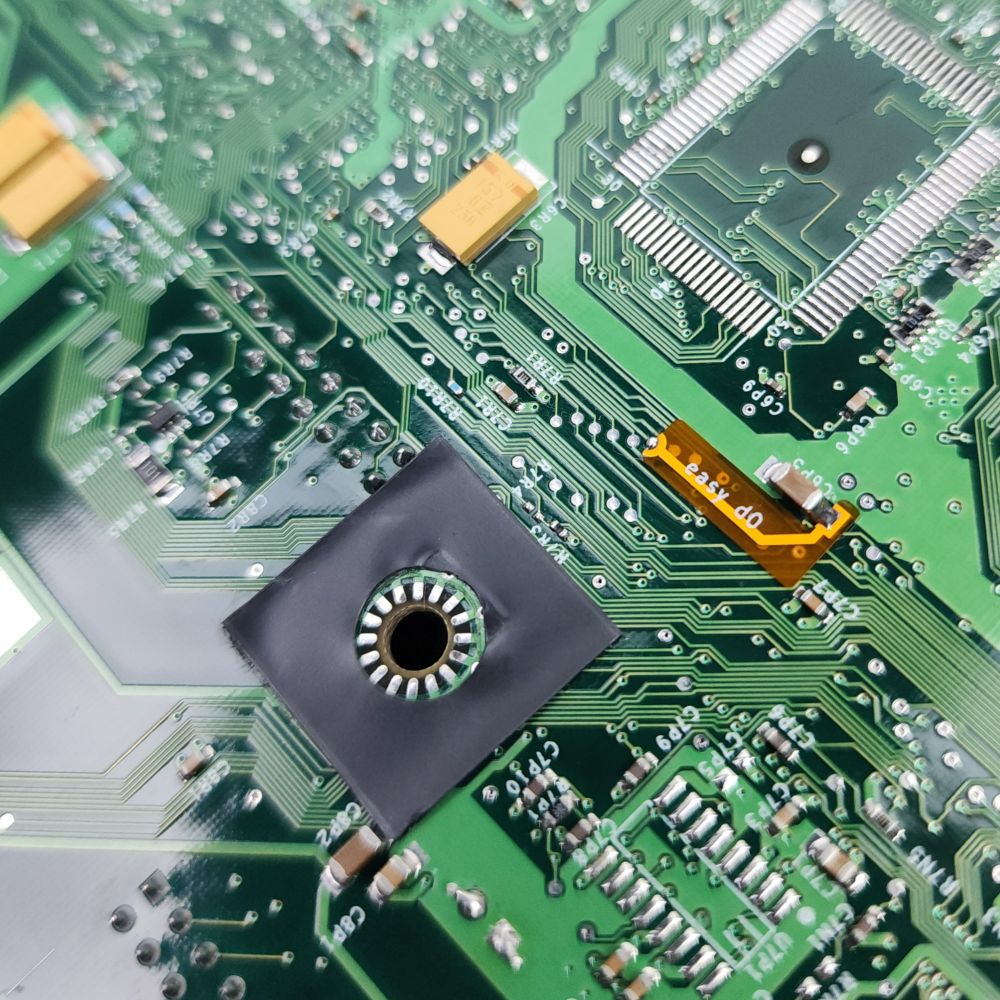
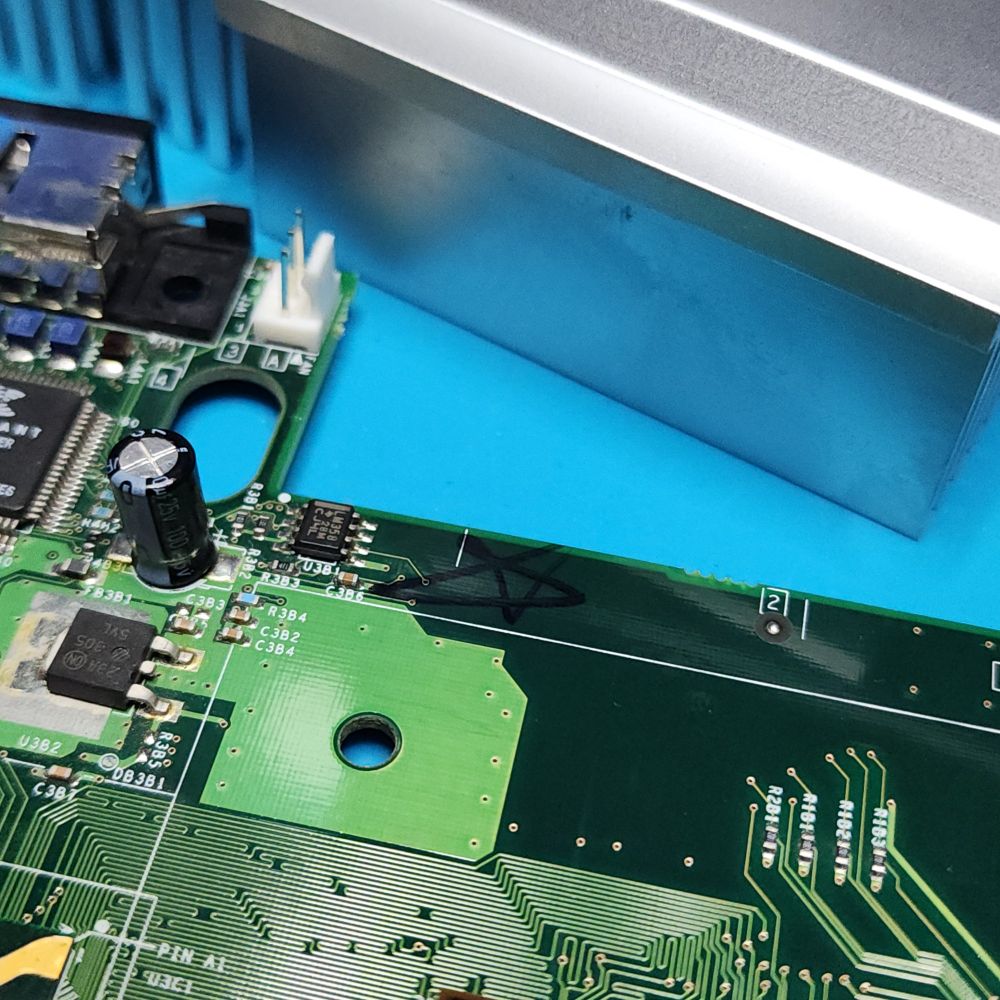
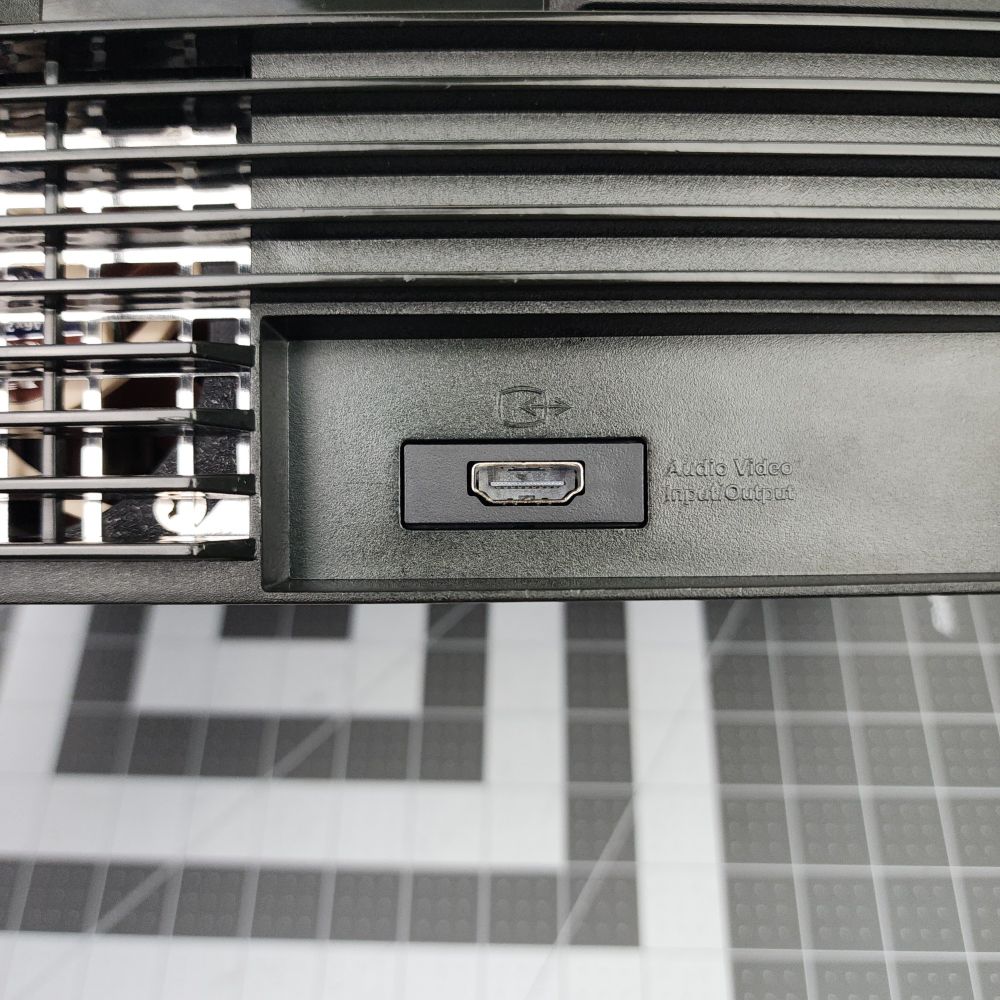
Taking a look under the hood, we can see more of the Stellar XboxHD+ installation. I Iike to keep the ferrite bead off to the side just in case.
I've also been including a free MCPX heatsink with any Xbox restoration or mod service, because why not.
🧵 2/6
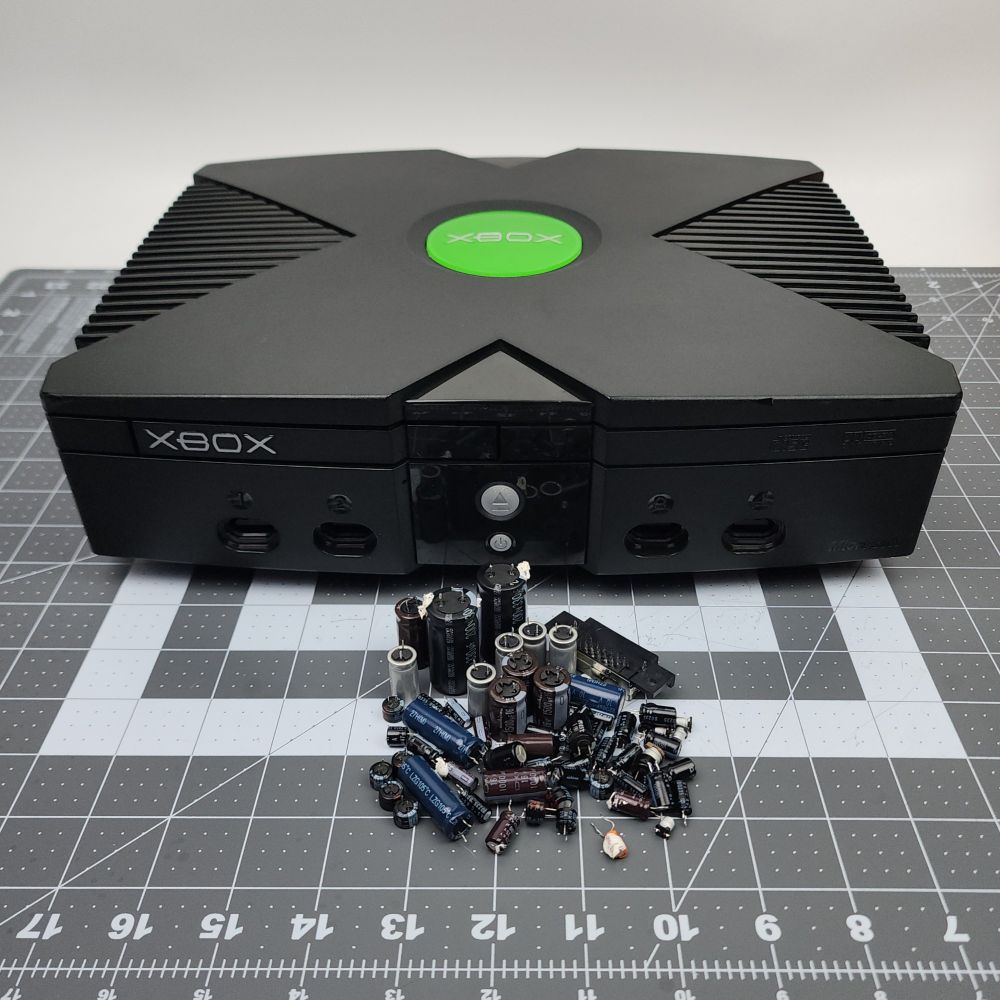

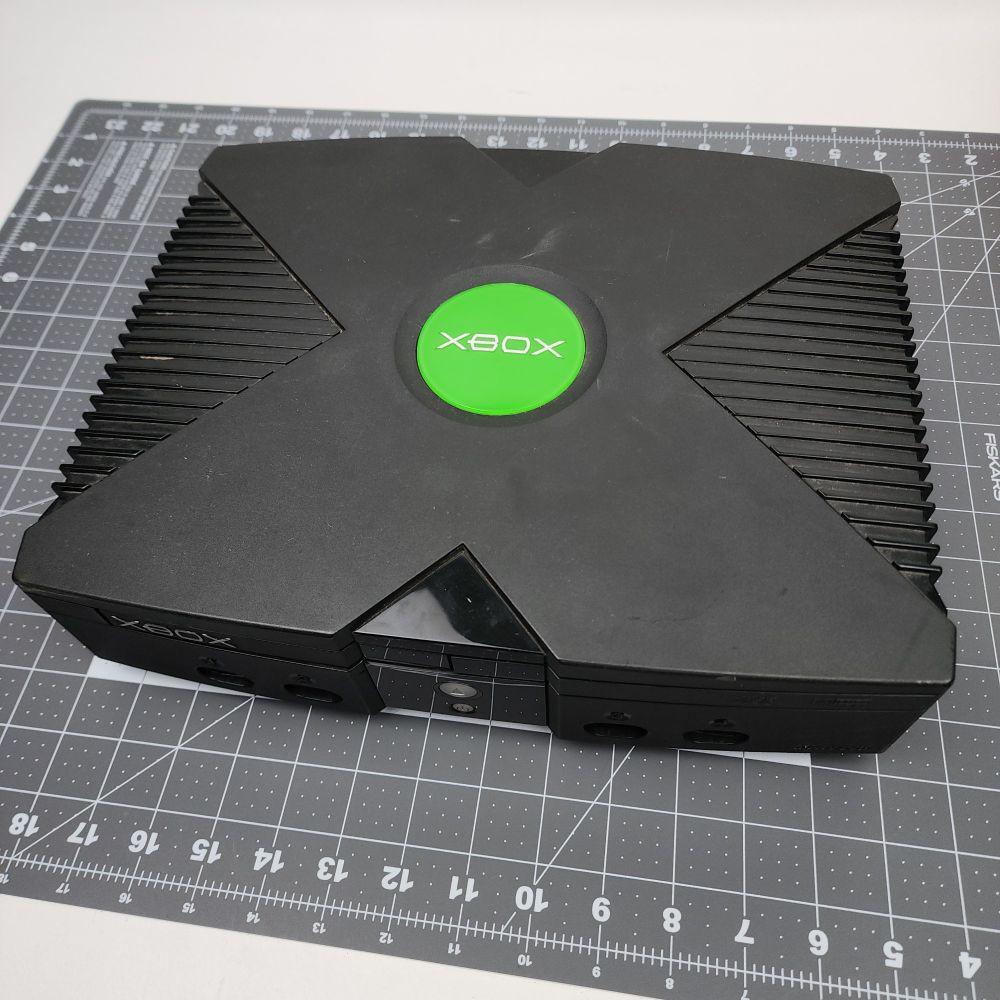
Happy New Year! 🥳 Starting off 2025 with an original #Xbox mod and restoration. This v1.1 received a @MakeMHz Stellar XboxHD+, complete recap, ultrasonic cleaning, 128MB RAM upgrade, new thermal compound, Noctua fan, MCPX heatsink, and a new drive belt.
🧵 1/6