Wow, style-observer is featured very prominently on today’s issue of #JavascriptWeekly!
javascriptweekly.com/issues/723
Thanks for the shoutout folks (for Color.js too!), @d12n.me and I are very humbled!
14.02.2025 22:41 — 👍 105 🔁 12 💬 5 📌 0
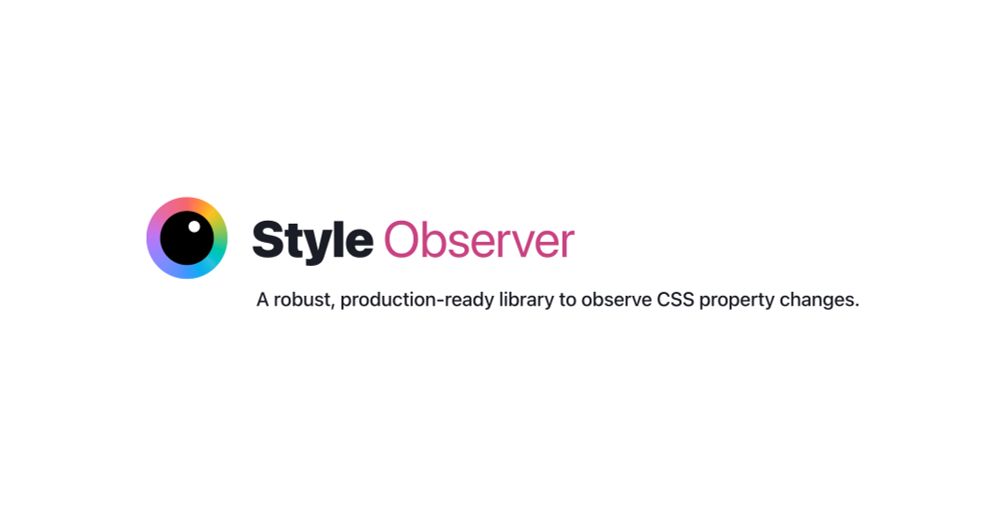
Style-observer: JS to observe CSS property changes, for reals • Lea Verou
I cannot count the number of times in my career I wished I could run JS in response to CSS property changes, regardless of what triggered them: media queries, user actions, or even other JS. Use cases...
🚀 🆕 style-observer: A robust solution for observing CSS property changes in JS.
Developed with @d12n.me’s help over the last month.
Made possible by the pioneering work of @bram.us, Artem Godin, @janeori.propjockey.io and many others!
Blog post: lea.verou.me/blog/2025/st...
Docs: observe.style
12.02.2025 15:03 — 👍 273 🔁 59 💬 7 📌 2
Brilliant talk by @wwwalkerrun. Can't recommend it more for those who are interested in development apps for iOS and Android with @NativeScript!
Nathan, all NativeScript community would appreciate if you can give us more such tasty content. Thank you! 🙏🏻
28.09.2022 21:30 — 👍 0 🔁 0 💬 0 📌 0

📣 A couple of days ago @karger challenged me to build the Wordle Game with @mavoweb. Since I like challenges, now we have another app showcasing awesome Mavo features. 😅
It takes ~70 lines of HTML.
Play with it and tell us what you think:
#MadeWithMavo
01.02.2022 13:45 — 👍 0 🔁 0 💬 0 📌 0
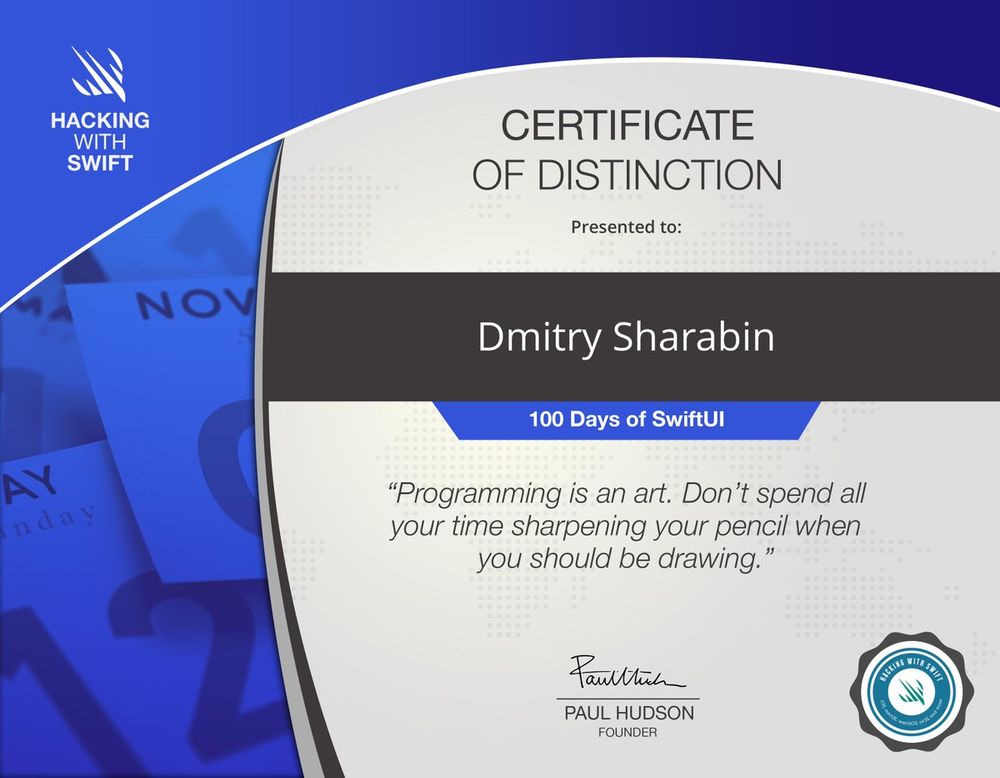
Wow! That was an amazing journey. Thank you, @twostraws, from the bottom of my heart for the incredible work you did by developing this course: it's exceptionally thought, professionally designed, and remarkably delivered. You are THE Teacher!
#100DaysOfSwiftUI is officially ✅!
30.01.2022 15:19 — 👍 0 🔁 0 💬 0 📌 0
On day 98 of #100DaysOfSwiftUI, we finished building the wonderful SnowSeeker app. I learned a ton! Here are some highlights:
✓ with .horizontalSizeClass and .dynamicTypeSize we can make our app look good on every device regardless of its size
👇🧵
28.01.2022 13:54 — 👍 0 🔁 0 💬 0 📌 0
On day 97 of #100DaysOfSwiftUI, we started building our app.
I solidified the knowledge I already had and also learned how to force the stacked navigation view style on iPhones.
The declarative nature of SwiftUI plus elements of functional programming really shines together.😍
27.01.2022 10:26 — 👍 0 🔁 0 💬 0 📌 0
After taking some time to reflect a bit on projects 16–18 (day 95 of #100DaysOfSwiftUI), I'm back on track
On day 96 we began working on our last big project. While getting ready for it:
✓ I learned how to work with side by side views in SwiftUI
👇🧵
26.01.2022 11:53 — 👍 0 🔁 0 💬 0 📌 0
On day 93 of #100DaysOfSwiftUI,
✓ we learned how to position SwiftUI views, either absolutely or relatively, and recalled why the order of modifiers matters.
✓ We deep-dived into different coordinates the GeometryReader provides (global, local, and named).
👇
22.01.2022 10:42 — 👍 0 🔁 0 💬 0 📌 0
On day 92 of #100DaysOfSwiftUI, I learned:
✓ how layout and alignment work in SwiftUI
✓ how to work with alignment guides and create a custom one.
I'm glad we have technique projects in this course—they help understand the “magic” of SwiftUI. 🤫 It's not magic. 😉
21.01.2022 09:23 — 👍 0 🔁 0 💬 0 📌 0
On day 90 of #100DaysOfSwiftUI, we finished building the Flashzilla app. We added haptics to some actions, improved the app's a11ty, fixed some bugs, and let users add/remove and load/save their deck of flashcards.
I'm looking forward to some more challenges to solve tomorrow.
19.01.2022 14:45 — 👍 0 🔁 0 💬 0 📌 0
On day 89 of #100DaysOfSwiftUI, we colored our cards as user swipes and made the UI accessible for users with color blindness, added a counting down timer that stops when the app is inactive, improved the app logic and UX.
I'm gaining a lot of crucial knowledge building the app!
18.01.2022 12:15 — 👍 0 🔁 0 💬 0 📌 0
On day 88 of #100DaysOfSwiftUI, we began building the UI of our app: we designed a stack of cards that can be dragged by a user. While being dragged, cards are being rotated, offset, and disappear (or move back to the stack). I'm impressed with how little code it demands! 😍
17.01.2022 18:05 — 👍 0 🔁 0 💬 0 📌 0
On day 87 of #100DaysOfSwiftUI, I learned how to:
✓ work with timer: create, connect to it, receive values it publishes with .onRecive, and react to them
✓ react to an app's state changes: when it's active, inactive, or in the background
👇
17.01.2022 14:52 — 👍 0 🔁 0 💬 0 📌 0
On days 86 of #100DaysOfSwiftUI, I learned:
✓ what gestures SwiftUI supports and how to work with them (perform actions depending on a state of a gesture, prioritize gestures, tell SwiftUI that gestures trigger simultaneously or in sequence)
👇
16.01.2022 12:51 — 👍 0 🔁 0 💬 0 📌 0
On day 84 of #100DaysOfSwiftUI, we added:
✓ the ability to store and load data with UserDefaults and performed small refactoring to make the code more professional and error-proof
✓ a context menu to a QR code and learned how to show, update, and save it effectively.
👇
13.01.2022 09:23 — 👍 0 🔁 0 💬 0 📌 0
On day 83 of #100DaysOfSwiftUI, I learned how to:
✓ generate a QR code using the CoreImage framework (specifically the qrCodeGenerator() filter). I was surprised to know that, in case of an error, we can fall back to an empty image simply by writing UIImage(). 🤯
👇
12.01.2022 09:59 — 👍 0 🔁 0 💬 0 📌 0
On day 82 of #100DaysOfSwiftUI, we began putting the new techniques into action. We built the tab bar that shares the same data across all its tabs using EnvironmentObject. TIL how to dynamically filter a SwiftUI list using the filter() method and a computed property. FP 🚀
11.01.2022 10:38 — 👍 0 🔁 0 💬 0 📌 0
On day 81 of #100DaysOfSwiftUI, I learned how to:
✓ create context menus (what limitations they have and why)
✓ work with local notifications: request permission and schedule notification
✓ add packages (dependencies) in Xcode.
All the required techniques for the project ✅.
10.01.2022 09:51 — 👍 0 🔁 0 💬 0 📌 0
Since I'm a bit off track (and luckily have some free time), I decided to complete days 79 & 80 of #100DaysOfSwiftUI in one shot. TIL:
✓ how to create tabs with TabView and tabItem() and programmatically control them
1/3
09.01.2022 14:02 — 👍 0 🔁 0 💬 0 📌 0
On day 76 of #100DaysOfSwiftUI, I worked heavily with VoiceOver on iPhone to make the Cupcake Corner, iExpense, and Moonshot apps fully accessible. A valuable experience, I must say.
That was the last day tagged with “New.” So I can take a break and work on my project. 😊
26.12.2021 12:14 — 👍 0 🔁 0 💬 0 📌 0
On day 75 of #100DaysOfSwiftUI, I fixed some accessibility issues in the previously built projects: Guess the Flag, Word Scramble, and Bookworm.
It's amazing how little we should do to make our apps accessible to a much bigger number of people!
25.12.2021 11:38 — 👍 0 🔁 0 💬 0 📌 0
Day 74 of #100DaysOfSwiftUI. New technique project dedicated to a11y. From my pov, the toughest topic. I'm amazed how much effort Apple does in this direction (it's enough to look at the API they provide). Hats off. I also understand why so many folks fail with it. It is hard!
24.12.2021 16:25 — 👍 0 🔁 0 💬 0 📌 0
Because of my business trip, I could work through the challenges for the Bucket List app, not yesterday but today. And now I can confirm that day 73 of #100DaysOfSwiftUI is officially closed: all the challenges are done and the final test is passed. 🥳
24.12.2021 15:11 — 👍 0 🔁 0 💬 0 📌 0
I was hoping Paul would explain to us the MVVM design pattern. And he did. And of course, in an easy-to-follow and approachable way. It happened on day 72 of #100DaysOfSwiftUI. Yay!
That was a wonderful last day when we work on the BucketList project. The challenges are to come.
22.12.2021 19:35 — 👍 0 🔁 0 💬 0 📌 0
On day 71 of #100DaysOfSwiftUI, I learned how to fetch data from Wikipedia and present them to a user in a friendly way.
I was surprised to know that we can use “+” to add text views together to apply different kinds of formatting to them, for example. 🤯 Awesome! 😎
21.12.2021 20:27 — 👍 0 🔁 0 💬 0 📌 0
My main takeaways from day 70 of #100DaysOfSwiftUI:
— add a static example property with sample data to custom types;
— write your optimized comparison functions in Equatable structs if needed;
1/3
20.12.2021 11:31 — 👍 0 🔁 0 💬 0 📌 0
Day 69 of #100DaysOfSwiftUI was quite brief. However, it was full of new concepts (like other days). It introduced two new iOS frameworks: MapKit and LocalAuthentication. I was waiting for a day when Paul teach us to use Touch ID and Face ID with SwiftUI. And it happened. Yay! 🥳
19.12.2021 13:40 — 👍 0 🔁 0 💬 0 📌 0
As Paul said, day 68 of #100DaysOfSwiftUI was easy.🥳
I learned how to:
– make custom types conform to the Comparable protocol;
– write data to the documents directory (I also wrote an extension for FileManager to be able to load and decode data);
– switch view states with enums.
18.12.2021 12:56 — 👍 0 🔁 0 💬 0 📌 0
On day 65 of #100DaysOfSwiftUI, we began to bring the Instafilter app to live by putting into practice all the technical aspects we covered in the previous days:
– we built our basic UI,
– let the user pick an image from their photo library,
– and applied the sepia filter to it.
15.12.2021 10:56 — 👍 0 🔁 0 💬 0 📌 0
Git Branching, Refined https://gitbutler.com/
Co-founder / CTO @gitbutler.com, software enthusiast, @ycombinator alumn
Build better with Web Awesome, the open source library of web components. Upgrade to Pro and ship websites, projects, and apps faster!
* A website about making websites.
https://css-tricks.com
I make tv for developers at @codetv.dev
jason.energy/links
he/him
Constantly learning and engineering through it.
⚡Empowering JavaScript with native platform APIs ✨nativescript.new Best of all worlds (TypeScript, Swift, Obj-C, Kotlin, Java) 🫂
🎈 A simpler static site generator
🔗 https://www.11ty.dev/
🐀 Created/maintained by @zachleat.com (this account, too)
📦 Team HTML/Jamstack
🤝 Team @fontawesome.com
🐘 Mastodon https://fosstodon.org/@eleventy
Doing things with web technologies and writing/talking about it. Author of Inclusive Components (https://book.inclusive-components.design/) and producer of Webbed Briefs (https://briefs.video/). Agender. (Avatar by Cole Henley)
Apple Evangelist on the Web Developer Experience team for Safari & Webkit. #PwME
Opinions my own.
https://sarah.dev
Sr Director of Engineering @ Google: Core Web, Android, iOS Infrastructure
Formerly Vue Core •
Frontend Masters teacher •
O'Reilly Author •
https://www.engmanagement.dev/
https://github.com/sdras
Making memes, dreams, & software!
Sr. Director of Dev Advocacy at GitHub. Married to a dweeb and mom to a nerdy toddler + baby combo. She/Her ✝️ CHI 🏠
Subscribe to my newsletter!
cassidoo.co/newsletter
⚡️ You bring ideas, I show you how to build them
👨🍳 Staff Design Engineer @shopify (ex @google, @vercel 🫡)
📚 Making a UI course craftofui.dev
📰 Blog: craftofui.substack.com
❤️ @seaotta.dev
Helping people fall in love with CSS
📺 https://YouTube.com/@kevinpowell
✉️ https://kevinpowell.co/newsletter
Helping you stay up to date with CSS.
🎥 YouTube: https://cssw.io/youtube
⚜️ Mastering Linting: https://cssw.io/lint
🏷️ CSS Stickers https://cssw.io/stickers
Fullstack Dev ❯ JS⚛ CSS Node ❯ JavaScript30.com ❯ wesbos.com/courses ❯ 🔥 Tips ❯ Podcast @syntax.fm
Building a CSS course: layoutmaestro.ishadeed.com. Design Engineer. Author of debuggingcss.com • Blogging at ishadeed.com. Made defensivecss.dev, rtlstyling.com, and a11ymatters.com. @GoogleDevExpert in Web UI. 📍 Tulkarm, Palestine.
Armchair rocket scientist graffiti existentialist. Old enough for it to hurt when I stand up, not old enough to have stopped noticing. Agnostic in principle, atheist in practice, #CSS guy, mzungu. I’m only here for the food.