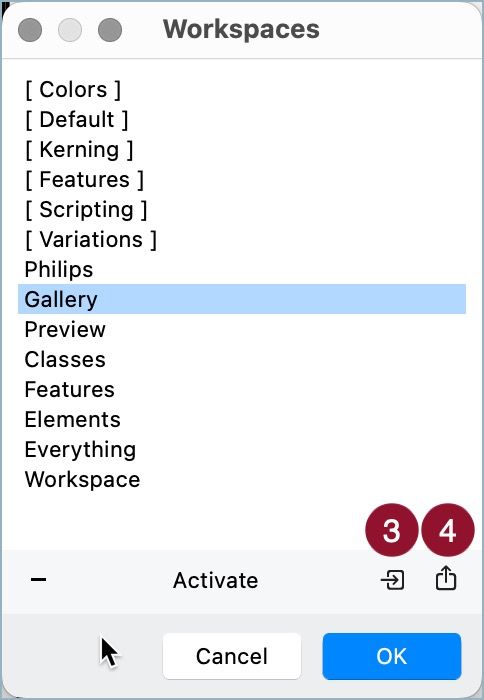
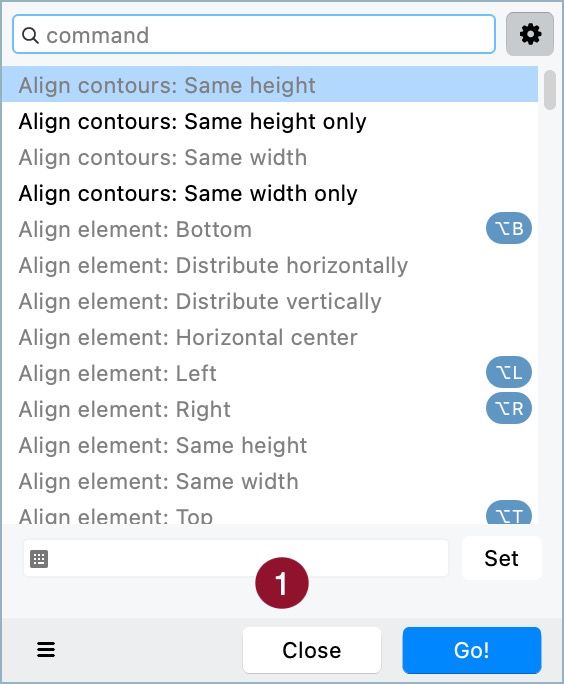
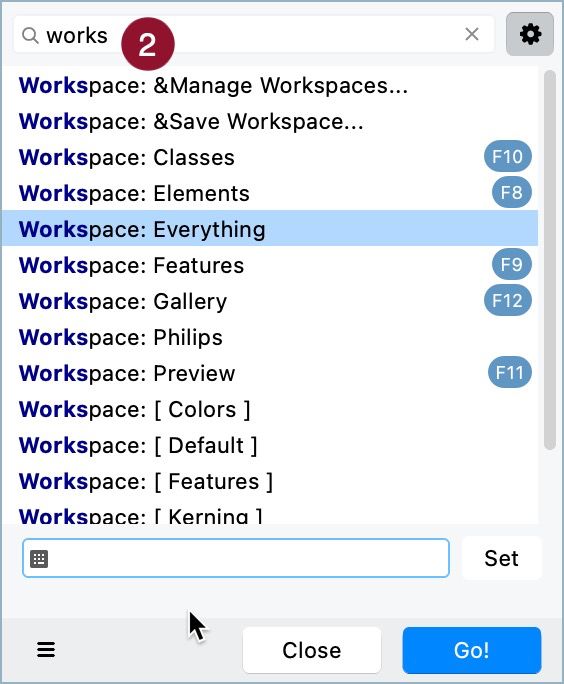
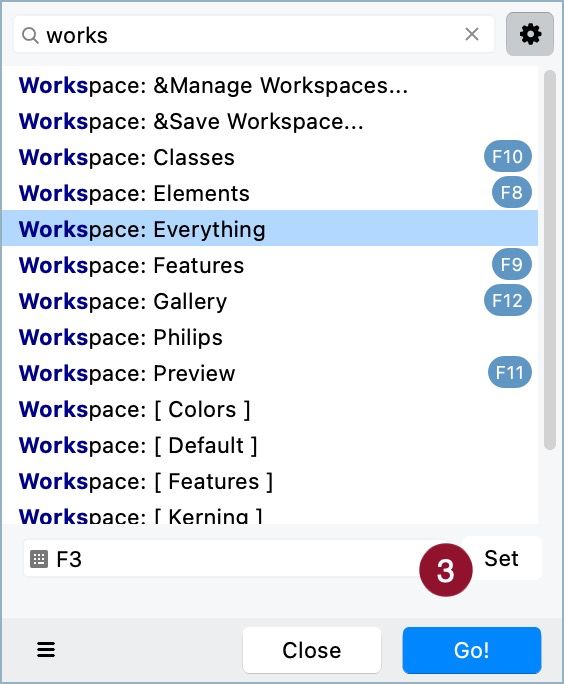
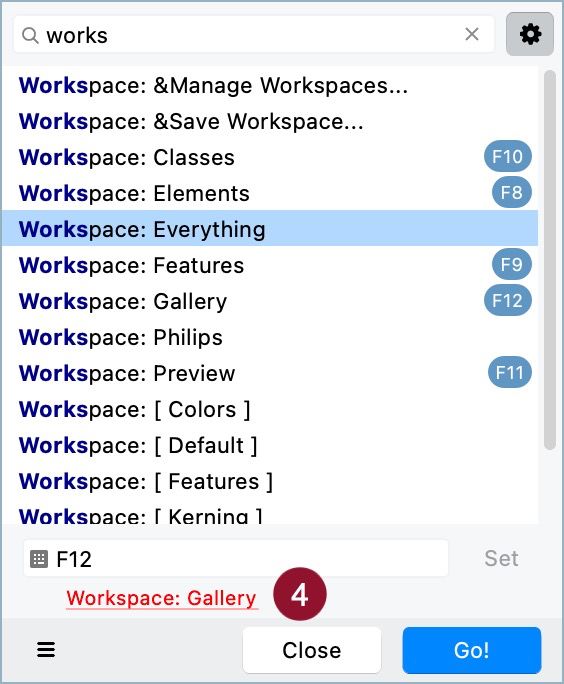
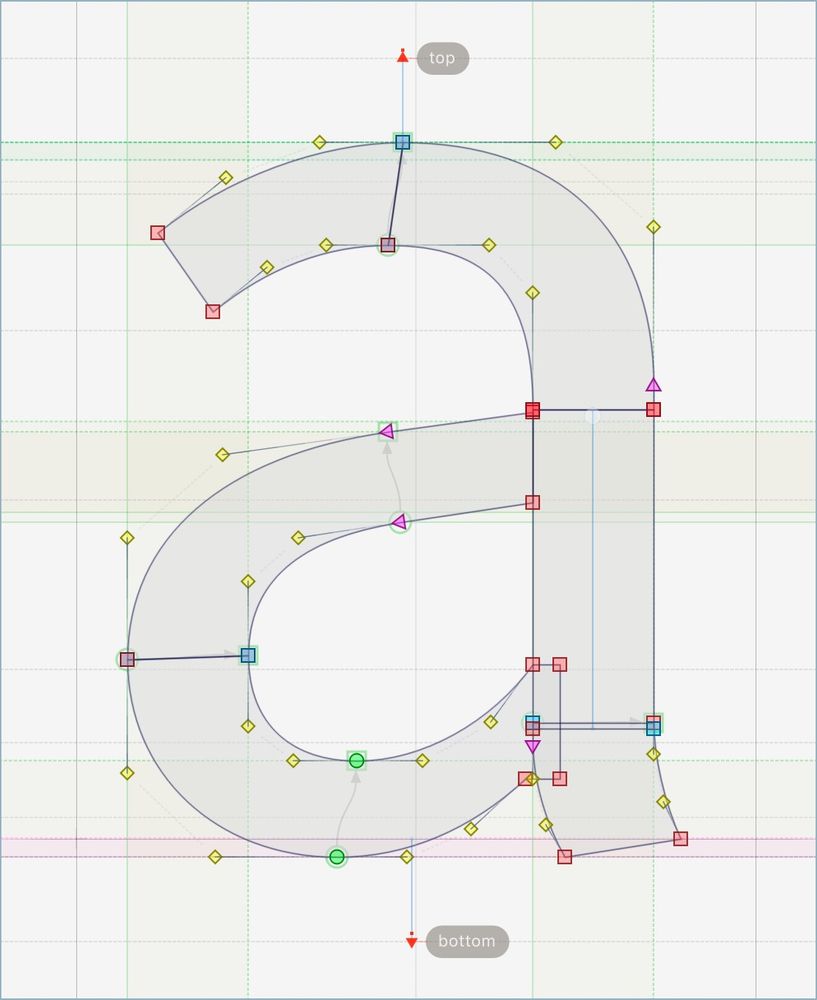
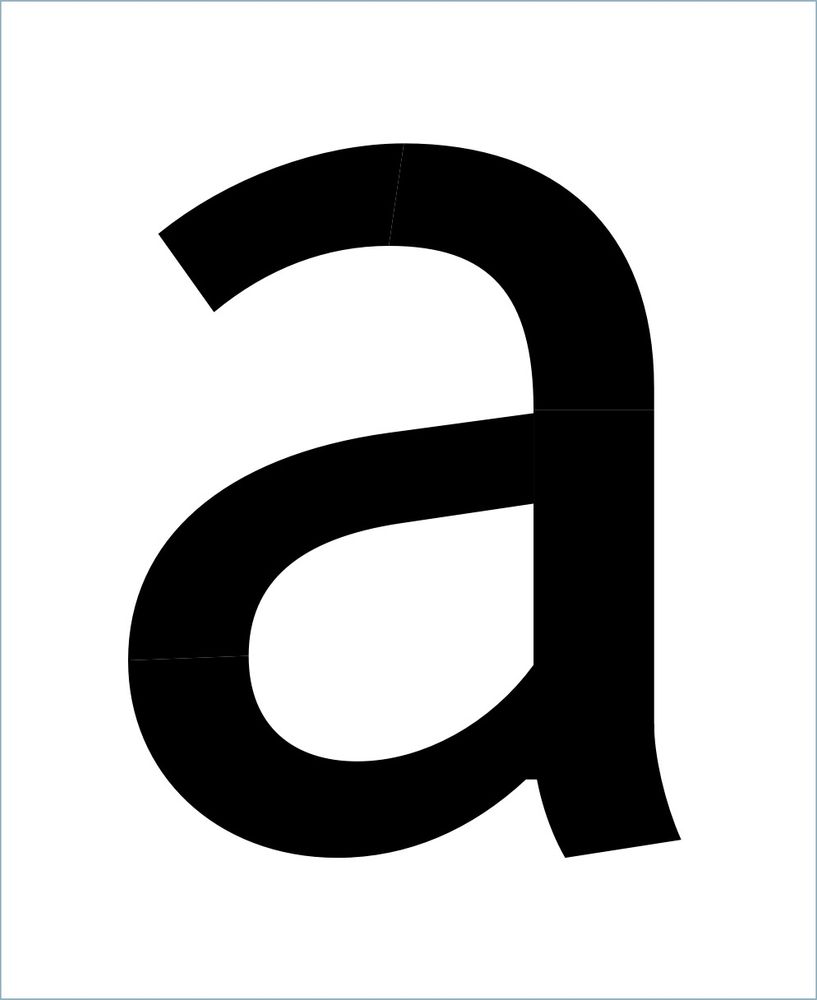
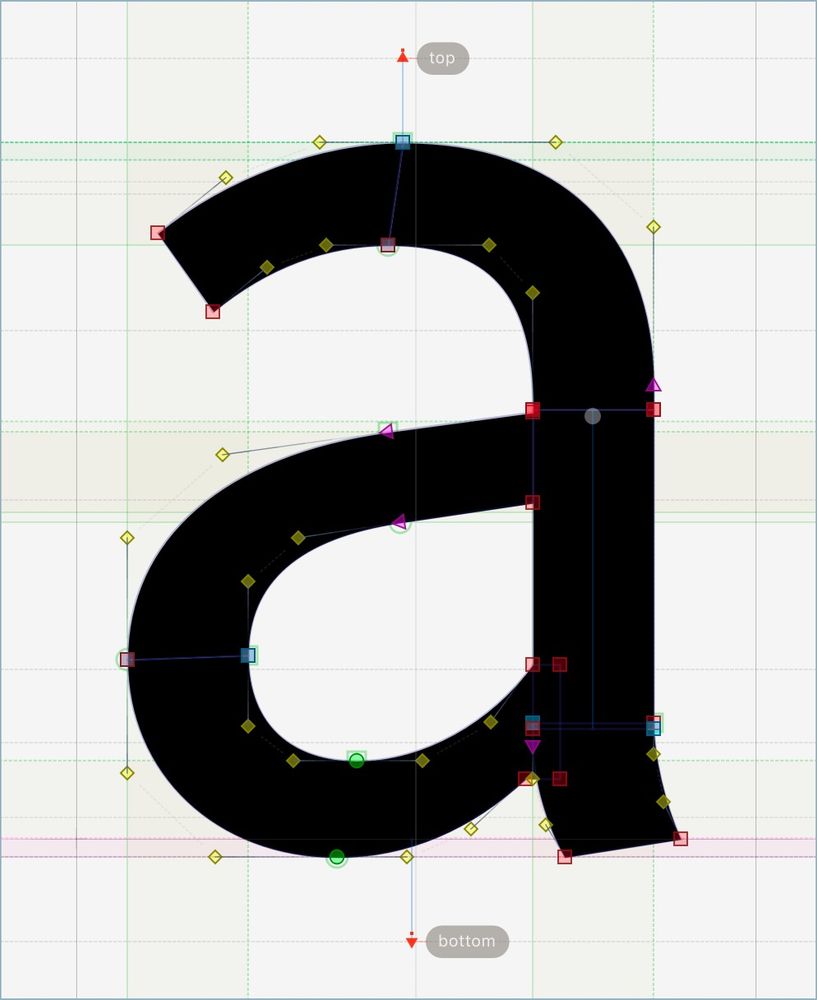
I believe it will be the v3 of the suite with AI packed. I don't need this kind of "freedom", but it seems unavoidable.
02.10.2025 22:58 — 👍 1 🔁 0 💬 1 📌 0
A melhor é a Laboratorium, embora esta opinião seja um pouquinho suspeita. Andron em segundo. Depois Minion e Guardian. Mas a Palatino vem em quinto. 😜
27.08.2025 02:12 — 👍 0 🔁 0 💬 0 📌 0
Serviu de base para a capa do disco do Vitor Ramil musicando poemas do Paulo Leminsky.
16.08.2025 02:56 — 👍 1 🔁 0 💬 1 📌 0
A tipografia tem problemas. R desequilibrado, M com excesso de peso, trave do N também um pouco excessiva.
15.08.2025 21:40 — 👍 0 🔁 0 💬 0 📌 0


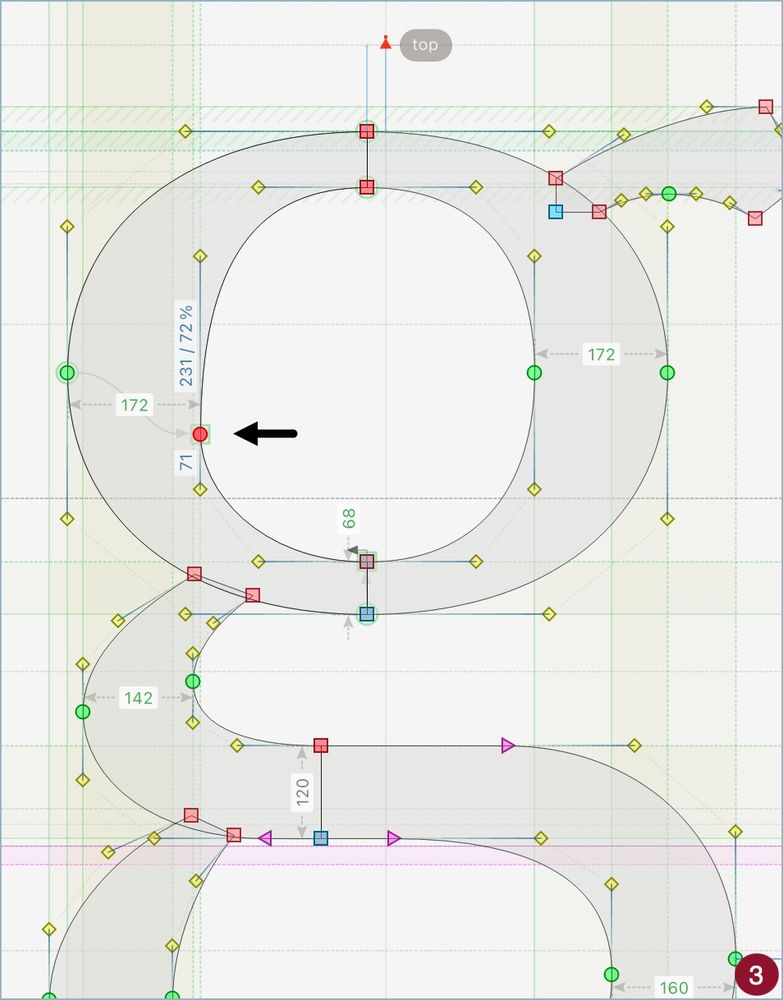
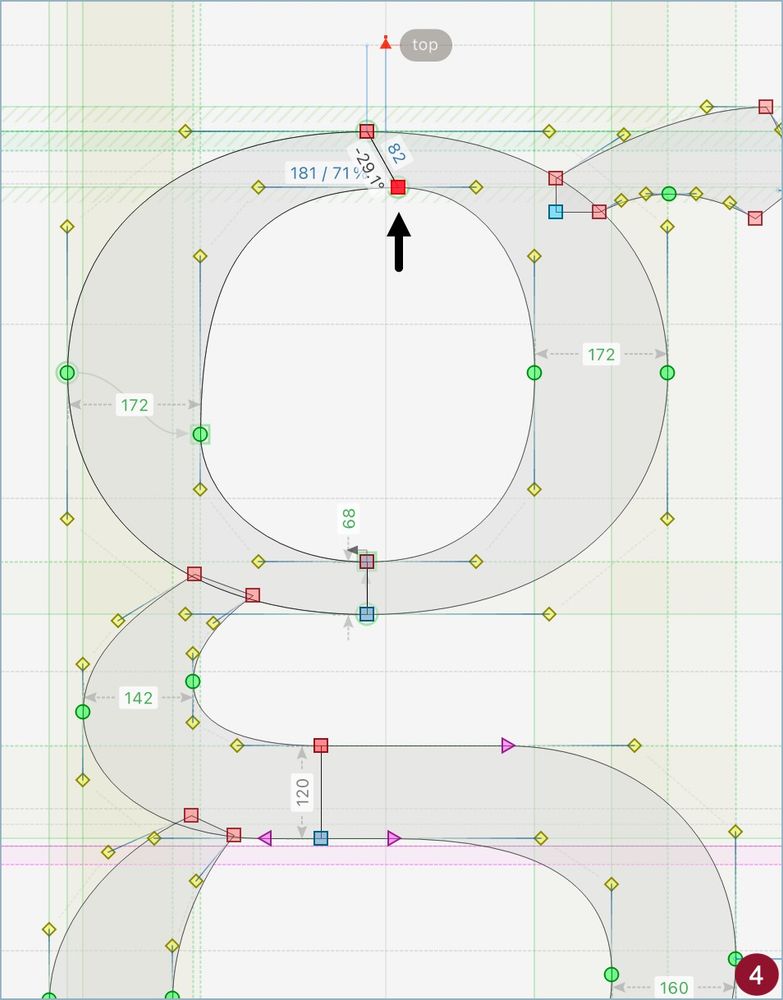
FontAudit can check your glyphs to catch unusual stems (8, a stem different than the values you defined) or irregular stems (9, a stem different than others in the same glyph). Fix them to achieve consistency.
12.08.2025 05:33 — 👍 0 🔁 0 💬 0 📌 0

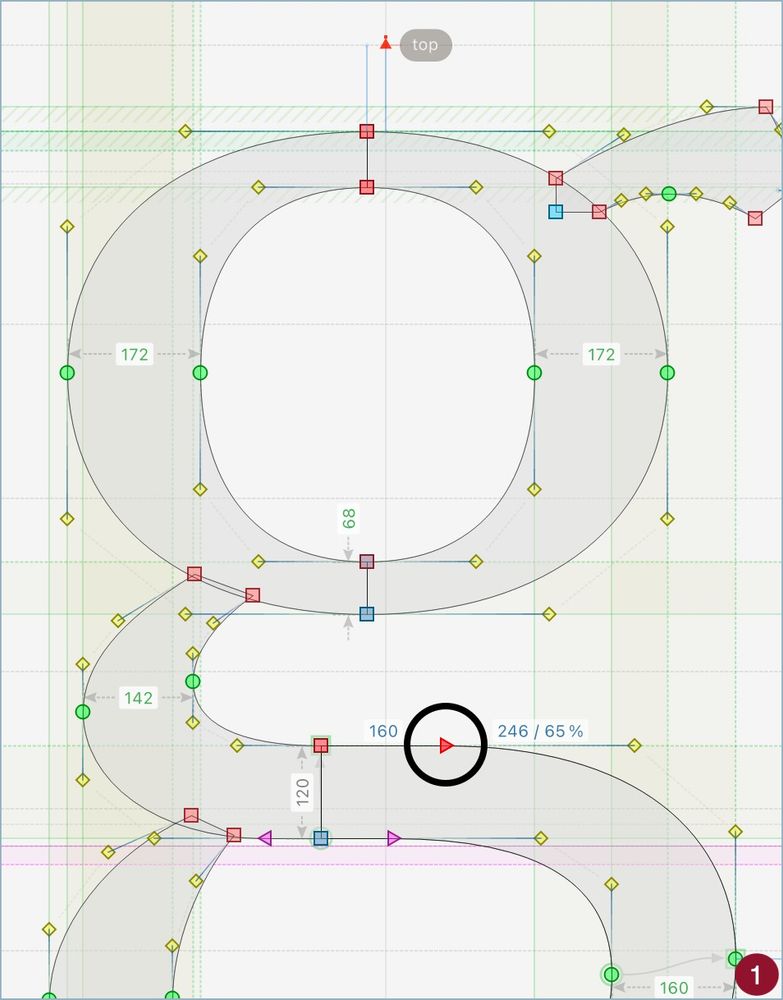
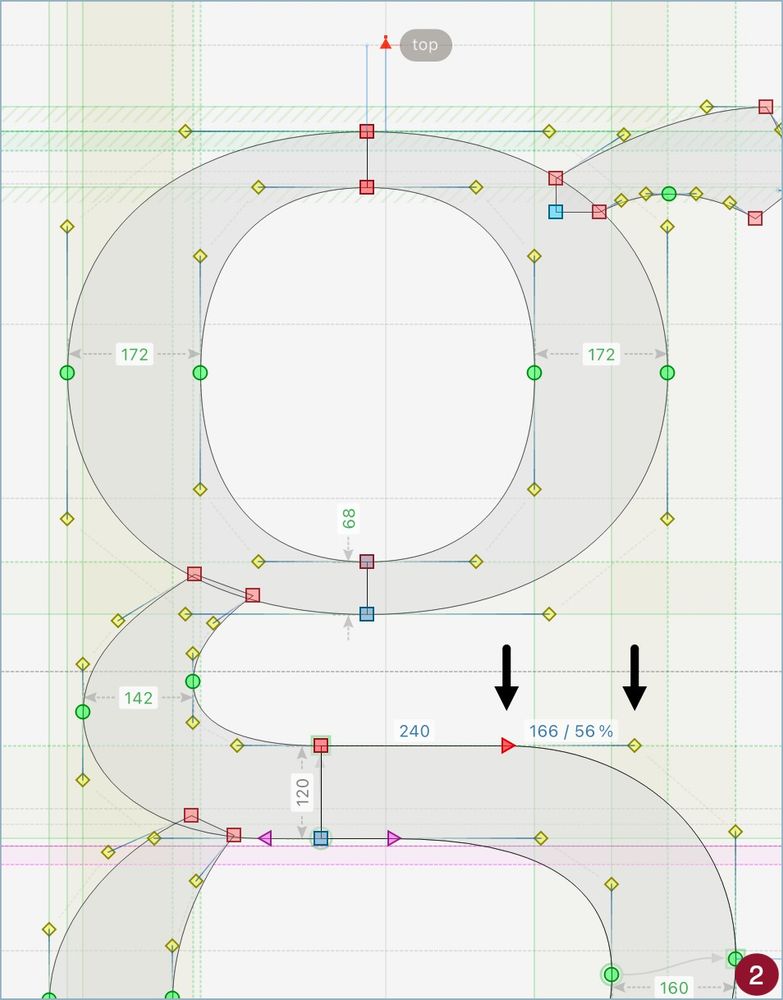
Once you made FontLab identify the typical stems of your master, double-click their names (6) and values (7) to edit them. It's highly recommended to have stems defined to ensure consistency along all glyphs. To start with values for H and O is usually easier.
12.08.2025 05:33 — 👍 0 🔁 0 💬 1 📌 0

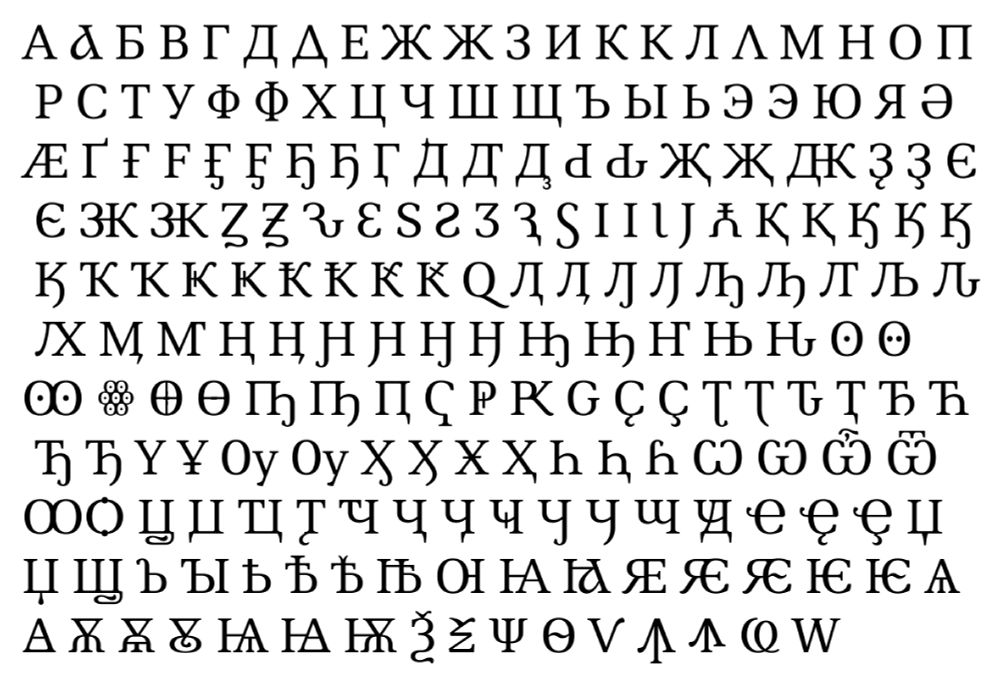
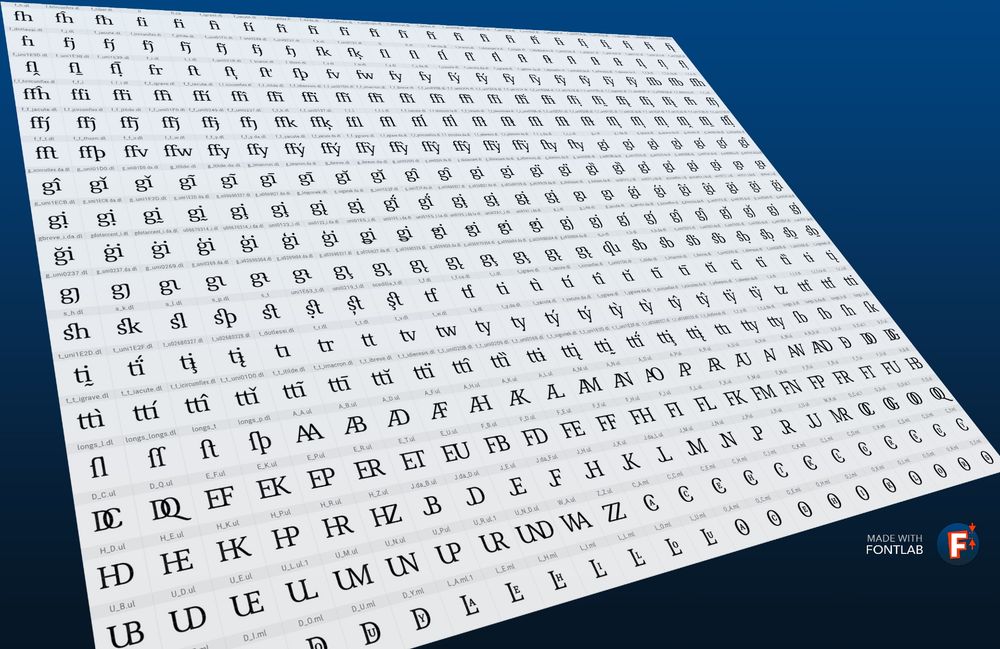
Sample with glyphs from extended Latin.

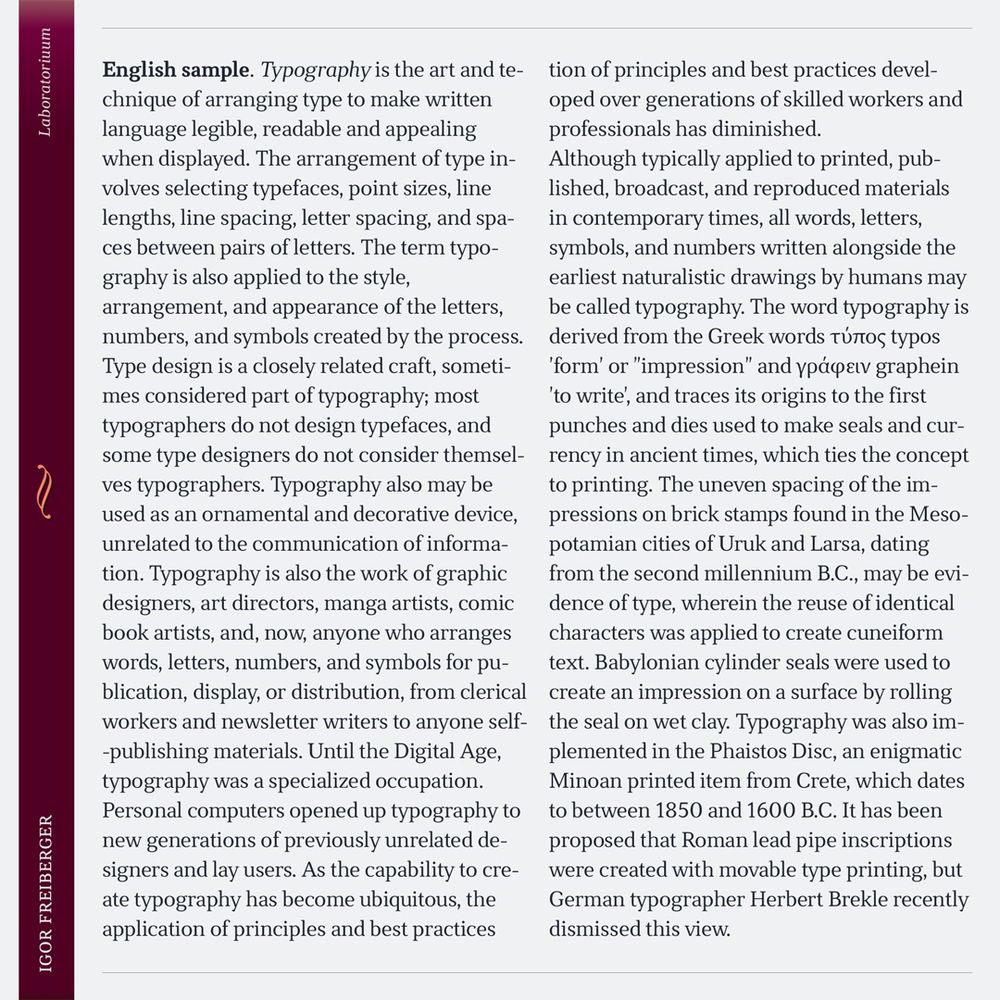
Sample with all weights.

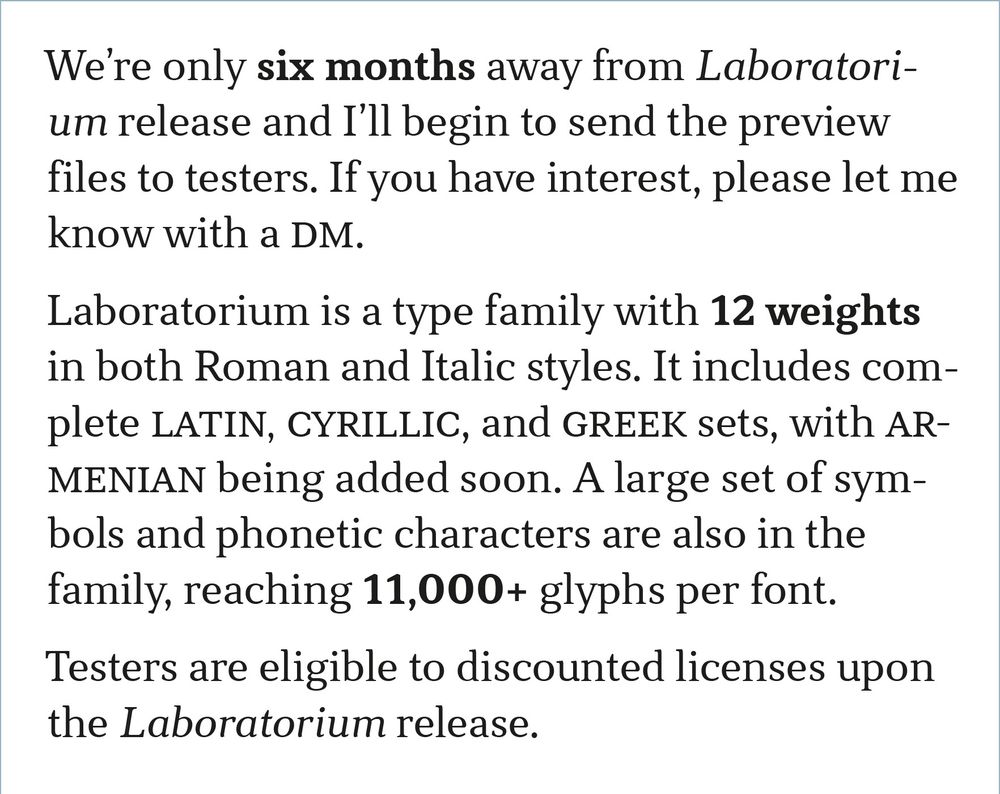
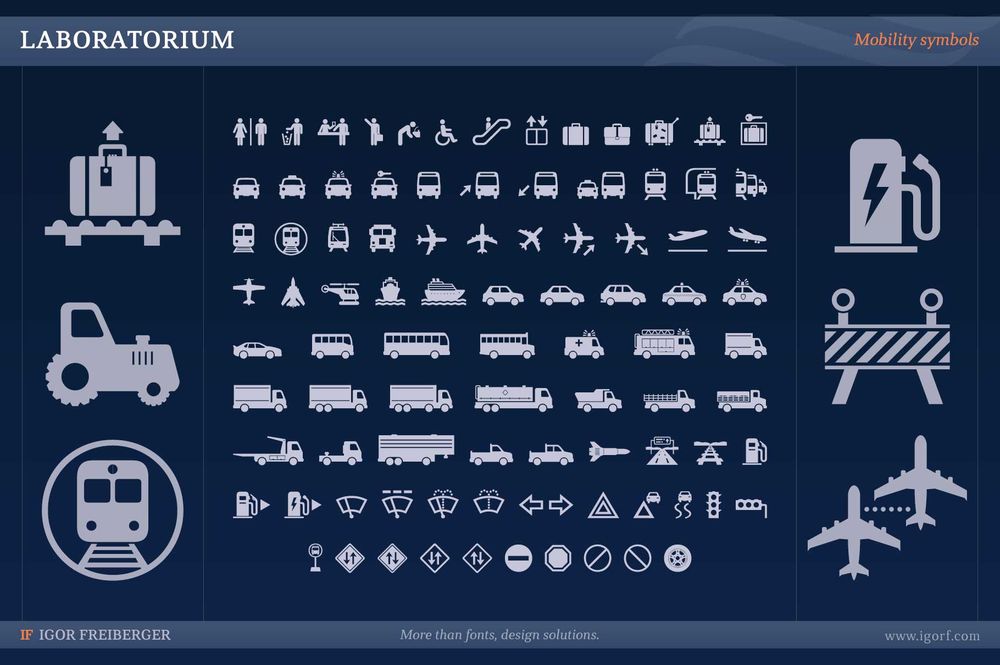
Sample with symbols, part I.

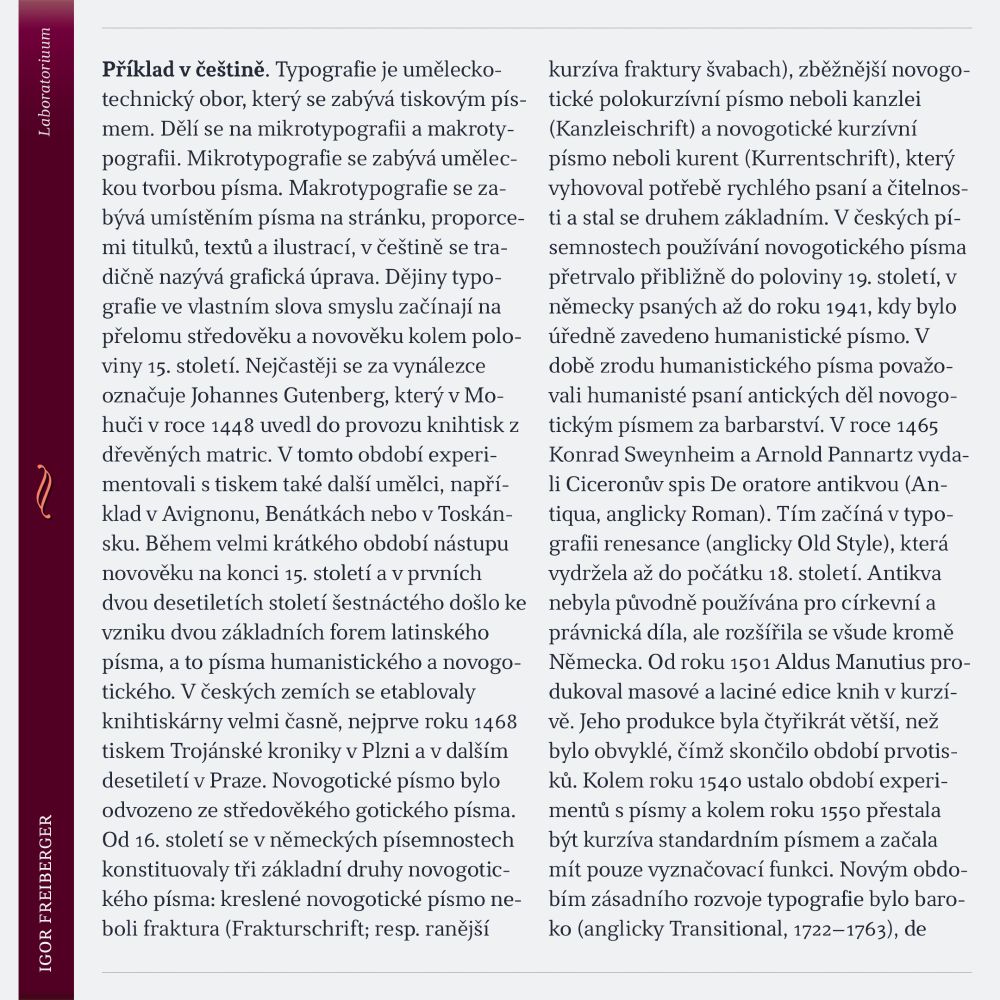
Sample with random words.
Laboratorium, a serif type family for texts, is coming. Samples with Latin repertoire, weights, symbols, and random words.
10.08.2025 01:39 — 👍 3 🔁 0 💬 0 📌 0
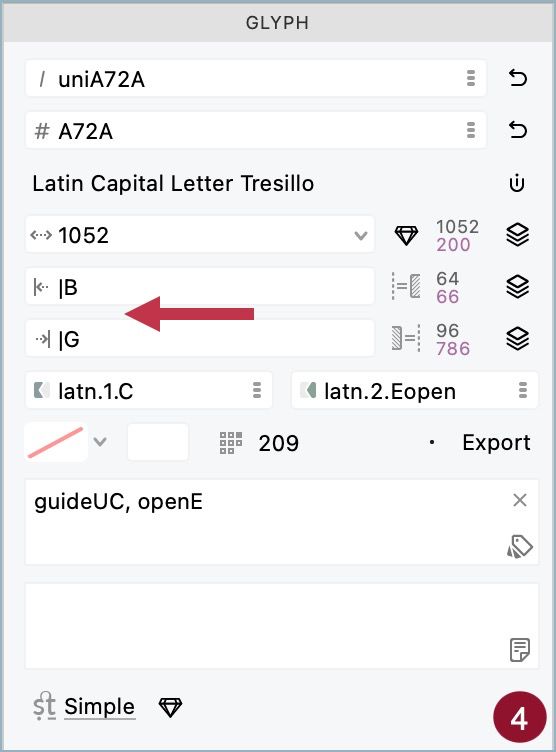
Finally, add a bar before a glyph name to link the sidebearing to the opposite one (this is, left value is used in right sidebearing, and vice-versa). Especially useful for extended Latin (4).
03.08.2025 10:44 — 👍 0 🔁 0 💬 0 📌 0
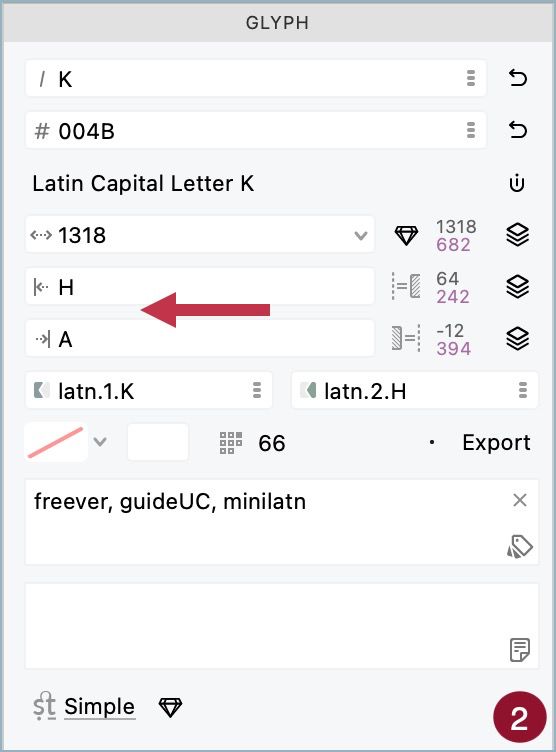
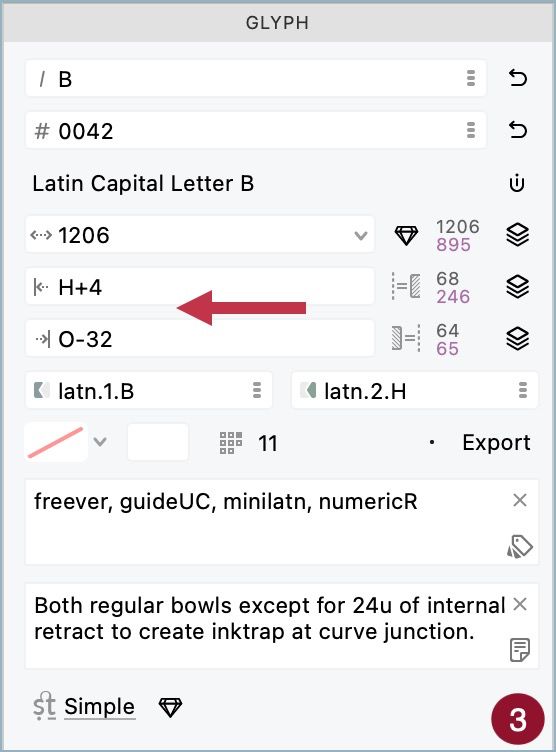
Use a glyph name to link the sidebaring to it. Changes in the origin glyph will automatically affect the linked ones (2). Add Maths to simplify small adjustments. All the basic operations are supported (3).
03.08.2025 10:44 — 👍 0 🔁 0 💬 1 📌 0
FontLab 8 Tip: Sidebearing Secrets
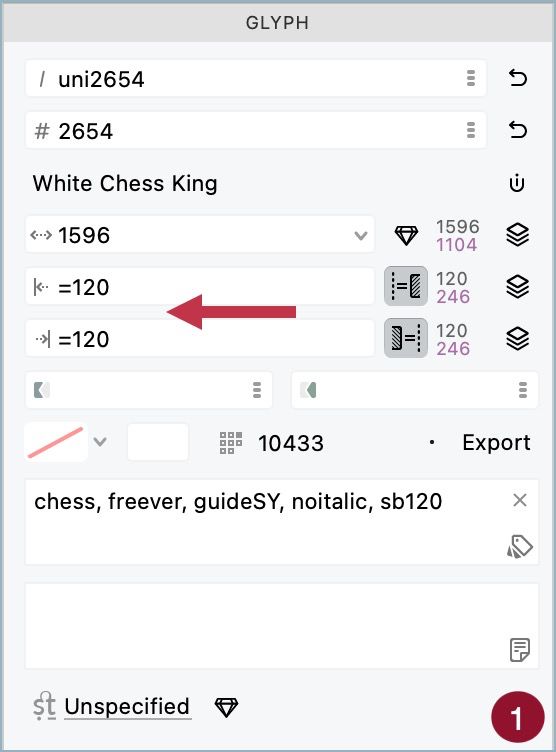
In Glyph panel, you can set the values for left and right sidebearings. But you're not limited to integers.
Add a = before the value to lock it –so changes in contours will not affect the sidebearing (1).
03.08.2025 10:44 — 👍 1 🔁 0 💬 1 📌 0
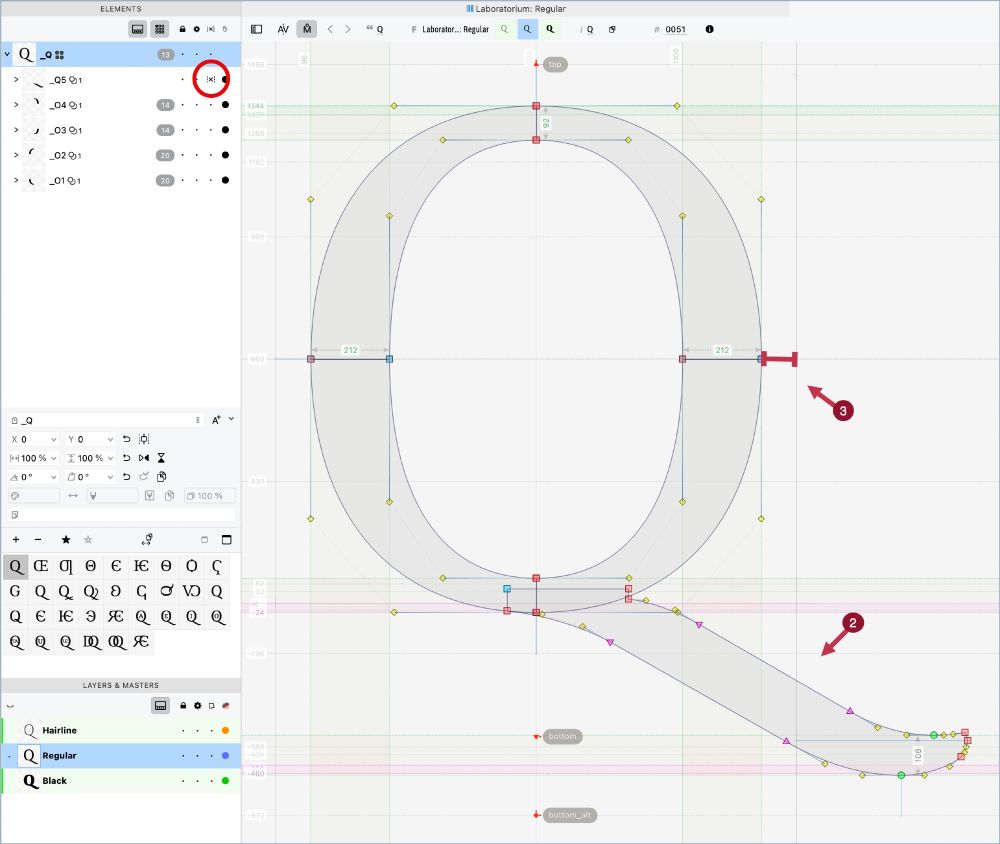
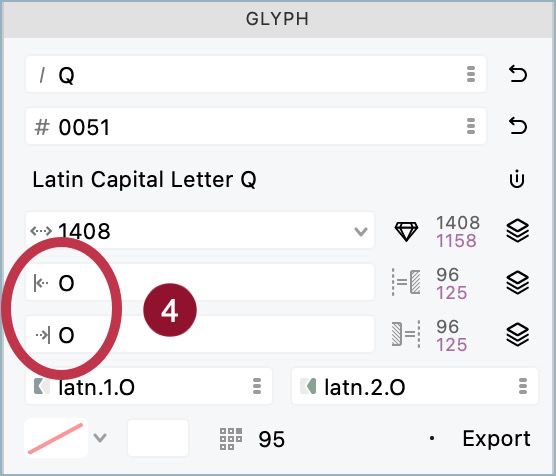
Typical usage is in letters like Q or j. You set the element that goes beyond regular sidebearing as nonspacing (2) and then use other contours as reference (3). Q, for example, can use the O spacing this way so you don't need to calculate it (4).
02.08.2025 10:05 — 👍 1 🔁 0 💬 0 📌 0
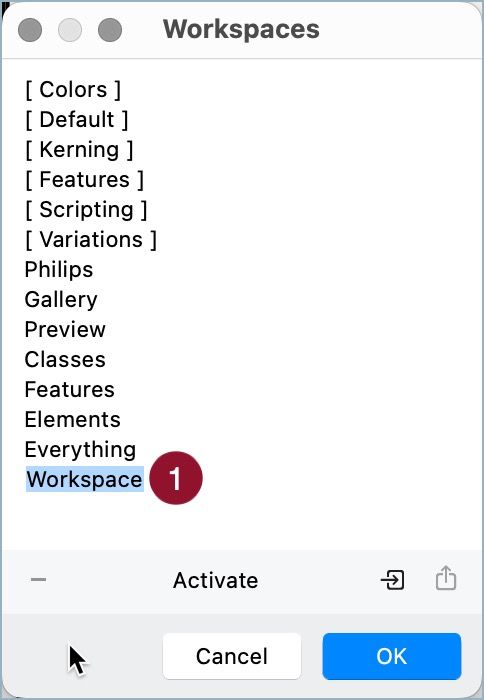
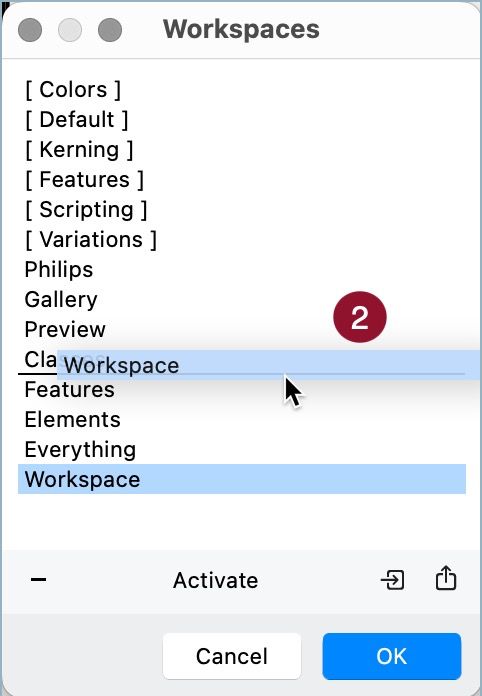
FontLab 8 Tip: Nonspacing Elements
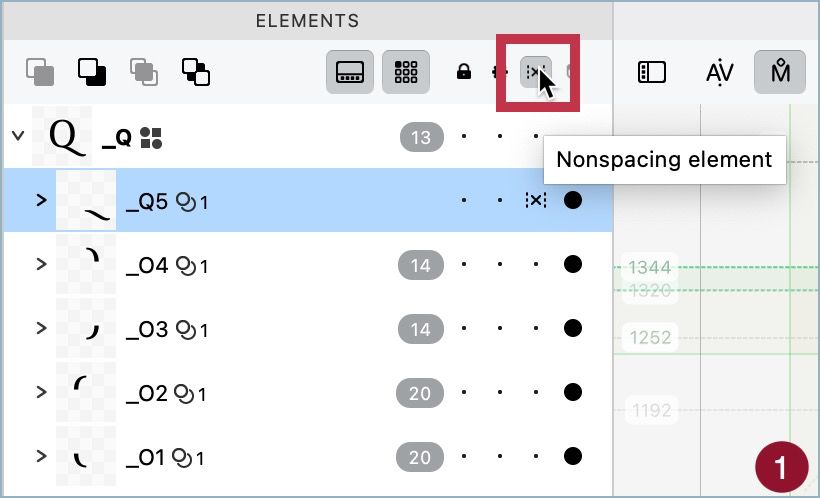
In the Elements panel there is a column to assign the nonspacing attribute (1). Elements marked with it are not considered in sidebearings or glyph width. But why this option does exist? +
02.08.2025 10:05 — 👍 1 🔁 0 💬 1 📌 0
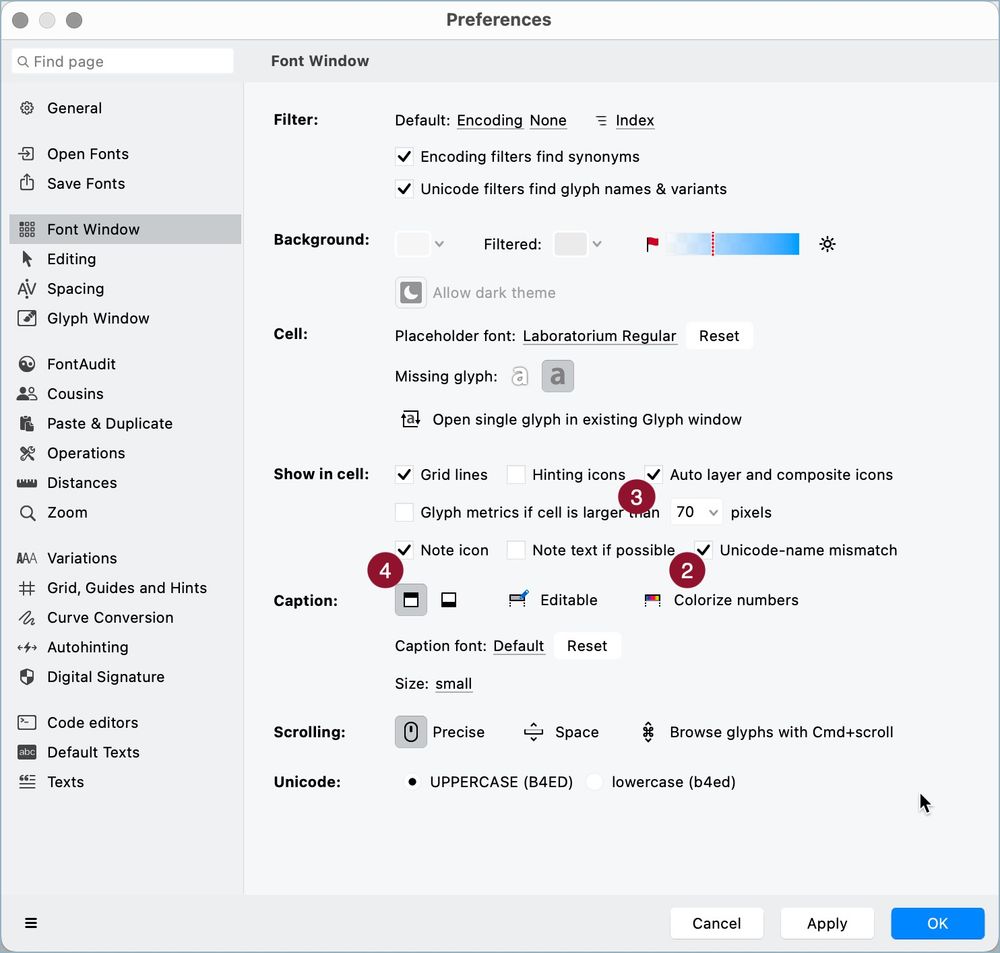
FontLab 8 Tip: Indicators in Font Window II
Indicators 2, 3, and 4 can be turned on/off in Preferences > Font Window. But the indicator for modified glyphs since the last save operation is always shown.
01.08.2025 08:46 — 👍 2 🔁 0 💬 0 📌 0
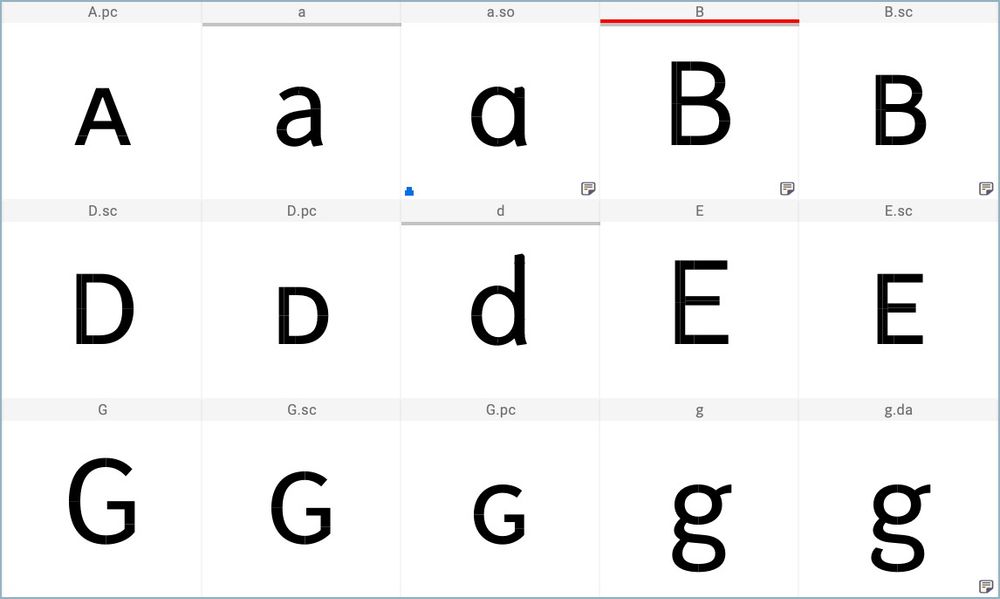
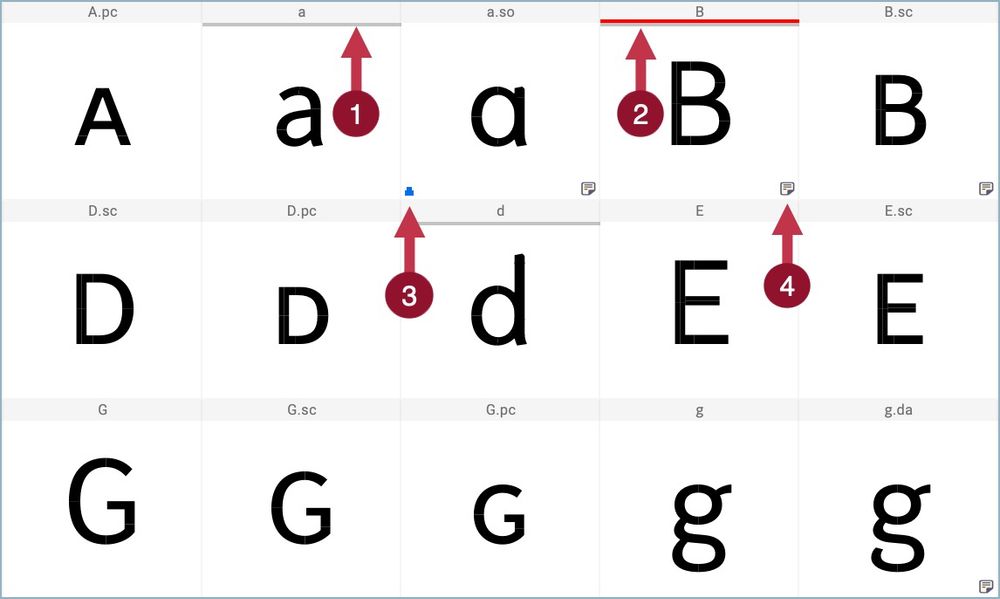
FontLab 8 Tip: Indicators in Font Window I
Font Window shows: a gray line (1) when the glyph was modified; a red line (2) when there is an error with glyph name or Unicode code; a blue icon (3) when the glyph is an auto layer; and a note icon when it has a note (4).
01.08.2025 08:39 — 👍 3 🔁 0 💬 0 📌 0
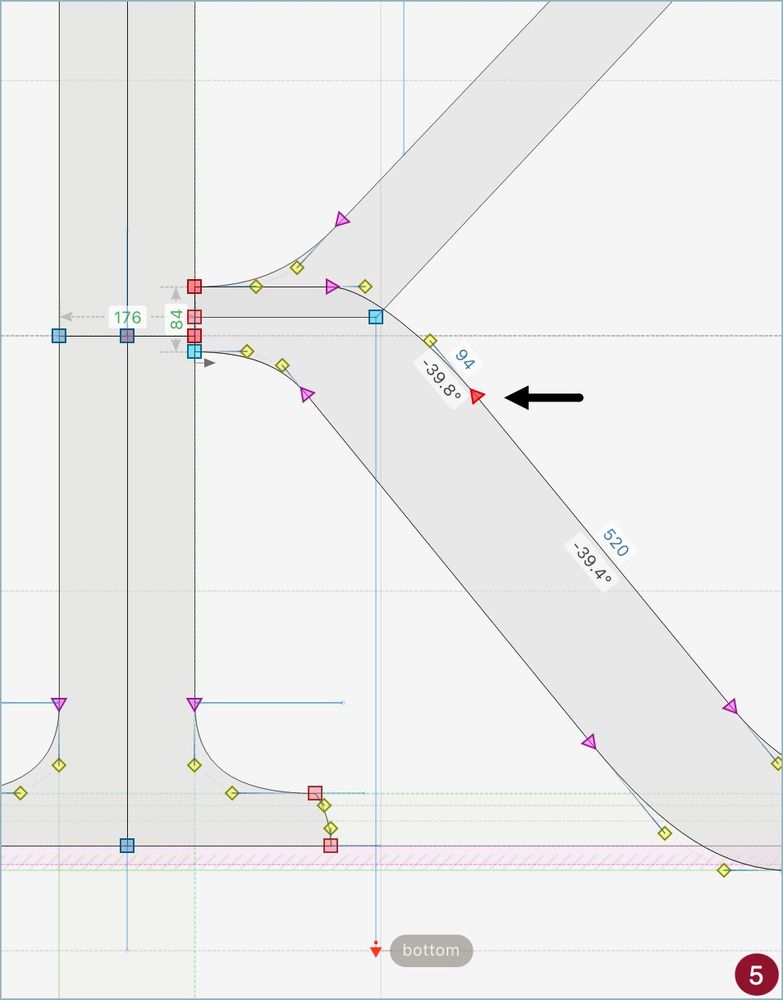
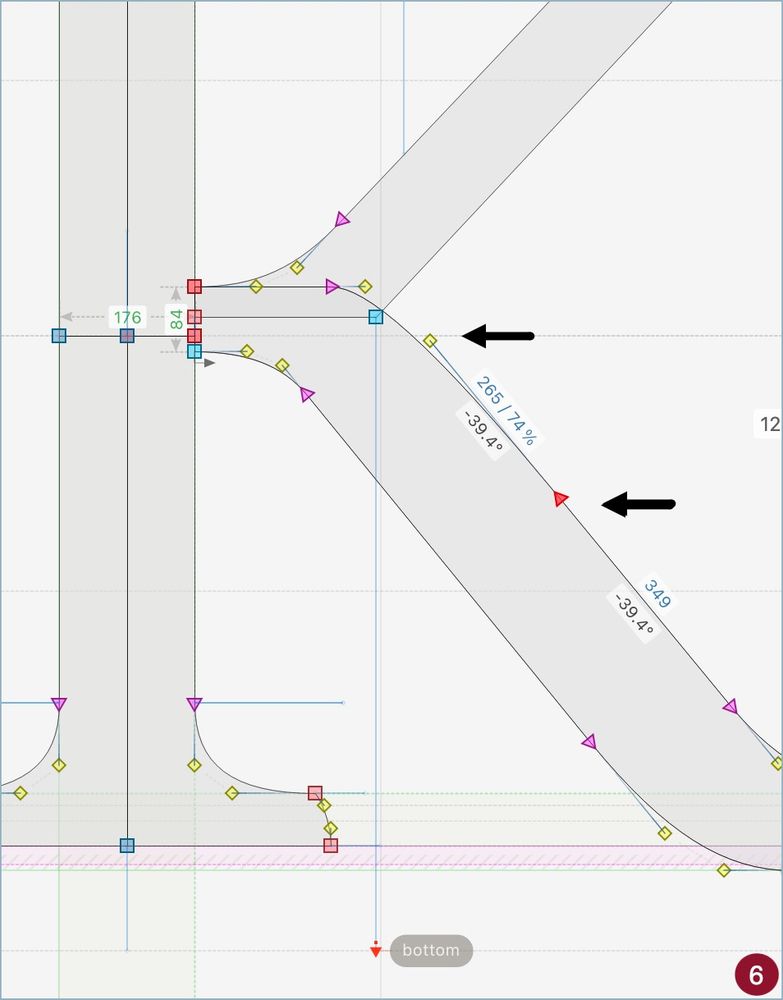
FontLab 8 Tip: Sliding Nodes in Diagonals
Select a node in a diagonal segment (1). Hold the Alt/Option key and move it. The node slides along the diagonal, which angle does not change (2). If the node is a tangent, the handle position is also preserved.
01.08.2025 08:08 — 👍 2 🔁 0 💬 0 📌 0
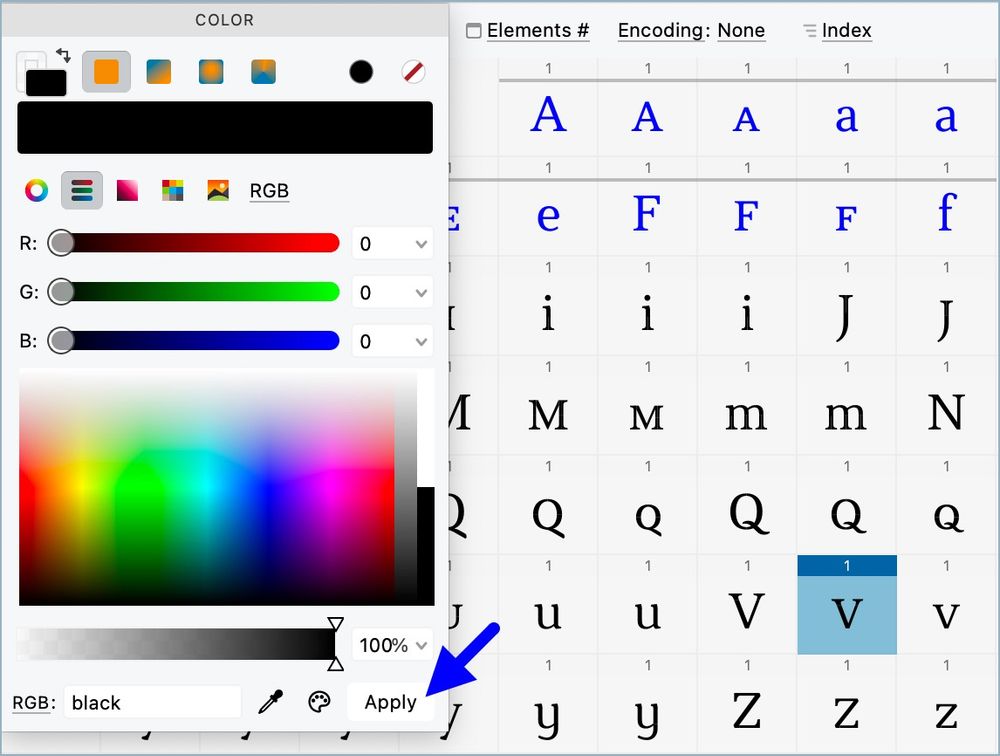
FontLab 8 Tip: Coloring Many Glyphs at Once
1. Select the glyphs in Font Window. 2. Go to Glyph > Flatten Layer. 3. Open the Color panel. 4. Choose and Apply any color. Done. Why flatten? Since color is an element attribute, you need a single element in each glyph to do this.
28.07.2025 10:24 — 👍 2 🔁 0 💬 0 📌 0
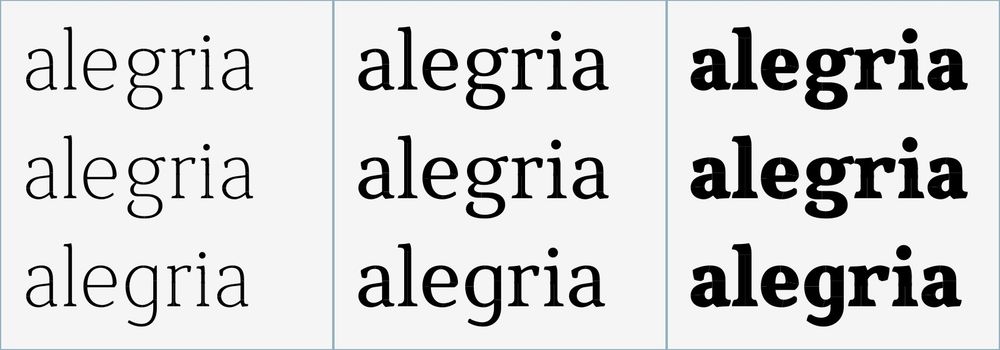
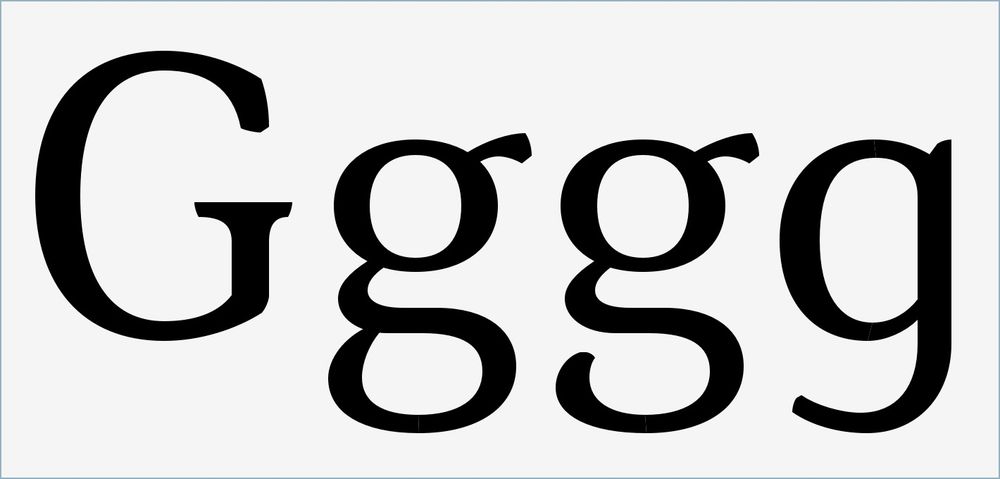
Da família de fontes Laboratorium.
17.07.2025 22:07 — 👍 1 🔁 0 💬 0 📌 0
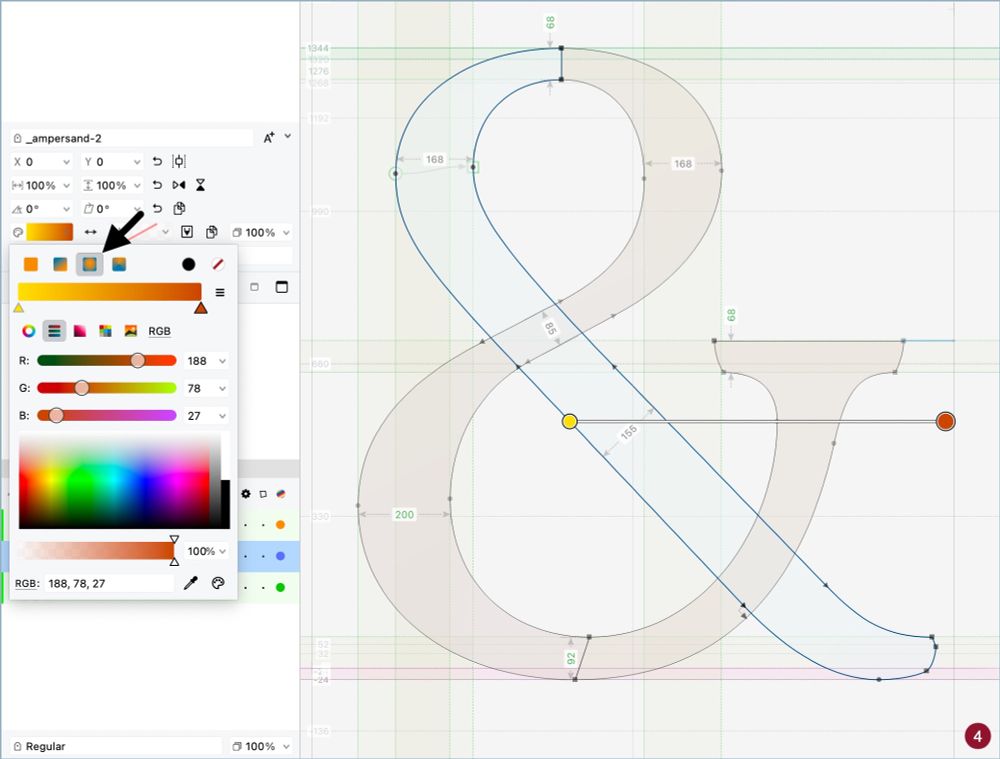
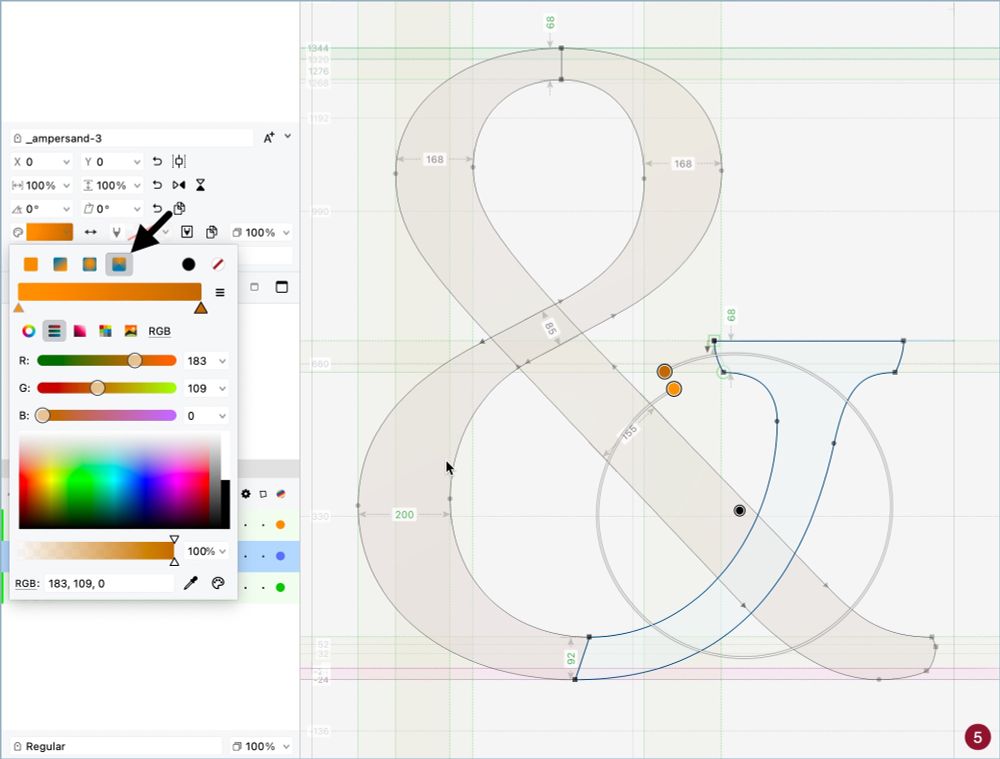
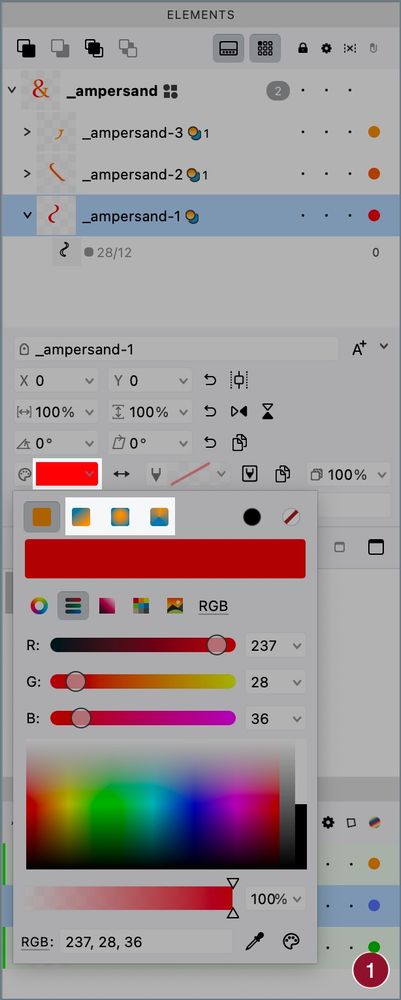
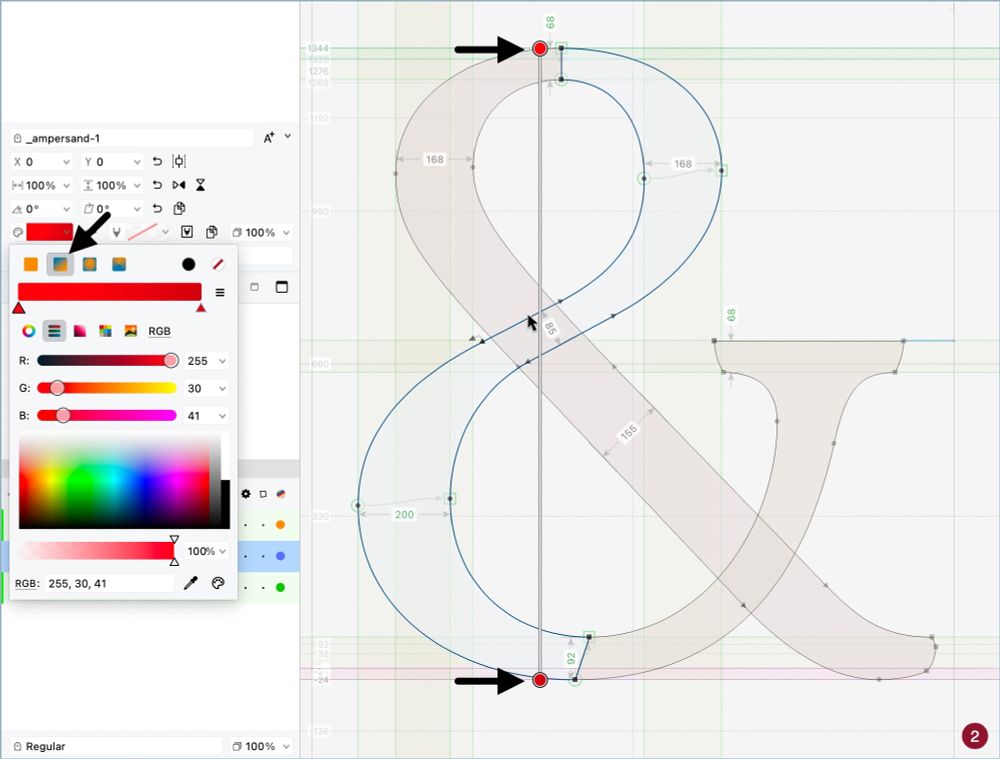
FontLab 8 Tip: Adding Gradients II
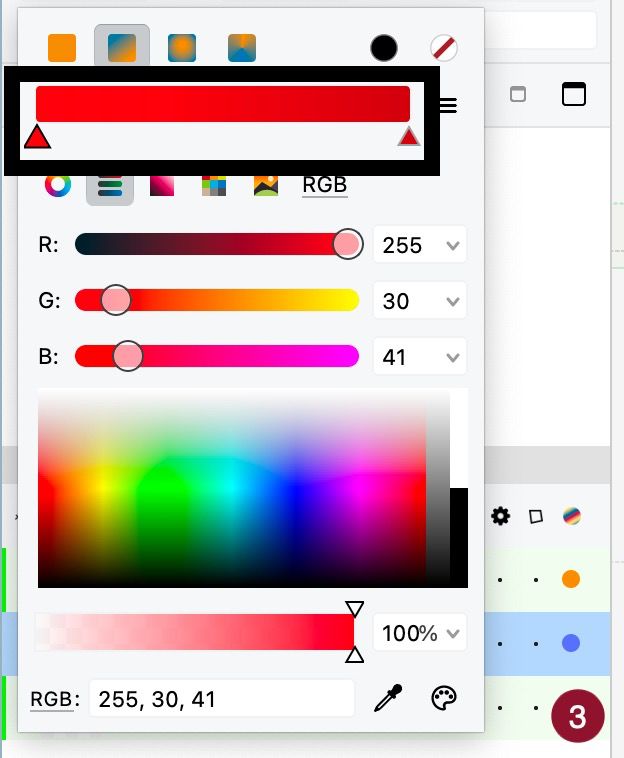
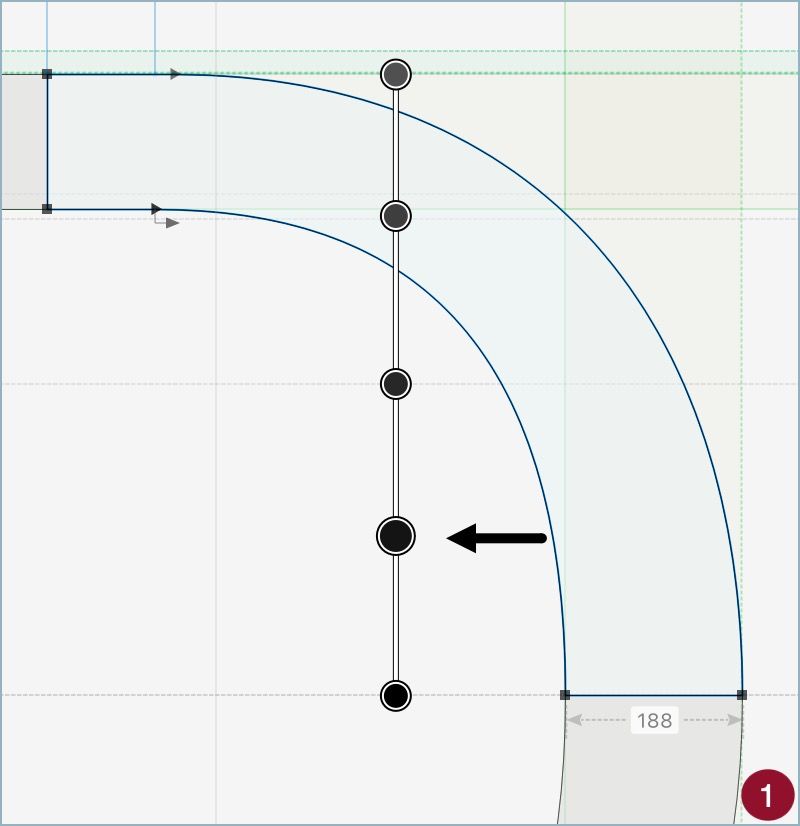
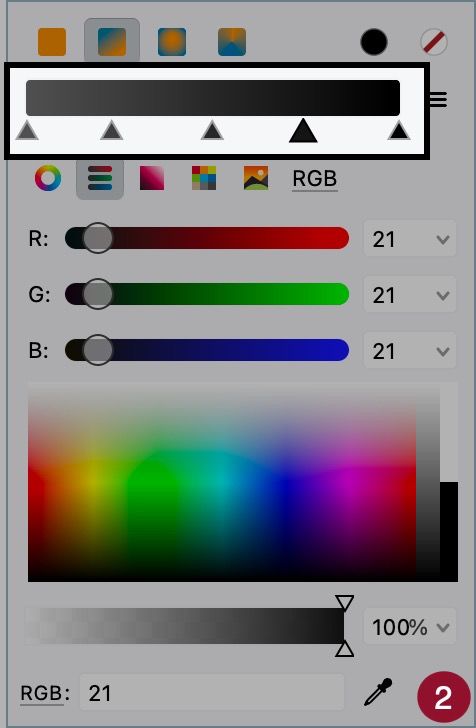
You can add more colors to the gradient with a double click in the gradient control ❶ or in the ribbon from the color options in Elements panel ❷.
14.07.2025 08:27 — 👍 1 🔁 0 💬 0 📌 0
For the love of stamps. Stamp of the Day, A-Z's, YouTube Videos, Giveaways, Patreon Subscription Service.
https://linktr.ee/Philatelovely
coookieeeeeeeesss
autistic artist 🌙 they/she
no AI
Mestiça com metade ranzinza, cansada e antissocial e a outra metade não lembro.
Mas gosto de café.
Designer/Artist/Creative Technologist
Design @ Adobe
yapper and snob
https://letterboxd.com/lelourensz/
professional cat napper
🥧 @oneeyedjacks.bsky.social
Parte da esquerda humanista. Ela/dela. Só sigo quem interage comigo. Cobrindo a política internacional e o genocídio em Gaza sem o viés antissemita — comum a outros perfis.
formação em ciências sociais, comunicação e história
X: @Zanzagmizazag
desire, i want to turn into you
I'm proud to be Brazilian 🇧🇷
#Lula2026 💋
Lula até 2030
#JustiçaSocial
#PalestinaLivre
🚩 BRICS 🚩
Deus sabe a nossa verdade e isso basta! 🌼🌻🍷
ngl.link/malialoba1
Esquerda!❤️
Ela/Dela
São Paulo
DM📍🏹🚫
Con i fascisti non si discute, con ogni mezzo li si combatte.
Sandro Pertini.
O colonialismo nada mais é do que o capitalismo desnudo, sem as suas vestes. K Marx
#RespectBrasilTrump
#FreePalestine
A boa política é aquela direcionada ao bem coletivo. 🚩
Cada escolha, uma oportunidade. Cada queda, um aprendizado. Cada atitude, uma consequência. 🚩
Working With Type // www.fontdrop.info // www.viktornuebel.com
West Virginia's Only-est Type Foundry
Retail & Custom Typefaces
(Posts by Brian)
foundry.bigfog.co
Sou nordestina esquerdista antifascista
An European-based type foundry offering retail fonts and custom typefaces for all. Skeets by Olivier Gourvat.
💥 Bold fonts Break the rules ! - www.motyfo.com


